Pattern Description:
This is a free sewing pattern for a fast and easy hobo bag that requires only 1 yard of fabric. Designed without a lining, all seams are finished.
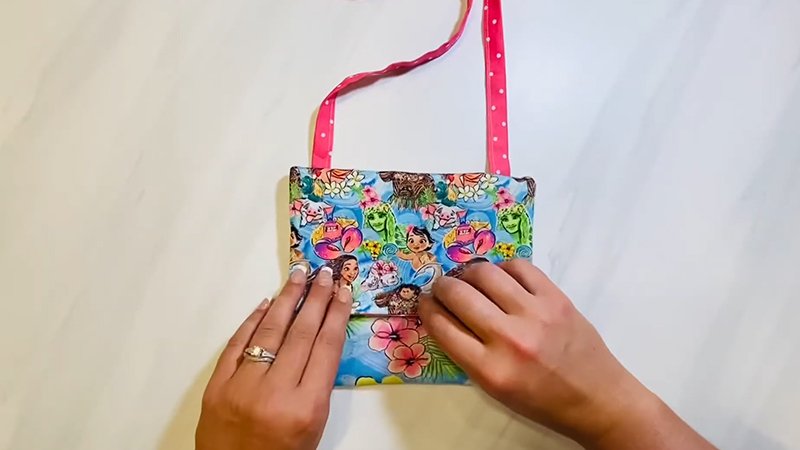
The bag is the perfect size for a shopping tote. The construction utilizes a technique called “fabric origami,” which makes the unique bag appear complicated, even though the pattern is simple to sew.
Materials Needed & Measurements:
| Category | Item/Measurement | |
| Materials Needed | 1 yard of home decor weight fabric, such as cotton, cotton duck, or cotton linen blend, etc. | |
| Coordinating thread | ||
| Cutting tools such as rotary cutter, ruler, and mat | ||
| A sewing machine | ||
| Cutting (From 1 yard of fabric that’s at least 40” wide) | 1 square 30” \times 30” | |
| 2 strips 2 \ 1/2” \times 24” (for straps) |
Instructions for Making the One Yard Magic Hobo Bag Pattern:
Cutting Preparations
From the 1 yard of fabric (which should be at least 40” wide), cut the following pieces:
- One square measuring 30” \times 30”.
- Two strips measuring 2 \ 1/2” \times 24” (designated for the straps).
Sew the Straps
The first step involves constructing the two strap pieces:
- Take each 2 \ 1/2” \times 24” strip and fold it in half lengthwise.
- Stitch the long, raw edge of the strip closed using a 1/4” seam allowance.
- Use a safety pin or a bodkin attached to one end of the stitched strip to turn the strap right side out.
- Once turned, press both straps flat. Set these finished straps aside for later use.
Hem the Fabric Square
Before assembling the bag, the 30” \times 30” square must be hemmed, a process that includes creating perfect mitered corners:
- Fold and press each edge of the square over 1/2”.
- Repeat this process by folding and pressing the edge over another 1/2”, creating a 1/2” hem. This step establishes two pressing lines on either side of each corner, which intersect to form a small square.
- At each corner, cut off the small square diagonally, slicing it in half at the two intersection points of the pressing lines.
- Fold the freshly cut raw edge over at the specific point where the inside fold lines meet. Press this fold.
- Re-fold the original hems that were pressed in step 1 and press them once more. This method should result in a clean, perfect corner. Repeat this process for all four corners.
- Stitch the hem down, sewing close to the fold to hold the hem in place.
Sew the Bag Side Seams
This stage incorporates the “origami” technique that gives the bag its distinctive shape:
- Fold the hemmed fabric square in half, ensuring the right sides of the fabric are together.
- Measure 8” up from the fold on both sides of the fabric. Place a pin at the 8” mark, and pin the edges together below the 8” mark down to the fold.
- Stitch each side seam starting from the pin placed at the 8” mark and sewing down to the fold. The stitching should be placed just inside the hemmed edges.
- Pull the top, unstitched edges of the bag apart.
- Re-fold the bag so that you can access the remaining two side edges. Pin and sew these two sides as well, stitching for 8” down to the fold.
- Once all four side seams are sewn, press them flat.
Fold and Tack the Corners
This step forms the bottom of the bag and secures the corners:
- Lay the sewn bag flat, which should form a square shape.
- Take each of the four corners and fold it up so that the corner tip meets the start of the side seam stitching.
- Pin the corner to the side seam, taking care not to pin through all of the layers of fabric.
- Tack the corner to the side seam. Tacking means sewing in one small area to secure two pieces together. If a sewing machine does not have a programmed tack or bar-tack stitch, this is achieved by sewing a few straight stitches back and forth three to four times. If available, utilizing a sewing machine’s free arm feature is recommended for this step. Repeat this tacking process on all four corners.
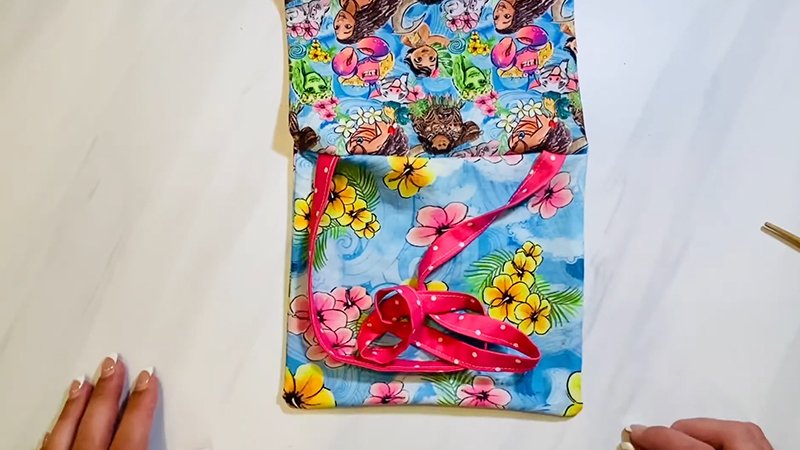
Attach the Bag Straps
Finally, the straps are secured to the main body of the bag:
- Fold each end of the two 24” long straps over by 1/2”.
- Take one strap and pin it to two adjacent corners of the bag opening. Ensure the folded edges are tucked under and hidden beneath the strap ends.
- Stitch the strap ends in place by sewing a square shape.
- For added reinforcement and decoration, you may stitch an ‘X’ shape in the middle of the attached square.
Repeat steps 2 through 4 for the second strap, completing the one-yard hobo tote.