Pattern Description:
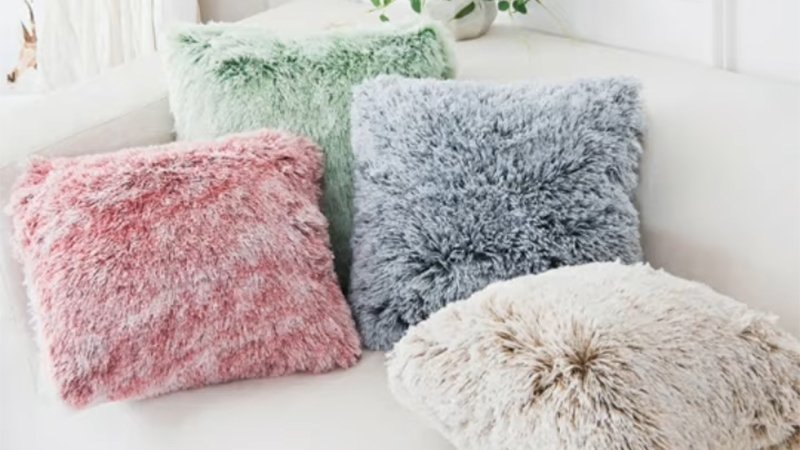
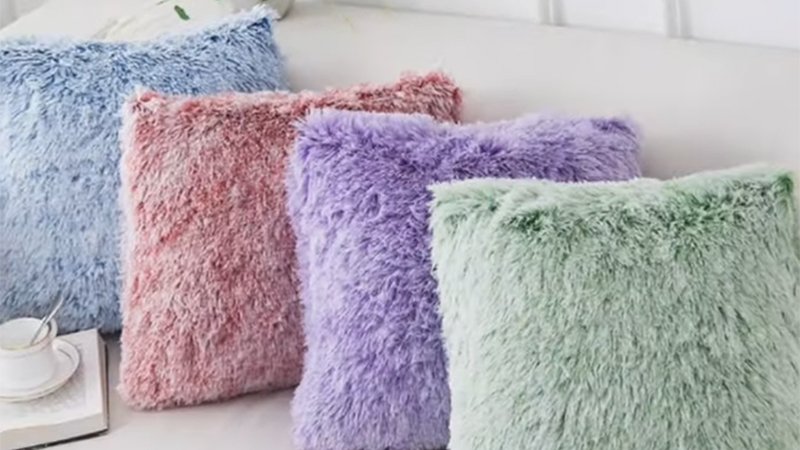
This project outlines how to sew a standard-size 30×20-inch Plush Fabric Pillowcase using two contrasting plush fabrics.
The construction involves three main steps: creating the pillowcase band from Print No. 1, assembling the body from Print No. 2, and then joining the two pieces together by aligning the raw edges and sewing through all layers. The final step is topstitching to secure the seam allowances.
Materials Needed & Measurements:
Finished Measurement: Finished pillowcase: 30×20″ (fits a standard-size bed pillow).
Materials for one pillowcase:
- 3⁄8 yard print No. 1 (used for the pillowcase band).
- 7⁄8 yard print No. 2 (used for the pillowcase body).
Cut Measurements:
- From print No. 1, cut: 1 10×41″ strip.
- From print No. 2, cut: 1 261⁄2×41″ rectangle.
Instructions for Making the Plush Fabric Pillowcase Pattern:
Preparation and Cutting
This project yields a finished pillowcase measuring 30×20″, designed to fit a standard-size bed pillow. All stated measurements include 1⁄2″ seam allowances.
You should sew with right sides together unless explicitly instructed otherwise. The quantities provided are for 58/60″-wide, plush fabrics.
Cutting the Pieces:
- From print No. 1, cut: 1 10×41″ strip.
- From print No. 2, cut: 1 261⁄2×41″ rectangle.
Essential Tips for Working with Plush Fabric
Because plush fabric behaves differently than conventional quilting cottons, observing specific techniques is crucial for a successful outcome.
Fabric Characteristics and Handling:
- Plush fabric stretches along the crosswise grain but shows very little stretch along the lengthwise grain (which is parallel to the selvages).
- When cut, plush fabric sheds. Keep a lint roller handy, or take cut pieces outdoors and shake them well before you begin sewing.
- Nap Direction: Plush fabric has a nap. Before joining pieces, run your hand up and down each length of plush fabric to determine the direction of the nap. Ensure that the band and the pillowcase body are joined so that the nap runs in the same direction on both pieces once the pillowcase is finished.
Sewing Techniques:
- To prevent the plush fabric from slipping during sewing, use an even-feed foot (which is also known as a walking foot).
- Use a longer-than-normal stitch – between 3 and 3.5 millimeters – to help keep seams from puckering.
- Finger-press seams only. Because the polyester plush fabric does not respond well to heat, it is important to avoid using an iron.
- When laundering the finished plush fabric item, utilize low dryer heat.
Step 1: Assemble the Pillowcase Band (Print No. 1)
- Take the 10×41″ strip cut from print No. 1.
- Join the short ends of this strip to form a continuous loop.
- Finger-press this seam open.
- Fold the resulting loop in half, ensuring the wrong side is maintained inside.
- Finger-press this fold to create the finished pillowcase band.
Step 2: Assemble the Pillowcase Body (Print No. 2)
- Take the 261⁄2×41″ rectangle cut from print No. 2.
- Fold this piece in half crosswise. When folded, it will form a rectangle measuring 261⁄2×201⁄2″.
- Sew the unit together along the long edges and along one pair of short edges. This stitching creates the pillowcase body.
- Once the body is sewn, turn it right side out and finger-press the piece flat.
Step 3: Joining and Finishing the Pillowcase
- Slide the assembled pillowcase band over the pillowcase body.
- Align the raw edges of both the band and the body, and secure them together with pins. (Reference Diagram 1 provided in the sources for visual guidance on alignment).
- Sew together through all layers to join the band to the body.
- To secure the seam allowances, finger-press the pillowcase band open, pushing the seam allowances toward the pillowcase body.
- The final step is to topstitch 1⁄4″ from the band edge directly on the pillowcase body. This topstitching secures the seam allowances and completes the plush fabric pillowcase. (Reference Diagram 2 provided in the sources for guidance on the topstitching location).
Download Free PDF: