Pattern Description:
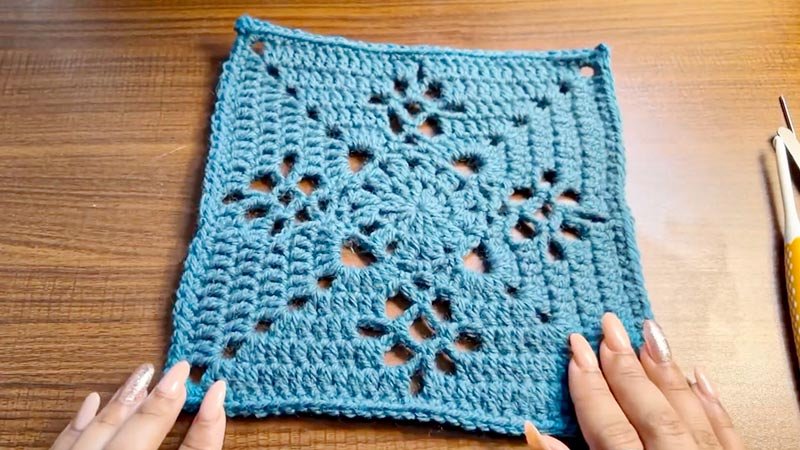
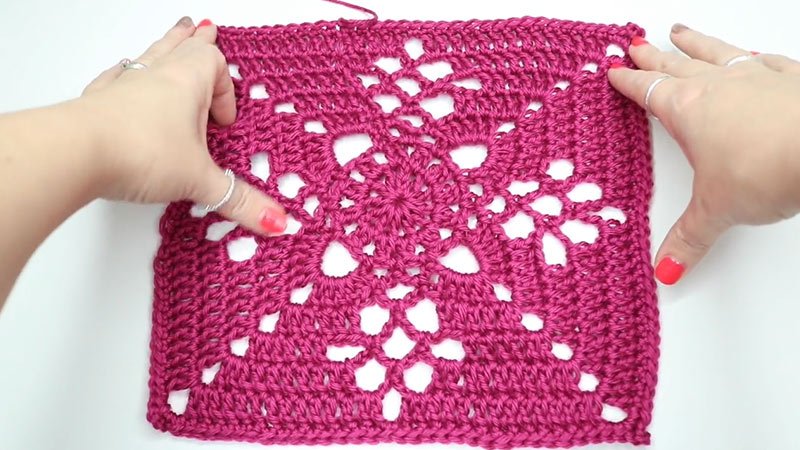
The Victorian Lattice Square is a stunning crochet motif featuring delicate, interlaced stitches that mimic the charm and elegance of Victorian-era architecture.
With its detailed structure and eye-catching texture, this square is ideal for blankets, pillows, or as part of a larger decorative project. This pattern requires a moderate level of crochet skill.
Materials:
- Yarn: Worsted Weight (WW) yarn Recommended: Caron Simply Soft
- Hook: Size 7 / 4.5 mm crochet hook
- Notions: Scissors and tapestry needle for finishing
Abbreviations:
- SLST – Slip Stitch
- CH – Chain
- SC – Single Crochet
- DC – Double Crochet
- DC2TOG – Double Crochet 2 Together
- SP – Space
Instructions for Making the Victorian Lattice Square Pattern:
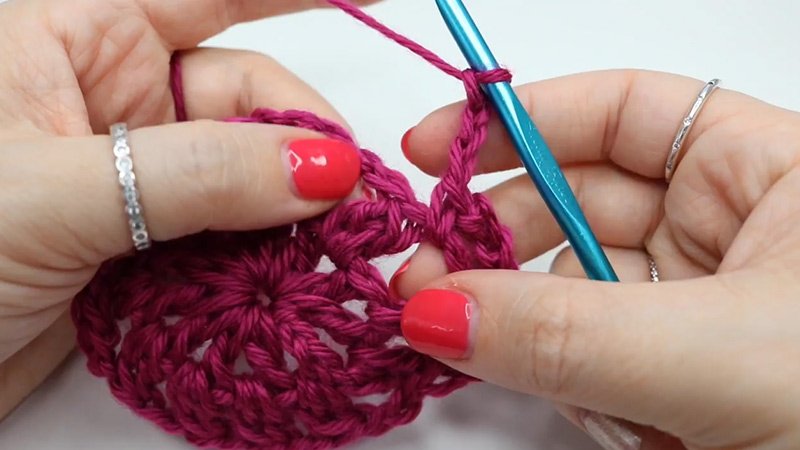
Round 1
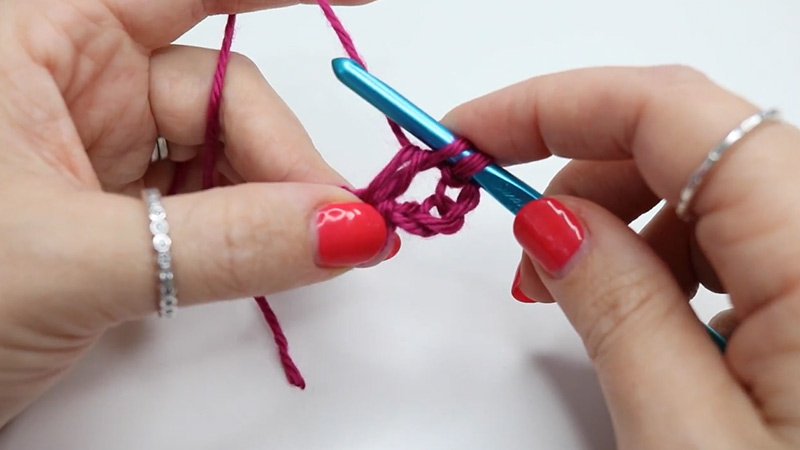
- Begin with a magic ring (or CH 4 and join with a SLST to form a ring).
- CH 4 (counts as DC + CH 1), (DC, CH 1) repeat 10 more times into the ring.
- Join with SLST to 3rd CH of starting CH 4. (12 DC and 12 CH-1 spaces)
Round 2
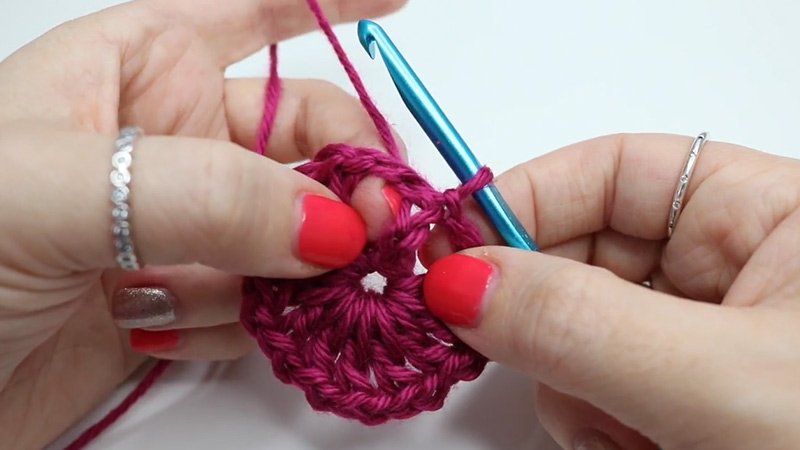
- SC in next CH-1 space, CH 1 (counts as mock DC), DC in same space, CH 2. (DC2TOG in next CH-1 space, CH 2) repeat 10 more times.
- Join with SLST in top of first DC. (12 DC2TOG clusters, 12 CH-2 spaces)
Round 3
- SC in next CH-2 space, CH 7, SC in next CH-2 space, CH 3, SC in next CH-2 space, CH 3, SC in next CH-2 space – repeat this set 2 more times.
- End with CH 7, SC in next CH-2 space, CH 3, SC in next CH-2 space, CH 3.
- Join with SLST to first SC. (4 CH-7 loops, 8 CH-3 loops)
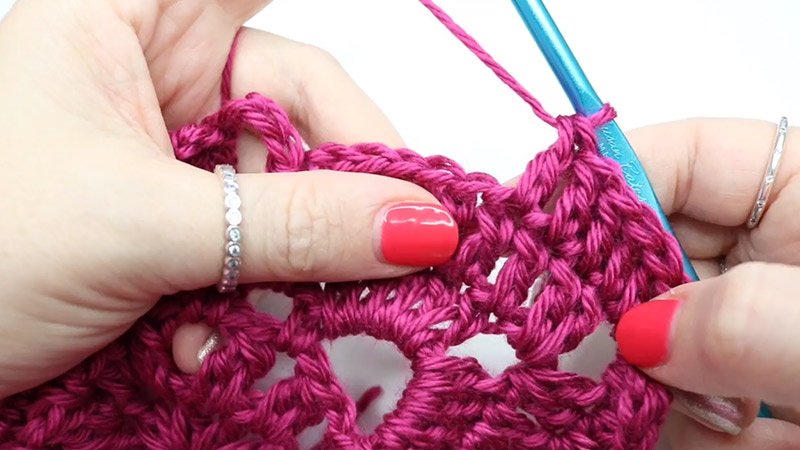
- Round 4
- In next CH-7 loop: SC, CH 1 (counts as DC), 4 DC, CH 3, 5 DC.
- SC in next CH-3 loop, CH 4, SC in next CH-3 loop.
- In next CH-7 loop: (5 DC, CH 3, 5 DC) – repeat entire sequence 2 more times.
- Finish with SC in CH-3 loop, CH 4, SC in next CH-3 loop.
- Join with SLST to top of first DC.
Round 4

- SC in next DC, CH 1, DC in next 3 DC.
- In CH-3 space: [2 DC, CH 3, 2 DC] (corner made).
- DC in next 4 stitches, CH 4, SC in CH-3 loop, CH 4.
- Skip next DC, DC in next 4 stitches.
- Repeat corner [2 DC, CH 3, 2 DC] and rest of sequence 2 more times.
- End with DC in 4 stitches, CH 4, SC in CH-3 loop, CH 4.
- Join with SLST to first DC.
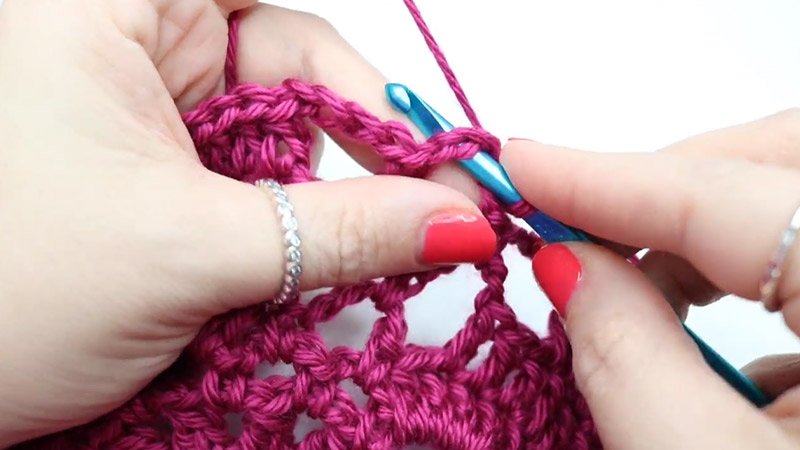
Round 5
- SLST to next DC, SC in next DC, CH 1, DC in next 3 stitches.
- In CH-3 space: [2 DC, CH 3, 2 DC]. DC in next 4 DC.
- Repeat the following twice: {CH 4, SC in next CH-4 loop}.
- CH 4, skip 2 DC, DC in next 4 DC.
- Make corner [2 DC, CH 3, 2 DC] in next CH-3 space.
- Repeat this entire sequence 2 more times.
- End with DC in 4 DC, {CH 4, SC in CH-4 loop} twice, CH 4.
- Join with SLST in top of first DC.
Round 6
- SC in join space, CH 1, DC in next 5 stitches.
- In corner CH-3 space: [2 DC, CH 3, 2 DC].
- DC in next 6 stitches. 2 DC in next CH-4 loop, CH 4, SC in next CH-4 loop, CH 4, 2 DC in next CH-4 loop.
- DC in next 6 stitches, make corner.
- Repeat this pattern 2 more times.
- Finish with DC in next 6, 2 DC in CH-4 loop, CH 4, SC in CH-4 loop, CH 4, 2 DC in next CH-4 loop.
- Join with SLST in top of first DC.
Round 7
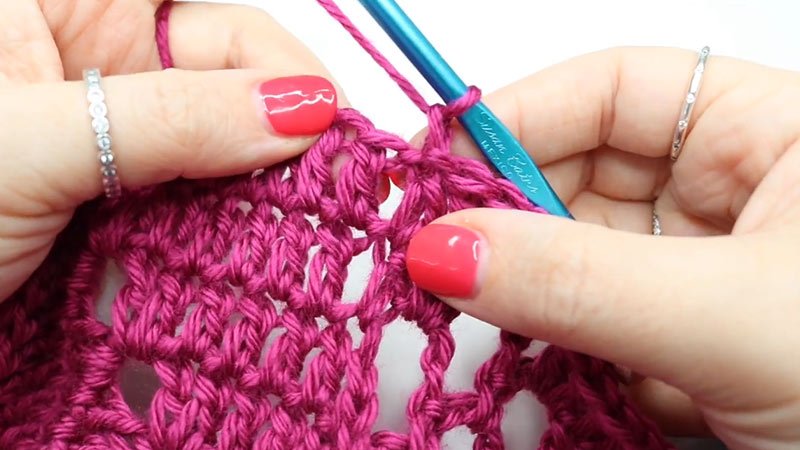
- SC in same space, CH 1, DC in next 7 stitches.
- In CH-3 corner: [2 DC, CH 3, 2 DC].
- DC in next 10 stitches.
- 2 DC in next CH-4 loop, CH 1, 2 DC in next CH-4 loop.
- DC in next 10 stitches, make corner. Repeat this round 2 more times.
- Finish with DC in final 10 stitches, 2 DC in CH-4 loop, CH 1, 2 DC in CH-4 loop, and DC in last 2 stitches.
- Join with SLST in top of first DC.
Round 8
- SC in each stitch around, including the CH-1 space from previous round.
- At each corner CH-3 space, work [2 SC, CH 3, 2 SC].
- Join with SLST to beginning SC.
- Fasten off and weave in ends.
Tip: Block your finished square for the best shape and stitch definition.
This Victorian Lattice Square adds vintage beauty to any project. Whether you’re crafting a blanket or a single decorative square, the intricate textures and elegant corners will elevate your work.
Download PDF