Pattern Description:
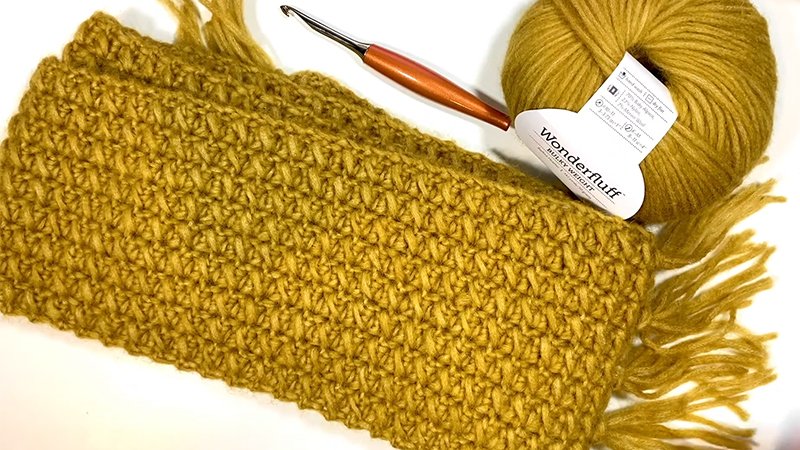
The Glenayr Scarf is an easy, modern crochet pattern featuring beautiful texture, designed for a quick make. It’s worked widthwise in rows, eliminating the need for a long starting chain. The pattern achieves its texture with a simple one-row repeat using only two basic stitches, making it suitable for any style.
Materials Needed & Measurements:
- Yarn: Approximately 386 yards of #5 bulky weight yarn.
- Yarn Weight: #5 bulky weight yarn.
- Hook: 7.0mm crochet hook. The designer used a Furls Odyssey Sienna.
- Notions:
- Scissors
- Yarn needle
- Tape measure
- Stitch Markers (optional)
- Measurements: Finished dimensions are 73″ long x 6″ wide.
Stitches & Abbreviations Used:
- ch(s) – Chain(s)
- slst – Slip Stitch
- hdc – Half Double Crochet
- st(s) – Stitch(es)
Instructions for Making the Glenayr Pattern:
Follow these steps to crochet your Glenayr Scarf:
Starting Chain
Begin by making a foundation chain.
- Ch (chain) 20. This will determine the width of your scarf, which will measure approximately 6″ when complete. Because the scarf is worked widthwise, you don’t have to worry about starting with a long chain for the full length.
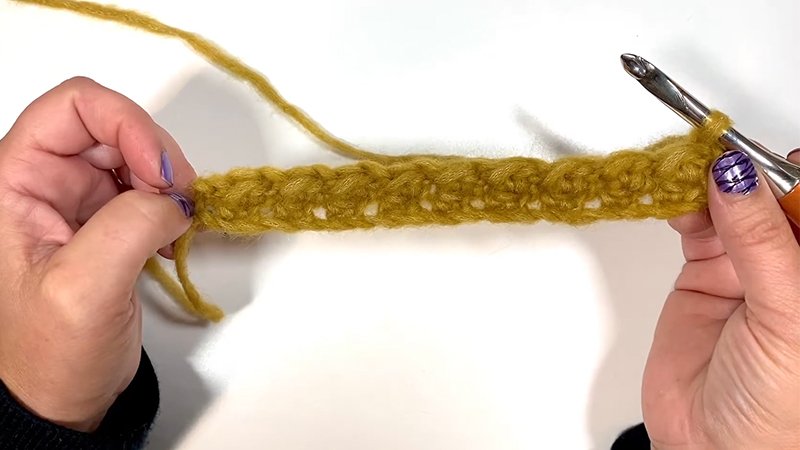
Row 1 – Establishing the Pattern
In Row 1, you’ll set up the alternating stitch texture that defines this design.
- Slst (slip stitch) into the second ch from the hook.
- Hdc (half double crochet) into the next ch.
- Continue alternating between slst and hdc across the row.
By the end of Row 1, you should have 19 sts (stitches). Finish by making ch 1 and turning your work.
Row 2 – Repeating the Sequence
Row 2 establishes the one-row repeat that makes this pattern so approachable.
- Slst into the first st.
- Hdc into the next st.
- Slst into the following st.
- Continue alternating slst and hdc until the end of the row.
You will again have 19 sts. Ch 1, then turn. The texture is already beginning to form.
Rows 3 – 239 – Building the Length
From here, the pattern couldn’t be easier. Simply:
- Repeat Row 2 for every subsequent row.
As you work, the fabric will grow in length, creating a beautifully textured scarf. For the recommended finished length of 73″, continue until you have completed 239 rows. However, you can easily adjust the length by stopping earlier or adding more rows depending on your preference and yarn supply.
Row 240 – Final Row
When your scarf reaches the desired length, work one final row:
- Slst into the first st.
- Hdc into the next st.
- Slst into the following st.
- Continue across the row, alternating until you reach the end.
Fasten off securely, leaving a tail for weaving in. You should still have 19 sts in the final row.
Optional Fringe
For a stylish finishing touch, add fringe to both ends of the scarf:
- Prepare Yarn: Cut 50 strands, each measuring 10″ long.
- Group Strands: Divide into 10 bundles of 5 strands each.
- Attach Fringe: Evenly space 5 bundles per side across both scarf ends. Insert the groups with your hook and pull through, then secure.
You can adjust the amount of fringe to suit your style, minimal for a sleek look or fuller for added drama.
Finishing Touches
After the fringe is complete, use a yarn needle to weave in all loose ends along the edges and corners. Smooth the scarf flat, trim fringe evenly if needed, and your Glenayr Scarf is ready to wear. This versatile piece is perfect as a personal accessory or as a handmade gift.
Download Free PDF: