Pattern Description:
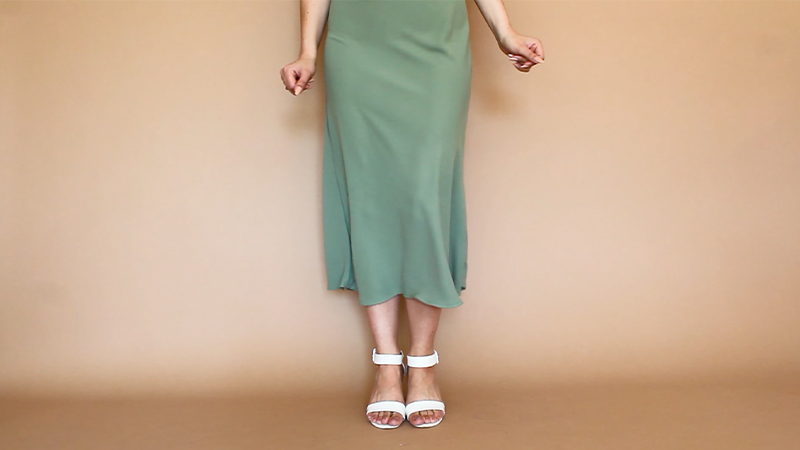
The Chloe Skirt is a free wrap maxi skirt pattern designed for stylish fall and winter wear. With a sleek silhouette and smart casual appeal, it pairs effortlessly with sweaters, boots, or blouses.
Constructed from heavier fabrics like rib knit or Ponte, the skirt drapes beautifully. Faux leather belts with a buckle closure add structure, elegance, and a modern handmade touch.
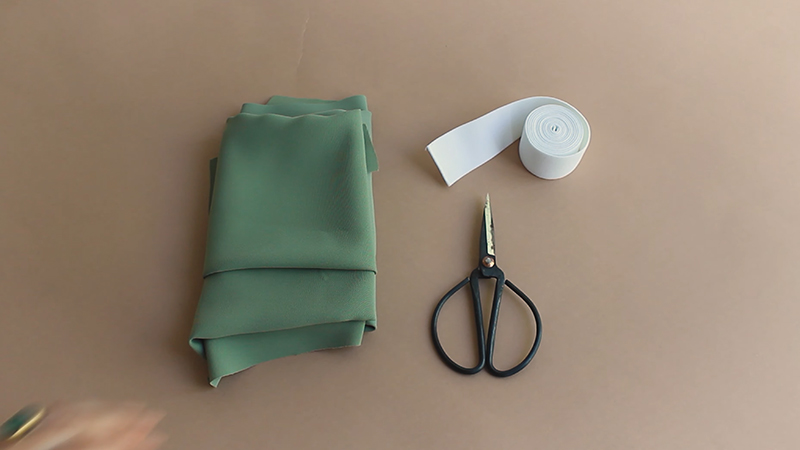
Materials Needed & Measurements:
To create the Chloe Skirt, gather the following supplies:
- 2-4 yards Heathered Gray Tubular Cotton 1×1 Rib Knit Serves as the main body fabric, providing structure with flexibility and stretch for comfort.
- ½ yard Black Fashion-Weight Faux Leather Used to construct the belts and side details, adding contrast and a touch of luxury.
- 1 Dark Gray Plastic Buckle (2.75 inches) Essential for the wrap skirt closure, offering durability and a polished finish.
Instructions for Making the Chloe Skirt Pattern:
Step 1: Constructing the Belts
The skirt uses two belts, a long one and a small one, that will later be attached to the panels.
- Cut the faux leather pieces for the belts as indicated in the pattern.
- Fold each piece in half lengthwise with right sides facing inward. Pin securely; use plenty of pins to prevent stretching of the faux leather.
- Sew along the edge, then carefully turn the pieces right side out.
- Press gently using a press cloth and low heat setting.
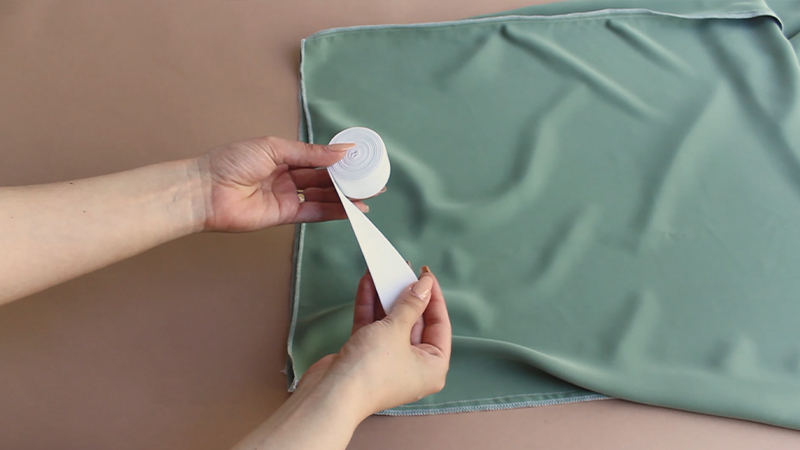
- Topstitch each belt using a 4.5 stitch length to give a clean, professional look.
Step 2: Preparing the Skirt Panels
Once the belts are ready, move on to assembling the skirt body.
- Take one rib knit panel and align the faux leather strips on both sides with right sides together. Pin generously to prevent shifting.
- Sew the faux leather to the rib knit, then topstitch with a 4.5 stitch length to secure.
- Position the small belt on the right side notch and the long belt on the left side notch. Pin them firmly in place.
- Place the second rib knit panel over the first, right sides together, sandwiching the belts between them. Pin securely.
- Sew the layers together along the faux leather sides and topstitch to reinforce, ensuring the belts are included in this stitching.
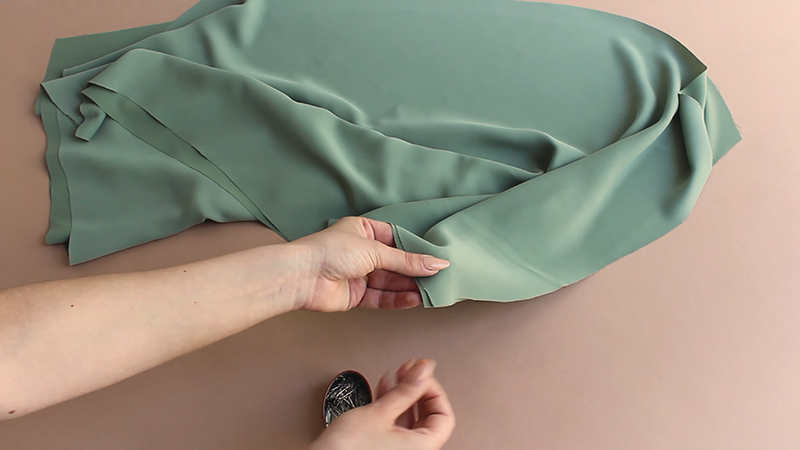
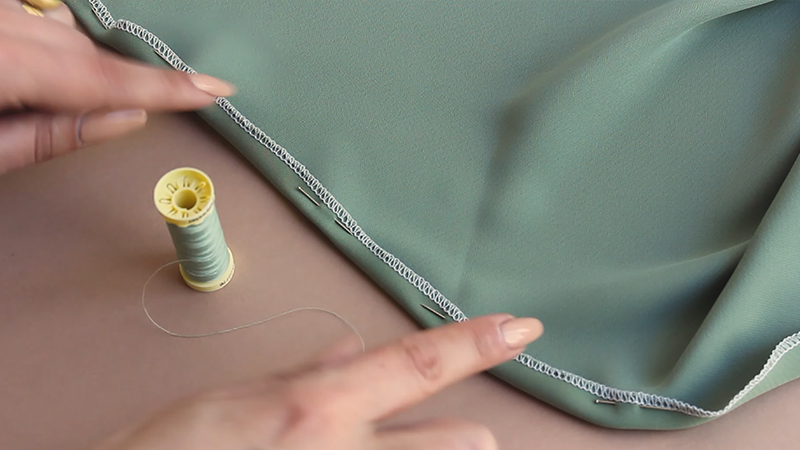
- With the main rib knit squares right sides together, pin around the entire skirt body, leaving an opening at the center back seam.
- Using your machine’s stretch stitch, sew along the top and bottom edges. Match seams evenly and use ample pins to control fabric stretch.
Step 3: Final Finishing
With the main panels completed, it’s time to refine and finish the skirt.
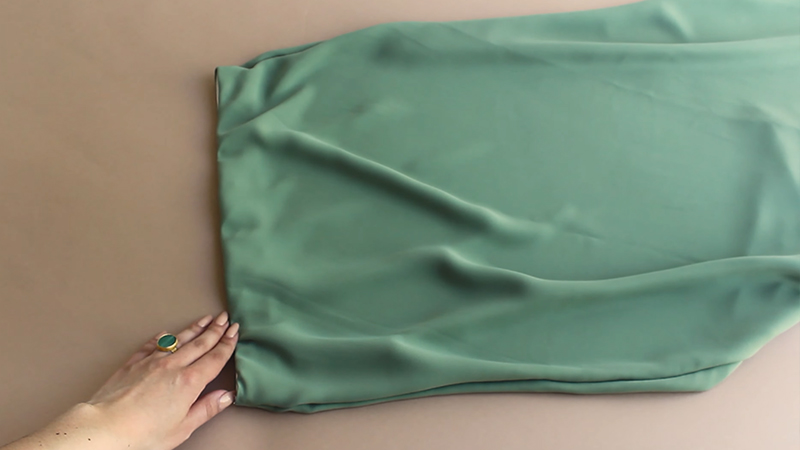
- Turn the skirt right side out. Hand stitch the center back seam opening closed using a slip stitch.
- Press the top and bottom edges of the skirt with a press cloth, using low heat to protect the fabrics.
- Topstitch along the faux leather edges for a polished, even finish. Ensure panels align properly by pinning before stitching.
Step 4: Creating the Waist and Buttonhole
- Fold over the waist as indicated in the pattern.
- To create the buttonhole, sew through all four layers. Since many machines cannot handle a 1.5-inch buttonhole automatically, use a zig-zag stitch. Set length to 1.0 and width to 3.0 for a neat result.
Step 5: Adding the Buckle and Securing the Belts
- Thread the long belt through the 2.75-inch plastic buckle. Fold the end under, pin it, and stitch over the previous topstitching with a 4.5 stitch length to secure.
- For the small belt, machine tack or hand tack it in place, stitching directly over the topstitching. Because of the fabric thickness, use a leather needle or hand-crank the machine to avoid breaking standard needles.
Download Free PDF: