
Pattern Description:
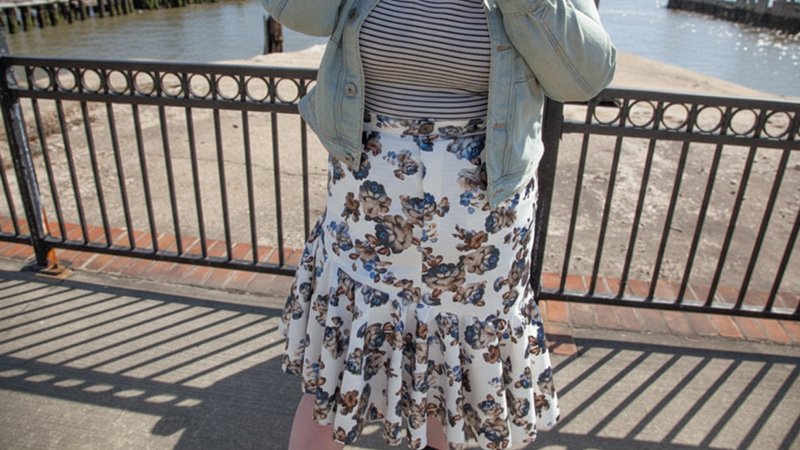
The Viola Skirt is a beautiful form-fitting skirt with a fit-and-flare silhouette. It features an asymmetrically ruffled flounce and an asymmetrical hemline, which is flattering on various body types.
This piece can easily transition from formal attire, such as styling it with a sequin tank, to a casual look when worn with a graphic tee and denim jacket.
Materials Needed & Measurements:
The materials used in the featured skirt version included a White Ponte Knit with Black and Silver Floral Design (3 yds) and 1pc Brass Metal Button – 40L.
Key measurements and specifications include:
- Seam Allowances: All seam allowances are 1/2″ unless otherwise noted.
- Sizing: This pattern is available up to a size 30.
- Optional Belt Loops: If adding belt loops, you can self-draft a pattern measuring 1.5″ by 2.5″ to accommodate a belt 1.5″ wide.
Instructions for Making the Viola Skirt Pattern:
Constructing the Pockets and Fly
The first steps involve preparing the front sections of the skirt, which includes sewing the pockets and the fly facing.
- Sew Pocket Facings: Start by sewing the pocket facings onto the skirt fronts.
- Press and Stitch: Once sewn, turn the pocket facing, press it thoroughly, and then stitch along the curve of the pocket.
- Create Pocket Bag: Pin the back of the pocket into place and stitch this section, which creates the complete pocket bag.
- Attach Fly Facing: Before moving on to pinning the front pieces together, attach the fly facing to the designated fly opening.
- Press and Pin Fronts: Fold back the fly opening and press it. Next, pin the front pieces of the skirt together.
- Stitch Center Front: Stitch along the center front seam only until you reach the edge of the fly. Be sure to back-stitch a couple of times at this stopping point to secure the seam.
- Finish the Fly: Press back the fly opening and stitch along its edge. Finally, top-stitch along the outer edge of the fly, making sure to leave a 2.5″ opening.
Assembling the Skirt Body
With the fronts complete, the back pieces and the side seams can be assembled.
- Sew Darts: Sew the darts into the back pieces of the skirt.
- Stitch Center Back: Pin the back pieces together and stitch along the center back seam.
- Join Front and Back: Attach the front section of the skirt to the back section at the side seams and stitch them together.
Creating and Attaching the Flounce (Ruffle)
The signature flounce is created by gathering the material and then attaching it to the bottom of the skirt body.
- Gather the Ruffle: Stitch along the top edge of each ruffle piece using a basting stitch. To create the gathers, gently pull on these basting threads.
- Assemble Ruffle: Attach the individual ruffle pieces at the side seams and stitch them into place.
- Attach to Skirt: Pin the assembled ruffle to the bottom edge of the constructed skirt body and sew it into place.
Finishing Touches
The final steps involve finishing the waistband and adding the necessary closures.
- Attach Waistband: Pin the waistband piece to the top opening of the skirt and stitch all the way around.
- Finish Waistband: Fold the waistband over, press it well, and then top-stitch along the edge to secure it.
- Add Closures: The very last step is to sew on the button and create the corresponding buttonhole.
Optional Belt Loops
If you wish to add belt loops to your finished Viola Skirt, you can self-draft a pattern piece.
The recommended dimensions for the self-drafted pattern are 1.5″ by 2.5″ to accommodate a belt that is 1.5″ wide.
Download Free PDF:


