

Pattern Description:
The Tessuti apron is a free, one-size, cross-back tunic-style apron designed for beginners. It features a square neckline, wide straps, and a large front pocket, combining style and practicality.
Ideal for cooking, crafting, or gardening, it is easy to sew, versatile, and customizable, making it a perfect quick project for anyone looking to create a functional yet stylish apron.
Materials Needed & Measurements:
- Fabric: Medium-weight cotton, linen, or denim (60″ wide fabric recommended)
- Notions: Matching thread
- Pattern: Free PDF download
- Size: One size fits most
- Seam Allowances: Included in the pattern
- Optional: Additional fabric for pocket customization
Instructions for Making the Tessuti Apron Pattern:
1. Prepare Your Materials
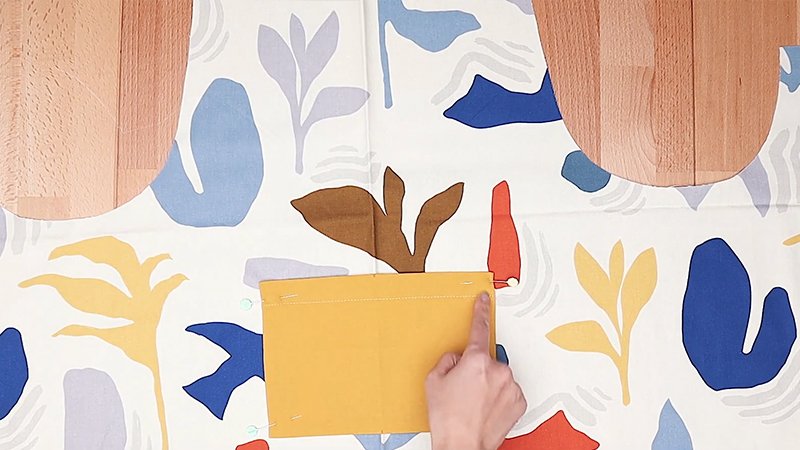
Start by gathering all your materials: medium-weight cotton, linen, or denim fabric, matching thread, scissors, pins, and your printed apron pattern.
Ensure your pattern pieces are accurately cut from the PDF, and double-check that seam allowances are included.
2. Cut the Fabric
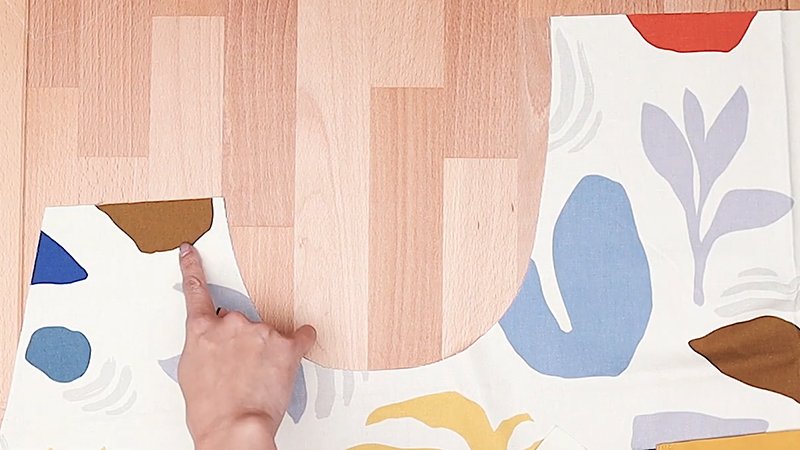
Lay your fabric flat on a large surface and fold it as needed according to the pattern instructions. Place the apron pattern on the fabric and pin it securely.
Cut carefully along the pattern lines, ensuring straight edges for neat seams. Remember to cut the pocket piece if you plan to include it.
3. Sew the Front and Back Panels
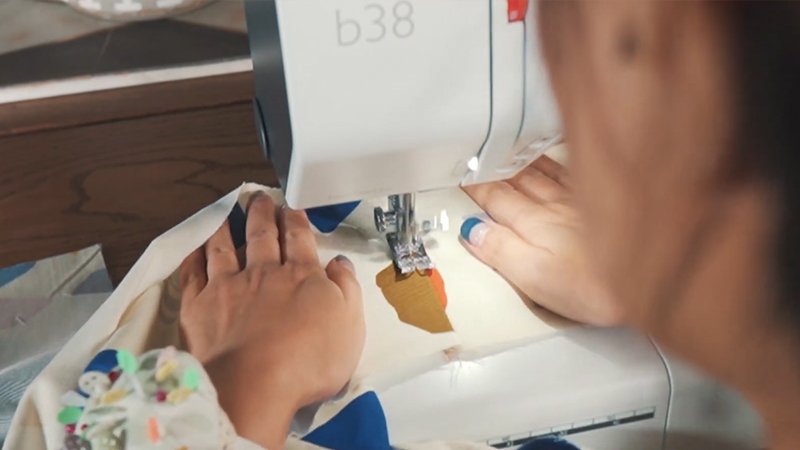
If your apron has a center seam for customization, stitch the front and back panels together along this seam first. Otherwise, proceed to finish the edges.
Use a straight stitch along the seam line and press the seam allowances open with an iron to create a smooth finish.
4. Attach the Straps
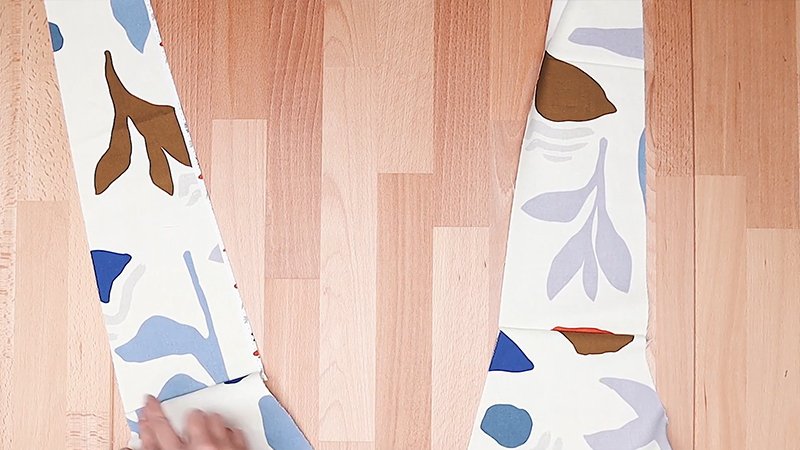
Take the wide cross-back straps and attach them to the top of the apron’s front panel. Align the straps according to the pattern markings.
Secure them with pins, then stitch them in place using a straight stitch. Make sure the straps are even to ensure a comfortable fit.
5. Finish the Neckline and Armholes

Fold the edges of the neckline and armholes by ¼ inch, then fold again to encase the raw edges.
Pin and stitch close to the fold to create a clean finish. Press the edges with an iron to maintain a crisp, professional look.
6. Add the Pocket
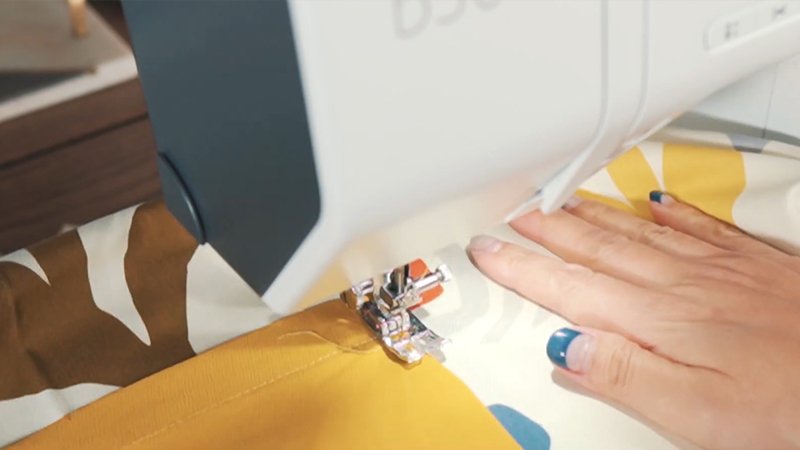
Position the pocket on the front panel, centering it according to the pattern. Fold the edges of the pocket under by ¼ inch, then fold again.
Pin in place and stitch around the edges, leaving the top open. Reinforce the top corners with small backstitches for durability.
7. Hem the Bottom Edge
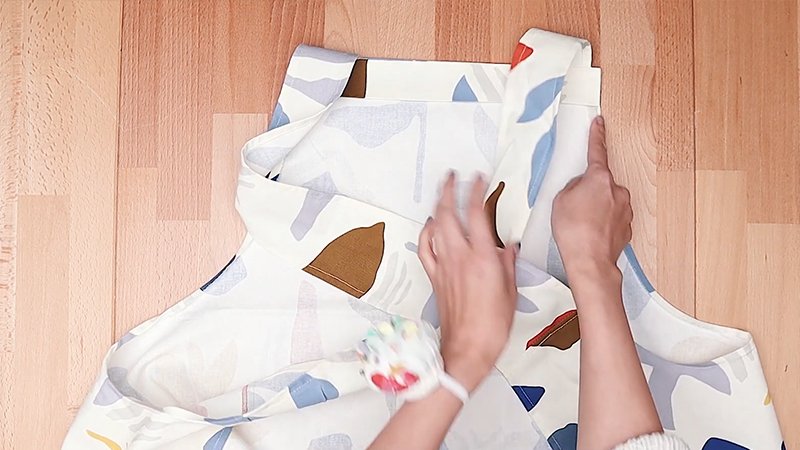
Fold the bottom edge of the apron under twice, about ¼ inch each time, to create a narrow hem.
Pin and sew along the fold with a straight stitch. Press the hem to keep it flat and give the apron a neat, finished appearance.
8. Final Touches

Inspect all seams and hems to ensure they are secure and even. Trim any loose threads and press the entire apron with an iron. Adjust the straps if necessary for a better fit, and your apron is ready to wear.


