Pattern Description:
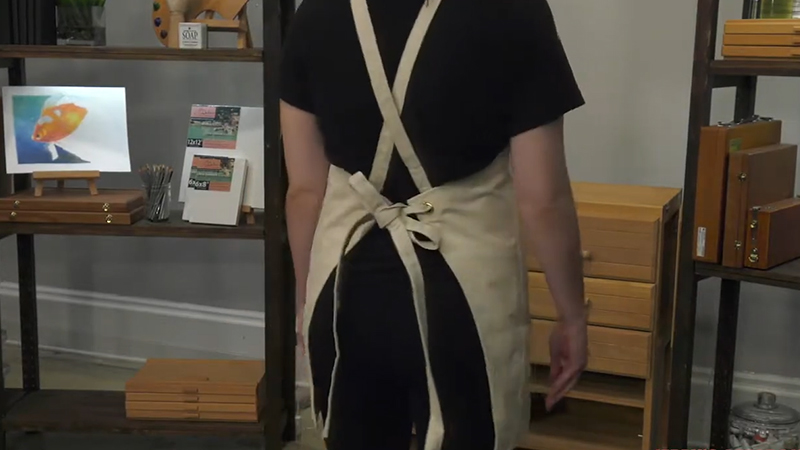
This simple sewing project provides a pattern to make a cross back apron for women. It is a highly requested project that includes a cut list, pocket placement guide, and video tutorial.
The pattern offers optional ruffles, with measurements provided for both ruffle and no ruffle designs. The resulting garment is described as cute and practical.
Materials Needed & Measurements:
Materials and Equipment
- Fabric: 2 yards of linen fabric are needed for the apron. The author previously used a 55% linen 45% cotton blend, noting it is less expensive than 100% linen and works similarly. Kaufman Essex Yarn Dyed Linen on Amazon is a recommended option.
- Equipment: A sewing machine is required.
Cross Back Apron Pattern Cut List
You will need two yards of fabric in total for this project.
| Piece | Ruffle Option Measurements | No Ruffle Option Measurements | Quantity to Cut |
| Main piece | 41″ wide by 28″ long | 41″ wide by 35″ long | 1 |
| Ruffle (Optional) | 62″ long by 8″ | N/A | 1 (If using ruffle option) |
| Straps | 21″ long 7.5″ wide | 21″ long 7.5″ wide | 2 |
| Pockets | 10″ by 10″ | 10″ by 10″ | 2 |
Instructions for Making the Cross Back Apron Pattern:

Prepare the Straps
To prepare the straps, take one 21″ by 7.5″ strap piece and fold it in half lengthwise. Sew the raw edges together all the way down the long edge using a half-inch seam.
Next, turn the strap piece right side out so that the raw edges and the seam are hidden inside. This can be accomplished by placing a large safety pin on one end and fishing it through to the other end. Press the strap flat with an iron to ensure the seams lie flat.
Finally, topstitch on both long edges of the strap, the folded edge and the side with the seam, and repeat this process for the other strap piece.
A topstitch is a stitch sewn close to the original seam, visible on the finished project, used to help a seam lay flat.
Prepare the Pockets
Start with a 10″ by 10″ pocket piece. Press one edge over one half inch, and then press it another half inch, to completely hide the raw edge inside.
For the remaining three edges of the square piece, press them over one inch. Sew the spot that was pressed over twice to create a hem; this will form the top of the pocket.
Leave the other three edges un-sewn, as they will be directly attached to the main apron piece. Repeat these steps for the second pocket piece.
Prepare the Main Piece of the Apron
Instructions vary slightly based on whether the ruffle option is used:
Ruffle Option:
If opting for the ruffle design, press the two short edges (28″) and one long edge (41″) over one half inch, and then another half inch, to hide the raw edges inside.
Do not press the remaining long edge, as this is where the ruffle will be attached. Sew down the two short sides with a half-inch seam. Leave the top pressed edge open for now, as the straps will be placed there.
No Ruffle Option:
If choosing the no-ruffle design, press all four sides over one half inch, and then another half inch, to hide the raw edges inside.
Sew down the two short sides and one long side with a half-inch seam. Leave the top pressed edge open, as this is where the straps will be placed.
Prepare the Ruffle (If Adding)
If you plan to add the ruffle, press one long edge of the ruffle piece over one half inch, and then press it over another half inch, to hide the raw edge inside.
Sew the area you pressed with a half-inch seam to create a finished hem. Then, sew a gather stitch along the other (non-hemmed) long edge. The ruffle attachment will occur later in the process.
Strap Placement
Take one prepared strap and pin it 13.5″ from the side hemmed edge of the main apron piece. Place this strap underneath the pressed top edge of the main piece (the edge that was left un-sewn earlier).
Pin the other strap piece 13.5″ from the opposite edge. The two straps should be spaced about 6″ apart. Sew the strap pieces in place.
Although the straps initially face down toward the main apron piece, flip them up, away from the apron, and sew close to the top of the apron to ensure they stay put.
Next, turn the apron over. Take the strap on the left, crisscross it over, and pin it to meet the outside edge of the main apron piece on the opposite side.
Repeat this step with the strap on the right, crisscrossing it over to the other outside edge. Sew the straps that are lined up with the outside edge in place.
Flip these straps up, away from the main apron piece, and sew along the top to keep them upright.
Pocket Placement
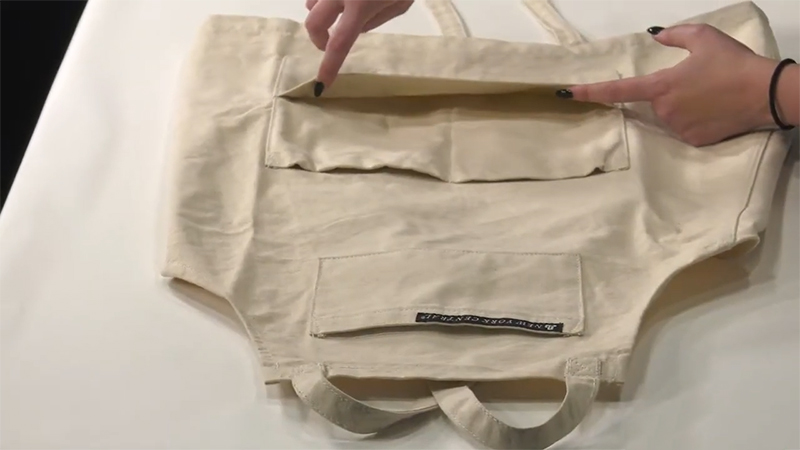
Place the hemmed top of the pocket 14″ down from the hemmed top of the main apron piece. Line up the side of the pocket 10″ from the hemmed outside edge of the main apron piece. Repeat this placement for the other pocket.
The two pockets should be positioned 2 and 3/4″ apart. Sew around the three sides of the pocket, remembering to leave the hemmed edge (the top of the pocket) open.
Attaching the Ruffle (Optional)
If you selected the ruffle option, attach it to the bottom (raw edge) of the apron. Pull the gathering strings that were previously sewn into the ruffle piece until its length matches the width of the apron.
Pin the ruffle in place, right sides together. Sew all the way down to attach the ruffle to the apron. Finish the raw edges using a serger or a zigzag stitch.
Download Free PDF:


