Pattern Description:
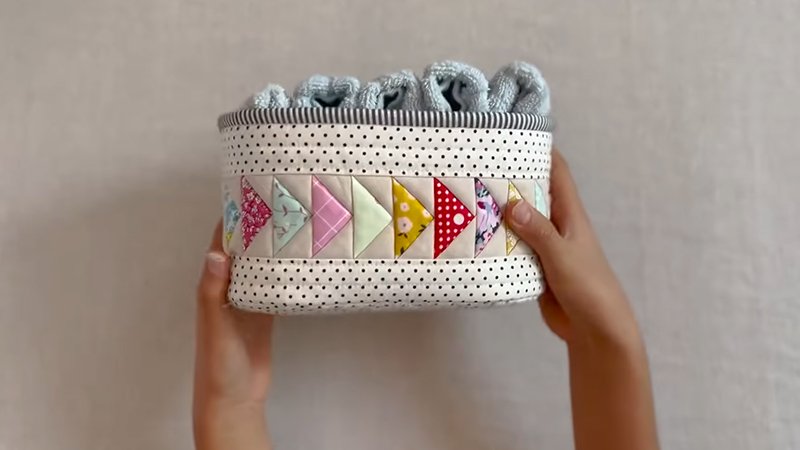
The Big Flying Geese Tote Bag is a large, durable, and stylish bag perfect for the beach, yoga class, or groceries.
Inspired by the flying geese quilt block design, this tote combines modern geometry with practical sewing techniques. The finished bag features a roomy interior, sturdy straps, and useful inside pockets.
Materials Needed & Measurements:
Materials Needed
- Main Fabric: Two coordinating 1-yard pieces of cotton canvas (quilting cotton can be used for a lighter bag).
- Interfacing: ¾ yard of 809 Decor Bond interfacing by Pellon.
- Thread: Coordinating color.
- Other Supplies: Fabric marking pen, iron, pins, and sewing machine.
Cutting Measurements
| Material | Item | Measurement / Quantity |
| Main Fabric | Squares | 2 squares, 20″ |
| Straps | 2 pieces, 6½” × 40″ | |
| Accent Fabric | Squares | 2 squares, 20⅞” (cut each in half diagonally) |
| Pockets | 2 pieces, 12½” × 20″ | |
| Interfacing | Squares | 2 squares, 20″ (cut each in half diagonally) |
Instructions for Making the Flying Geese Tote Bag Pattern:
Step 1: Cutting and Interfacing
- Cut both accent fabric squares (20⅞”) diagonally to make four triangles.
- Cut two interfacing squares (20″) and cut them diagonally as well.
- Fuse the interfacing to two of the accent triangles, leaving about ¼” margin around all sides.
- Fold each 20″ main fabric square diagonally and press to form a crease.
- Fuse one interfacing triangle along the fold of each main square (the long edge of the triangle should align with the fold).
The interfaced sides are the exterior, and the non-interfaced sides will be the lining.
Step 2: Making and Attaching the Straps
- Fold each 6½” × 40″ strap piece in half lengthwise and press.
- Open the fold, then press both long raw edges inward to meet the center crease.
- Re-fold and press again to make a 1½” wide strap.
- Topstitch close to both long edges for a professional finish.
Attach the straps:
- Place one main fabric square with the interfaced side up and the crease at the top.
- Measure 12½” in from each top corner and mark.
- Pin the straps so they are perpendicular to the crease, with the ends aligned just outside your markings.
- Sew the straps to the exterior, stitching directly on top of the previous topstitching from the crease down to the bottom edge.
- Trim away any small triangle of fabric extending past the bottom edge.
Step 3: Creating the Pockets
- Fold each 12½” × 20″ pocket piece in half lengthwise, right sides together.
- Stitch the long edge using a ¼” seam allowance, forming a 6″ × 20″ tube.
- Turn right side out, press flat, and topstitch along the folded (seamed) edge.
- On the lining side (non-interfaced) of each main fabric square, position the pocket piece 10″ from the bottom corner, parallel to the diagonal crease.
- Pin and stitch along the bottom edge of the pocket.
- Flip the square over and trim excess fabric extending beyond the triangle shape.
- Baste the sides of the pocket within the ¼” seam allowance.
- Use a marking pen to divide the pocket into smaller sections if desired, then stitch along those lines.
Step 4: Assembling the Exterior and Lining
Use a ¼” seam allowance unless stated otherwise.
- Lining Assembly:
- Pin and sew one non-interfaced accent triangle to one non-interfaced main square (lining side), right sides facing.
- Align long edges; the point of the triangle will extend slightly beyond the square.
- Press the seam toward the triangle.
- Repeat with the other triangle on the opposite side.
- Exterior Assembly: Repeat the same steps using the interfaced triangles and interfaced main square (exterior side).
Now you have two large triangular units, one exterior and one lining.
Step 5: Joining the Triangles
- Place the two large triangles right sides together, aligning center seams.
- Pin carefully from the center outwards.
- Stitch the seam, joining the two triangles to form a parallelogram shape.
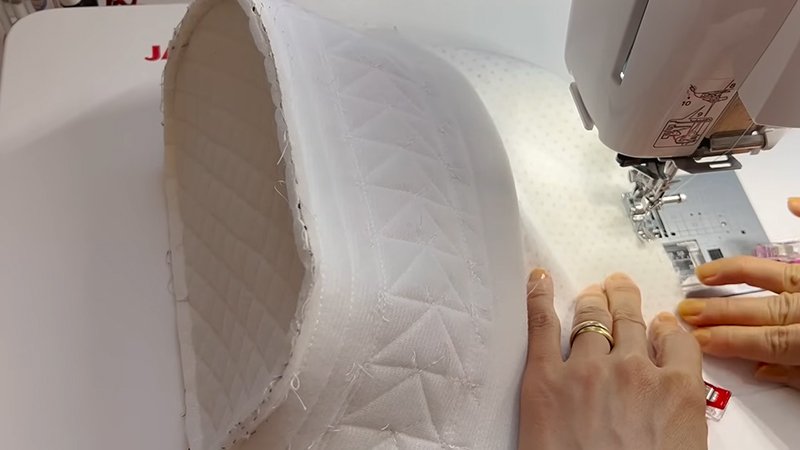
Step 6: Forming the Bag Body
- Pin the side edges of the parallelogram together, matching interfaced to interfaced and non-interfaced to non-interfaced sides.
- Stitch to form a large tube shape.
- For the exterior (interfaced) side, stitch across the bottom edge using a ½” seam allowance, then stitch again within the seam allowance for strength. Trim off small corner triangles.
- On the lining side, measure 8-10″ from each corner along the bottom edge and mark.
- Sew across the bottom using a ½” seam allowance, but leave the section between marks open for turning later.
Step 7: Boxing the Corners
- Flatten each corner of the bag so that the bottom seam aligns with the side seam.
- Measure and mark a 4″ line across each corner.
- Stitch across the line, then trim the excess corner fabric to leave a ¼” seam allowance.
- Repeat this for all four corners (two exterior and two lining).
Step 8: Finishing the Bag
- Turn the bag right side out through the opening in the lining.
- Push the lining inside the bag, ensuring corners are smooth and straps are on the outside.
- Press the top edge neatly and pin all around.
- Stitch around the top of the bag ¼” from the edge to secure the lining.
- Hand-stitch or machine-stitch the turning opening closed.
Final Touch
Press the entire tote for a crisp finish. The resulting Flying Geese Tote Bag is spacious, functional, and visually striking, ideal for carrying everything from beach towels to groceries while showing off your quilting flair.