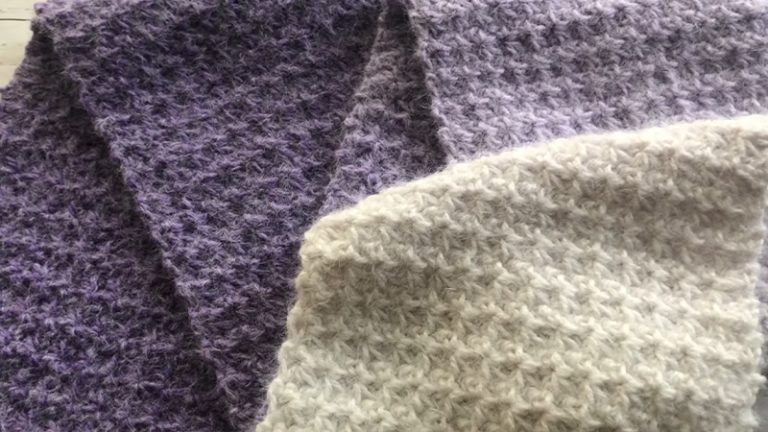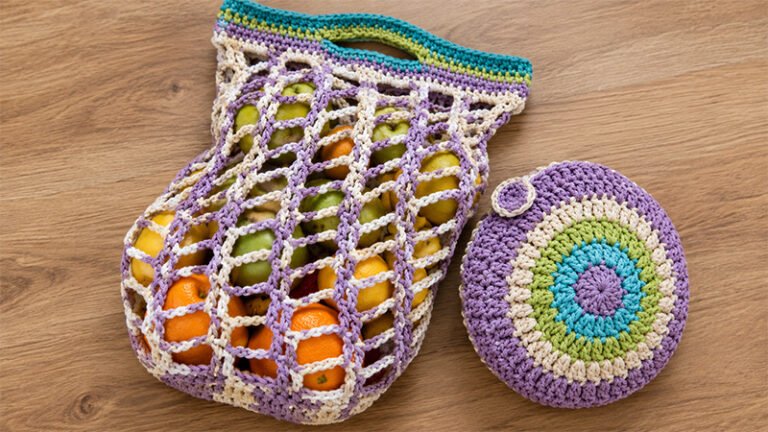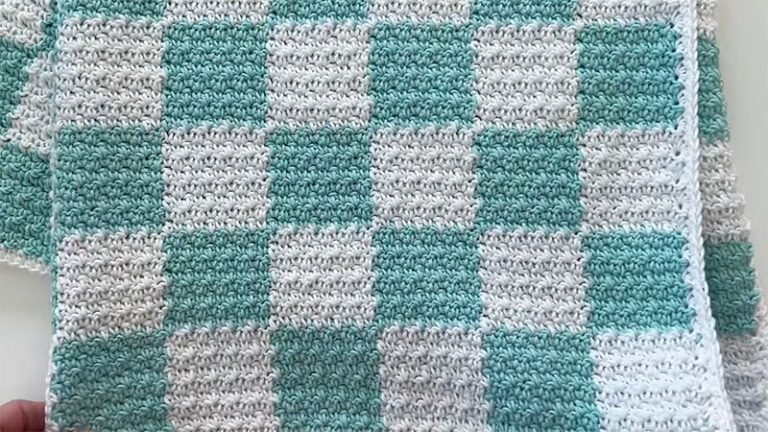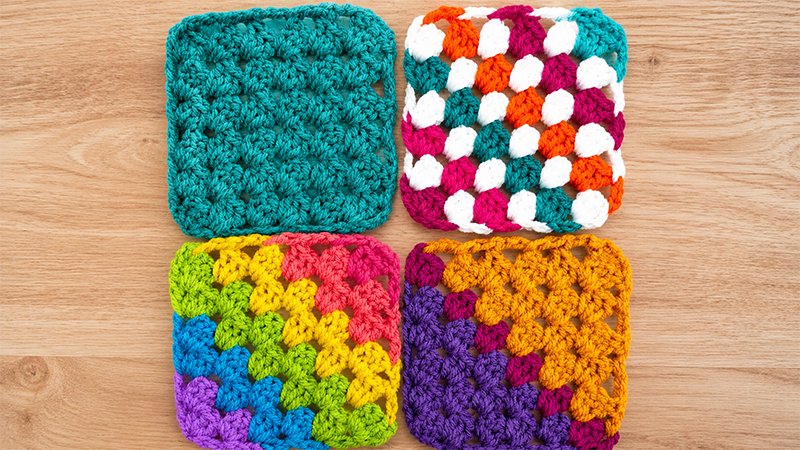
The Corner-to-Corner (C2C) Granny Stitch is a gorgeous, texture-rich technique that allows you to crochet diagonally from one corner of your project to the other.
Instead of working in traditional long rows, you build clusters of stitches that grow into a square or rectangle. It is a fantastic choice for blankets, washcloths, and statement pillows.
Master Material List
-
Yarn: Any weight of your choice (Medium/Aran weight #4 works beautifully for beginners).
-
Hook: A crochet hook sized to match your chosen yarn (e.g., a 5.5 mm / I-9 hook for Aran yarn).
-
Tools: A tapestry needle for weaving in loose ends and scissors.
Pattern Notes & Terminology (US Terms)
-
Ch: Chain
-
Dc: Double Crochet
-
Sl St: Slip Stitch
-
Sp / Sts: Space / Stitches
-
Sk: Skip
-
Granny Cluster: A grouping of 3 double crochet stitches worked into the exact same space.
-
Turning Chains: Initial chains at the start of rows create the necessary height and function as your border spaces for subsequent rows.
Step-by-Step Tutorial
Part 1: The Increasing Phase
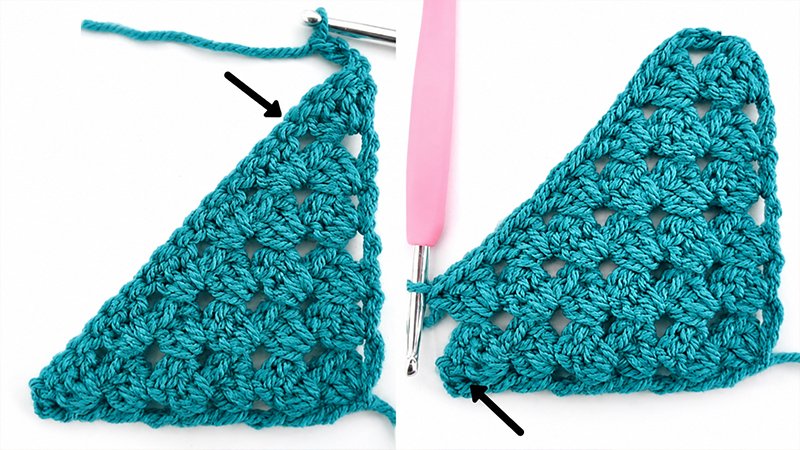
In this section, your work will expand dynamically along two sides, forming a triangle that will eventually become half of your finished square.
Row 1 (The Foundation Corner)
-
Begin by making a slip knot and working a Ch 5. This sequence creates your initial turning space and base.
-
Locate the very first chain you made (the furthest from your hook). Work 4 Dc directly into that first chain.
-
Row Total: You will have 1 starting chain-loop and a cluster of 4 Dc.
Row 2 (The First Expansion)
-
Ch 4 and turn your work. This creates your outer border space.
-
Look closely at the stitches from Row 1. Insert your hook into the immediate space between the first and second double crochet stitches. Work 3 Dc into this gap.
-
Skip over the next 3 stitches.
-
To finish the row, work 4 Dc directly into the open chain-loop space created at the very start of Row 1.
-
Row Total: 2 distinct clusters (8 Dc total) and a border chain space.
Row 3 (Building Width)
-
Ch 4 and turn your piece.
-
Work 3 Dc into the gap between the first and second stitches of the previous row.
-
Skip the next 3 stitches. Find the natural gap between this cluster and the next one. Work 3 Dc into that space.
-
Skip the next 3 stitches, and work 4 Dc into the final turning chain space at the edge.
-
Row Total: 3 clusters (11 Dc total).
Row 4 (Establishing the Growth Pattern)
-
Ch 4 and turn.
-
Work 3 Dc in the space between the first 2 stitches.
-
The Repeat: [Skip 3 stitches, then work 3 Dc into the next open space between clusters.] Repeat this sequence across the row until you reach the final cluster.
-
To finish, skip the last 3 stitches and place 4 Dc into the final border chain space.
-
Row Total: 4 clusters (14 Dc total).
Continuing Your Square: To make your project larger, simply keep repeating the Row 4 instructions. Each row you complete will naturally add one additional granny cluster to your stitch count. Continue until the straight edges match the exact width you want for your finished project.
Part 2: The Decreasing Phase
Once your project reaches its widest point, it is time to taper the edges back inward to form the second half of your square.
Row 7 (Initiating the Decrease)
-
Ch 3 (this creates a flat side edge rather than an expanding loop) and turn your work.
-
Skip the first 4 double crochet stitches entirely.
-
Insert your hook into the space right after that fourth stitch and work 3 Dc.
-
The Repeat: [Skip 3 stitches, then work 3 Dc into the next space between clusters.] Repeat this sequence across until only 4 stitches remain at the end of the row.
-
Skip 3 stitches, and finish by placing just 1 Dc into the final chain space. This creates a clean, straight border.
Row 8 (Maintaining the Decrease)
-
Ch 3 and turn.
-
Skip the first 4 stitches. Work 3 Dc into the first open gap between clusters.
-
The Repeat: [Skip 3 stitches, then work 3 Dc into the next space.] Repeat across until you hit the last cluster.
-
Skip 3 stitches, and work 1 Dc into the small space between the final two stitches of the previous row.
Rows 9 & 10 (Closing the Square)
-
Repeat the exact steps from Row 8. You will notice that your rows are getting progressively shorter, reducing by one cluster each time.
Row 11 (The Final Clusters)
-
Ch 3 and turn.
-
Skip the first 4 stitches, work 3 Dc into the central gap.
-
Skip the next 3 stitches, and work 1 Dc into the final space between the last two stitches.
Row 12 (Finishing the Corner Point)
-
Ch 3 and turn your work.
-
Skip the first 4 stitches, and secure the point by working 1 Sl St into the final space between the last two stitches.
-
Fasten off your yarn and weave in all loose ends securely with your tapestry needle.