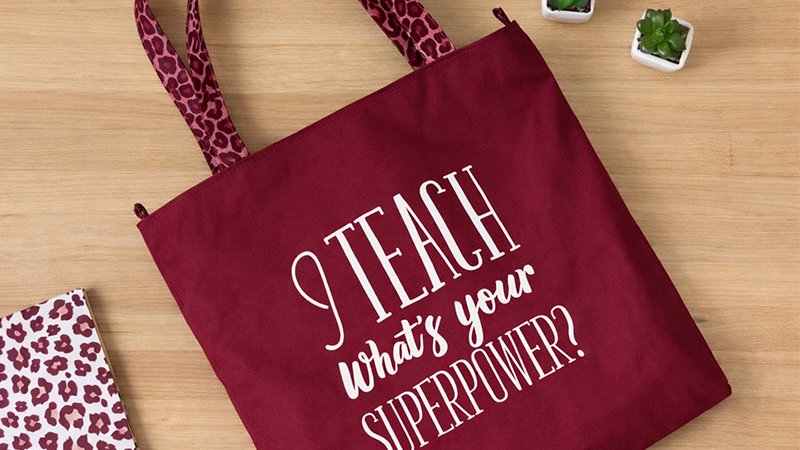
Whether you’re making a thoughtful Teacher Appreciation gift, an end-of-year surprise, or simply creating something useful and beautiful, this tote bag is a perfect project.
It’s designed to be quick, practical, and durable—ideal for carrying books, papers, and everyday essentials.
What makes this tote special is its no-lining construction, which saves time while still producing a sturdy, professional finish. It’s also fat quarter-friendly, making it a great way to use your favorite fabrics.
Materials & Supplies
Before you begin, gather everything you’ll need:
Fabric
- 1/2 yard canvas or duck cloth (8–10 oz recommended)
→ This forms the main body and gives the bag structure without needing a lining - 1/3 yard quilting cotton OR 2 fat quarters
→ Used for straps, zipper panel, and tabs
Notions
- 1 zipper (18” or longer)
→ Handbag zippers are easiest to sew with - Cotton batting or fusible fleece scraps
→ Adds padding and strength to straps - Fabric marking pen or chalk
- Wash-away Wonder Tape (optional but highly recommended)
Tools
- Sewing machine (walking foot optional but helpful)
- Rotary cutter or scissors
- Pins or clips
- Thread
- Iron and ironing board
Cutting Instructions

Take your time here—accurate cutting makes sewing much easier.
From Canvas/Duck Cloth
- Cut 2 pieces: 18” x 18”
Optional: Add embroidery or decoration now before assembling.
From Quilting Cotton
- Straps: 2 pieces → 5” x 22”
- Zipper Panel: 2 pieces → 5” x 18”
- Tabs: 2 pieces → 2½” x 4”
From Batting/Fleece
- 2 strips → 1” x 22”
Step 1: Make the Straps and Tabs

Straps
- Take a 5” x 22” strip and fold it lengthwise in half, wrong sides together. Press.
- Open it, then fold both long edges inward to meet the center crease. Press again.
- Place the 1” batting strip inside along one side.
- Fold the strap closed again.
- Topstitch along both long edges (about ⅛” from the edge).
Finished width: approx. 1¼”
Tabs
- Take the 2½” x 4” pieces.
- Fold in half (short ends together), press.
- Fold long edges inward like the straps.
- Fold closed and topstitch.
Finished size: approx. 1¼” x 2½”
Set aside.
Step 2: Construct the Bag Body

Using a ½” seam allowance:
- Place the two canvas squares right sides together.
- Sew:
- Both side seams
- Bottom seam
- Finish raw edges using:
- Serger OR
- Zigzag stitch
Box the Corners (Create Depth)
- At each bottom corner, draw a 1½” square.
- Cut out the squares.
- Pinch the corner so the side seam and bottom seam align.
- Sew across the opening.
- Finish edges.
Repeat for both corners.
Step 3: Attach the Straps
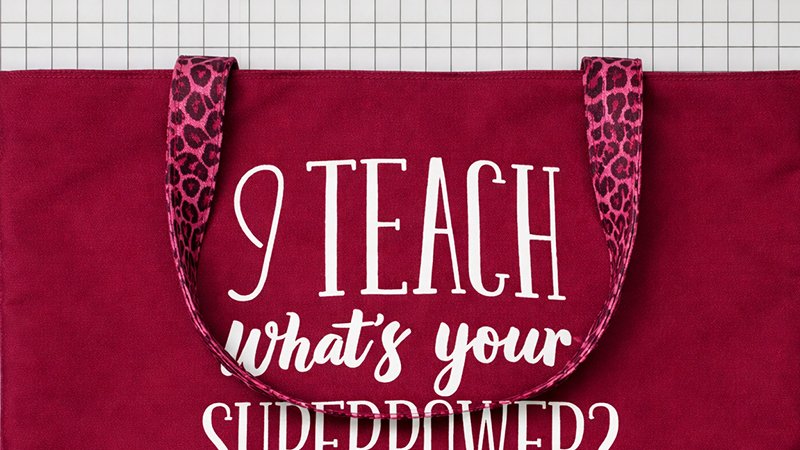
- Turn the bag right side out.
- Measure and mark:
- 4” in from each side seam along the top edge
- Position strap ends:
- Centered over the marks
- Raw edges aligned with the top of the bag
- Stitch across each strap end (~¼” from the top edge) to secure.
Step 4: Create the Inset Zipper Panel
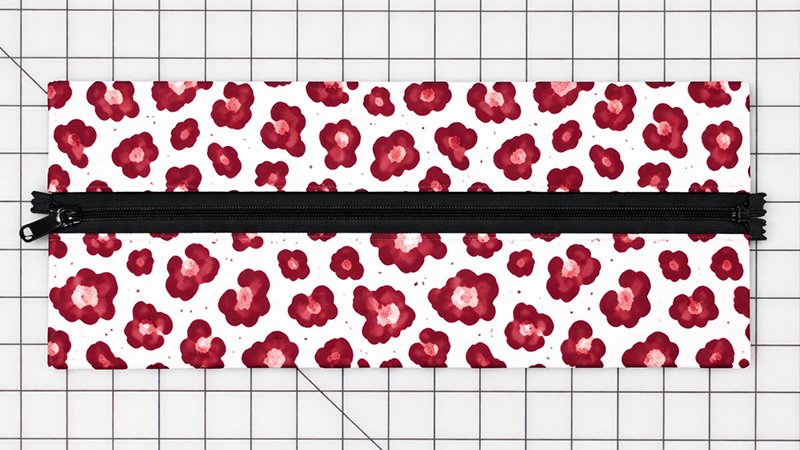
This method makes zipper installation much easier.
Prepare Panel Pieces
- Fold each 5” x 18” strip in half lengthwise (wrong sides together).
- Press → now 2½” x 18”
Marking
- On the folded edge, mark 1¼” from each end
Attach Zipper
- Apply Wonder Tape along both sides of the zipper.
- Stick the folded fabric edges to the zipper tape.
- Topstitch along folded edges:
- Start and stop exactly at the 1¼” marks
Repeat for both sides.
Finish Ends
- Open fabric ends.
- Pin ends right sides together.
- Sew across using ½” seam allowance.
- Press seam open.
Shape the Ends
- Fold ends so seam sits over zipper teeth.
- Draw a line 1” above the bottom corner.
- Stitch across.
- Trim the excess zipper.
Attach Tabs
- Fold tabs in half.
- Pin to zipper panel ends.
- Stitch down (¼” from edge).
Step 5: Final Assembly
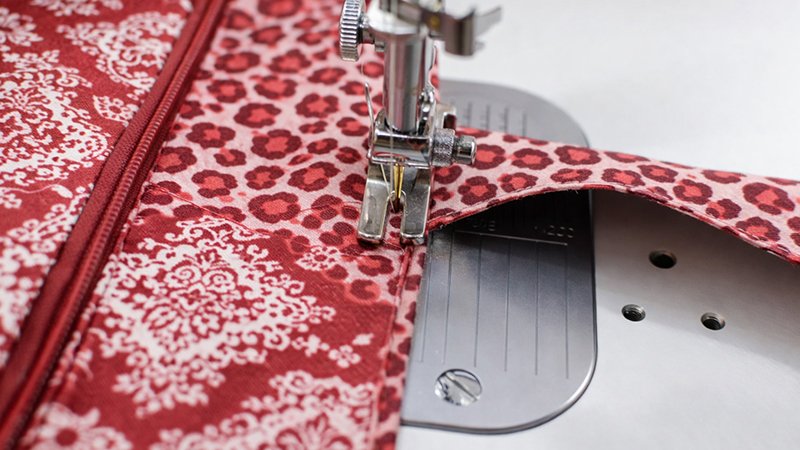
Important: Open the zipper halfway before sewing!
Attach Panel to Bag
- Turn the bag wrong side out.
- Insert zipper panel inside:
- Right sides facing
- Match:
- Side seams
- Tabs aligned at seams
- Pin all around.
Sew
- Stitch around the top edge using ½” seam allowance
- Finish seam with zigzag or serger
Turn & Finish
- Turn the bag right side out through the zipper.
- Push the zipper panel inside neatly.
- Press the top edge.
- Topstitch around the entire top edge.
Customization Ideas
- Add embroidery or vinyl designs before assembly
- Use bold prints for straps and subtle canvas for the body
- Try contrast stitching for a modern look
- Add interior pockets (optional modification)
Why You’ll Love This Tote
- No lining required → faster sewing
- Strong and durable
- Beginner-friendly zipper method
- Large capacity
- Great for gifting
This tote is not just for teachers—it’s perfect as a work bag, library tote, or everyday carry-all. Once you make one, you’ll likely want to make many more.
Happy sewing! 🧵