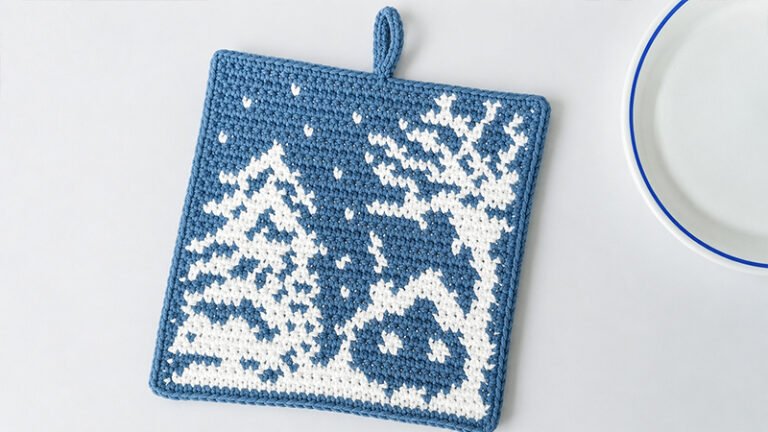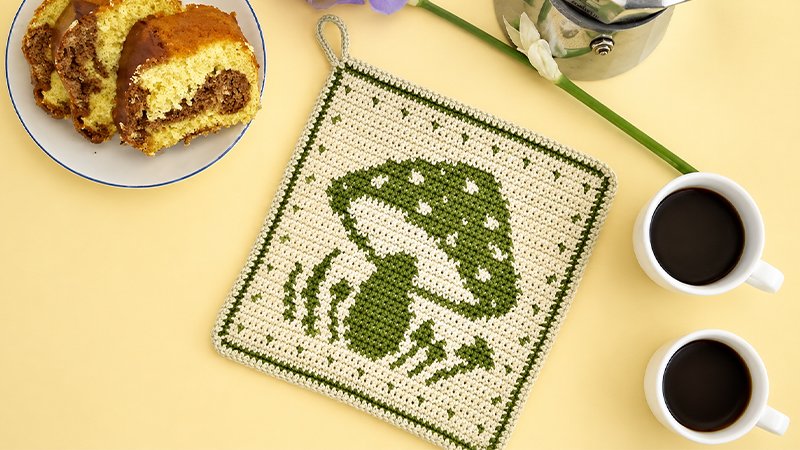
This project uses tapestry crochet, a technique where you carry the non-working yarn along the top of your stitches and encase it as you work. This creates a thick, double-sided fabric perfect for keeping your hands safe from hot pans.
The main body is worked flat in rows using basic single crochet stitches, followed by a two-round border and an integrated hanging loop.
Materials Needed
-
Hook: 3.0 mm (US C/2) crochet hook.
-
Yarn: DK weight (Light, Category 3) 100% cotton yarn in two contrasting colors. Cotton is essential because synthetic fibers like acrylic can melt when exposed to heat.
-
Color A (Main/Background): A creamy or neutral shade (~55 yards).
-
Color B (Pattern/Mushroom): A deep contrasting shade like brown or red (~35 yards).
-
-
Tools: Tapestry needle for weaving in ends and scissors.
Sizing & Gauge
-
Finished Size: Approximately 6.7 inches wide by 7.3 inches tall.
-
Gauge: 28 single crochets by 26 rows equals a 4×4 inch square. Matching gauge ensures your potholder ends up perfectly square and tight enough to insulate heat.
Key Techniques & Abbreviations
-
Ch: Chain
-
Sc: Single Crochet
-
Sl St: Slip Stitch
-
RS / WS: Right Side / Wrong Side of the fabric.
-
Color Changes: To change colors cleanly, begin your single crochet with the current color. When you have two loops left on your hook, drop the current color, yarn over with the new color, and pull it through both loops to complete the stitch.
Step-by-Step Pattern Instructions
The Main Body (Rows 1–45)
Note: The turning chain 1 at the start of each row counts as your very first stitch and is always worked in Color A. Every row maintains a strict count of 45 stitches.
-
Foundation: Using Color A, create a loose chain of 46.
-
Rows 1–2 (Base Border): Turn and single crochet across using only Color A. This builds a solid neutral base.
-
Row 3 (Accent Row): Introduce Color B to create a series of small, evenly spaced decorative dots across the row (1 stitch of B separated by 4 stitches of A).
-
Rows 4–5 (Transition): Return to solid Color A single crochets to frame the dots.
-
Rows 6–15 (The Mushroom Stem & Grass): Follow the color instructions to map out the base of your design. Color B will begin forms that mimic a natural landscape and the thick stem of the mushroom.
-
Rows 16–38 (The Mushroom Cap): The pattern shifts to expand Color B across the center rows, forming the wide, protective cap of the mushroom. Keep your tension even so the carried yarn doesn’t bunch.
-
Rows 39–42 (Top Transition): As the mushroom design finishes, mirror the bottom by working rows of solid Color A.
-
Row 43 (Accent Row): Replicate the decorative dotted line from Row 3 using Color B.
-
Rows 44–45 (Top Border): Finish the main body with two final rows of solid Color A.
Adding the Border & Hanging Loop
Once the main body is complete, you will transition into working in continuous rounds to seal the edges and add a functional loop.
-
Round 1 (The Frame): Switch to Color B. Work 45 single crochets evenly down each of the four sides of the potholder. To seamlessly turn the corners, work 1 single crochet, chain 1, and work 1 single crochet into the very corner stitch before moving down the next side. Slip stitch to the first stitch to close.
-
Round 2 (Textured Edge): Switch back to Color A. Create a delicate, textured edge by working a sequence of (1 slip stitch, chain 1) into every single stitch and corner space all the way around the perimeter.
-
The Hanging Loop: When you reach the top corner where you want your loop, single crochet into the corner space and chain 20. Secure the chain back into the same corner space with a single crochet. Turn your work, then fill the loop by crocheting 25 single crochets directly over the chain arch to make it thick and sturdy. Slip stitch back down into the corner space to anchor it.
Finishing Touches
Cut your yarn, leaving a short tail. Pull the tails through the final loops to fasten off. Using your tapestry needle, carefully weave the loose yarn ends into the dense tapestry stitches on the back side of the potholder so they are hidden and secure. Your handmade potholder is now ready for kitchen use.