- Skill Level: Intermediate
- Edging Style: Textured / Decorative
- Use On: Blankets, cardigans, scarves, baby items
Materials Needed:
- Yarn: Scheepjes Stone Washed (DK weight) – approx. 50g (or as needed for your project)
- Hook Size: 3.5 mm (E/4)
- Notions:
- Yarn needle
- Scissors
- Stitch markers (optional)
Stitches Used (US Terms):
- ch – chain
- sc – single crochet
- dc – double crochet
- BO (Bobble Stitch) – (Yarn over, insert hook into stitch, yarn over and pull up a loop, yarn over and draw through 2 loops) repeat 5 times in the same stitch, yarn over and draw through all 6 loops on hook, ch 1 to close bobble
- sl st – slip stitch
Measurements:
- Each repeat of bobble edging (approx. 4 stitches) measures about 0.5 inches (1.3 cm)
- Total length depends on the size of your project edge.
Pattern Notes:
- This edging is worked along one straight edge or around the entire piece.
- You can adjust the spacing between bobbles to make it more delicate or dense.
- For corners, you can add 2 bobbles with a chain-2 space between them.
Stitching Instructions for Making the Cute Bobble Edging Pattern:
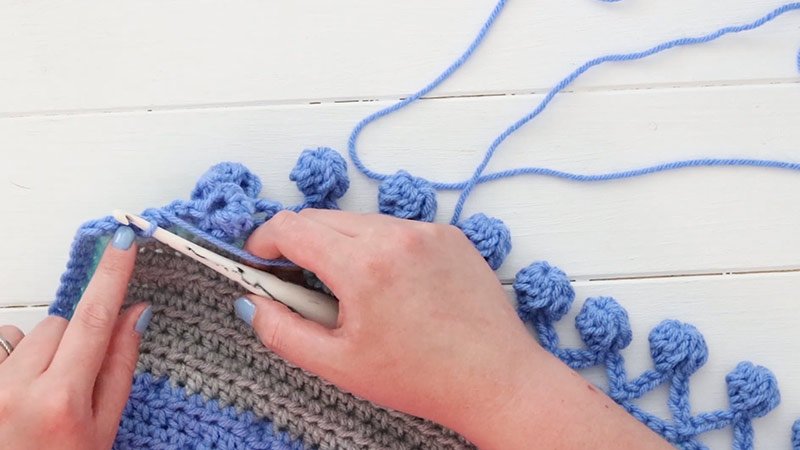
Join the Yarn:
- Begin by joining your yarn to the edge of your finished piece using a slip stitch. You can start at any point, but starting at a corner gives you more control if you’re working around the entire perimeter.
Foundation Row (Base Edge):
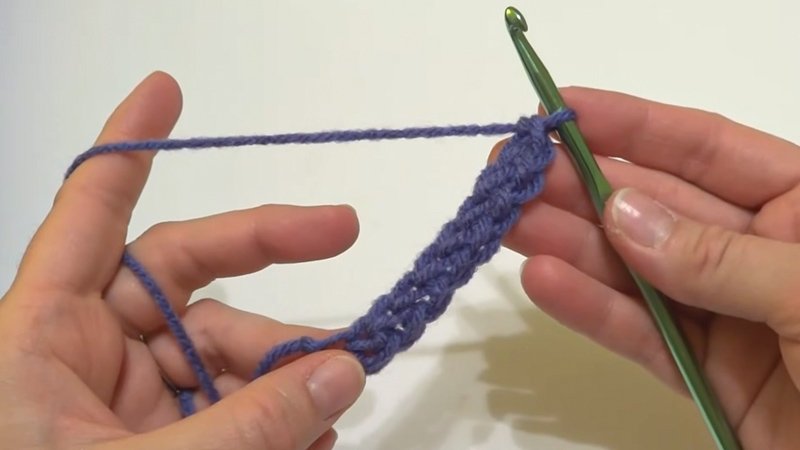
- Ch 1, and single crochet (sc) evenly across the edge of your project. This row provides a smooth, even surface for your bobbles to sit on.
- If working along row ends (like the side of a blanket or cardigan), place 1 sc per row end.
- If working along the top or bottom edge, place 1 sc in each stitch.
- Turn your work.
Optional Setup Row (For Extra Stability):
- Ch 1, sc in each stitch across to add an extra base before starting the bobbles. This helps especially if your project edge is a bit wavy or loose.
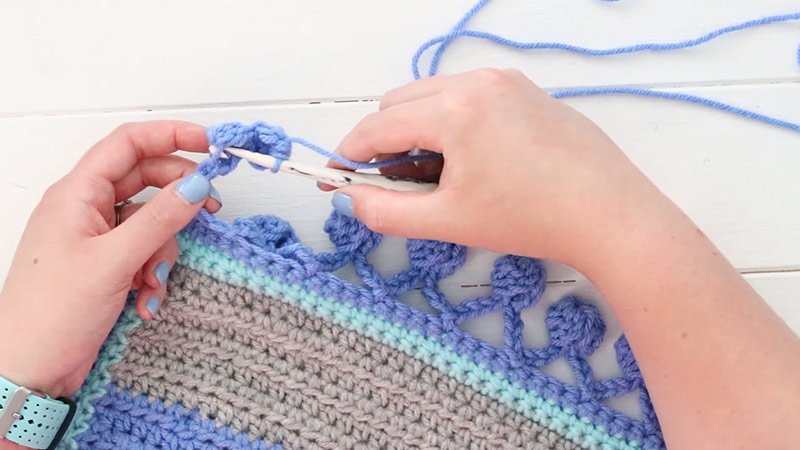
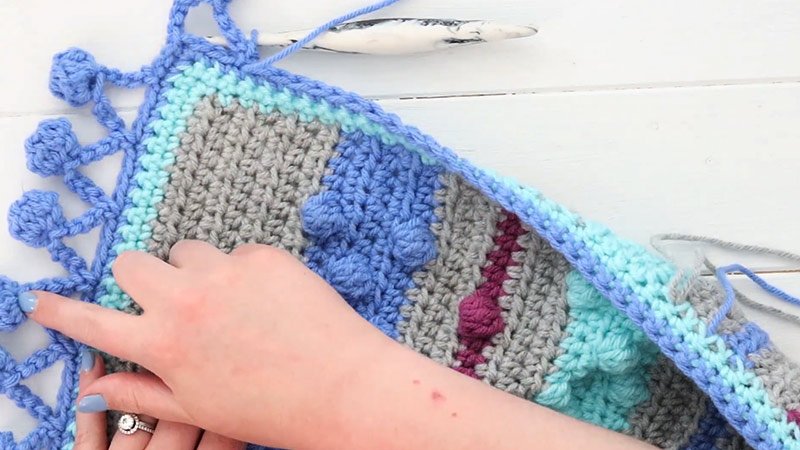
Bobble Edging Row (Main Design Row):
- Ch 1 (does not count as a stitch), begin the repeat pattern: sc in the first 2 stitches, bobble stitch (BO) in the next stitch, sc in the next 2 stitches.
- Repeat this sequence all the way across: sc in 2 sts, BO in next st, sc in 2 sts
- This gives a nice balanced rhythm of bobbles spaced evenly with simple stitches in between.
- Tip: Make sure you ch 1 after each bobble stitch to close it and keep the row level.
- If working around a corner, you can do: sc in the last st before the corner, BO in corner st, ch 2, BO in next corner st, continue the pattern. This keeps the edging from curling or tightening at the corners.
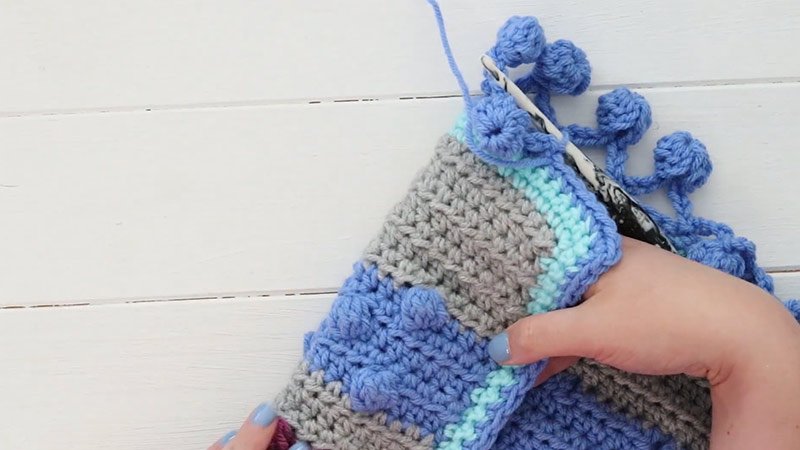
Finishing Row (Optional but Recommended):
- To give your edging a clean finish, ch 1 and sc in each stitch across, working 1 sc into the top of each bobble and each sc.
- This will help smooth out any unevenness caused by the height of the bobbles and create a professional look.
Fasten Off and Weave in Ends:
- Cut yarn, leaving a few inches. Use a yarn needle to weave in the ends neatly along the back of your work.
- If desired, gently block your project to let the bobbles puff out and the edges lay flat.
Helpful Tips:
- Don’t rush the bobble stitches – take your time to ensure each partial double crochet is the same tension for a consistent look.
- If your bobbles seem flat, try tightening the ch 1 that closes them to make them pop more.
- You can adjust the spacing (e.g., sc in 3, BO, sc in 3) to suit your style.
Download PDF