Pattern Description:
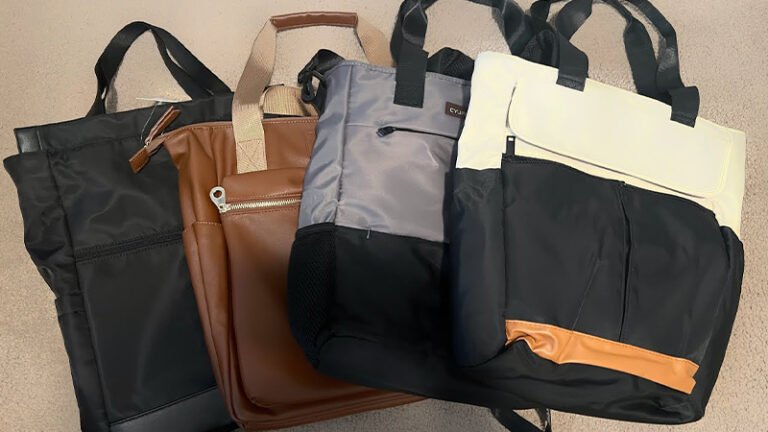
This free and easy sling bag pattern creates a daily use tote approximately 18” wide and 15” tall (not including the strap).
The design features an exterior zipper pocket, an interior zipper pocket, and two internal slip pockets.
The bag is typically made using quilting cotton or home decor-weight fabric, stabilized with fusible woven interfacing, resulting in a soft, supple feel.
Materials Needed & Measurements:
The following materials are needed to sew the easy sling bag:
| Item | Quantity/Measurement | |
| Fabric for the bag exterior (quilting cotton or home decor weight) | 1 \frac{1}{4} yards | |
| Fabric for the bag lining (quilting cotton or similar weight) | 1 yard | |
| Fusible woven interfacing (e.g., Pellon SF101) | 2 \frac{1}{2} yards, 20” wide | |
| Zippers | 2, 10” long or longer (such as ByAnnie Zipper By the Yard) | |
| Magnetic snap closure | 1, 14 mm or 18 mm | |
| Fabric marking pen or pencil | ||
| Seam ripper | ||
| Large safety pin | ||
| Thick interfacing or quilt batting | Enough for 2 circles about the size of a quarter |
Cutting Measurements
| Material | Pieces to Cut | Dimensions/Instructions | |
| Exterior Fabric | 2 pieces | Cut on the fold using the pattern template | |
| 2 rectangles (Strap) | 4” \times 38” | ||
| 1 rectangle (Exterior Zipper Pocket) | 16” \times 11” | ||
| 1 rectangle (Interior Slip Pocket) | 10 \frac{1}{2}” \times 13” | ||
| Lining Fabric | 2 pieces | Cut on the fold using the pattern template | |
| 1 rectangle (Interior Zipper Pocket) | 16” \times 11” | ||
| Fusible Woven Interfacing | 4 pieces | Cut on the fold using the pattern template | |
| 2 rectangles (Strap) | 4” \times 37” (or enough 4” strips to cover the strap pieces) |
Instructions for Making the Easy Sling Bag Pattern:
Preparation
Begin by pressing to adhere the fusible medium weight interfacing pieces to all corresponding bag pieces and strap pieces.
When adhering the interfacing to the strap pieces, place the interfacing strips 1/2” away from the short ends to reduce bulk. Next, sew across the ends of the zippers, if necessary, so that both ends stay closed.
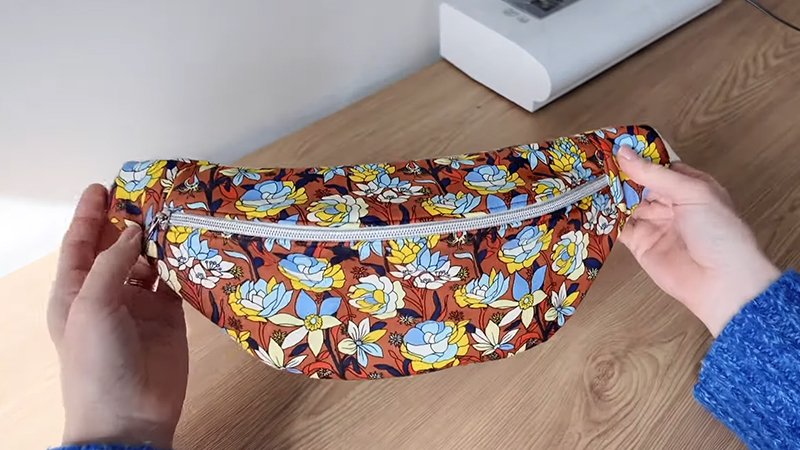
Make the Welt Zipper Pockets
Detailed instructions for sewing welt zipper pockets are required for this step.
- Draw the Rectangle: Working on the wrong side of the 16” \times 11” lining pocket piece, draw a 9” \times 1/2” rectangle.
The horizontal lines should be 1” and 1 \frac{1}{2}” away from the top edge, and the connecting vertical lines should be 1” away from each side edge.
- Sew the Opening: Pin the pocket piece to the lining piece, ensuring the right sides are facing.
The pocket piece should be centered, with its top edge 2” below the top U-shape edge of the lining piece. Sew around the drawn 9” \times 1/2” rectangle.
- Cut and Turn: Cut a slit down the middle of the rectangle, stopping 1/4” from each end, and then cut carefully to the corners without cutting the stitching.
Turn the pocket piece to the wrong side and press to achieve a flat, rectangular opening.
- Insert Zipper: Center the zipper under the opening on the lining piece (against the pocket piece), making sure the zipper slider is visible through the opening. Pin the zipper in place all the way around the opening.
- Stitch Zipper: Sew all the way around the opening, 1/8” from the edge.
- Finish Pocket: Turn the bag lining piece over. Fold the bottom of the pocket piece up to meet the top edge. Pin the three pocket edges together and sew them together with a 1/4” seam allowance, ensuring you do not sew the lining piece itself.
- Repeat: Repeat this process to sew a second welt zipper pocket onto one of the bag exterior pieces.
Make the Interior Slip Pocket
- Sew Pocket Edges: Take the 10 \frac{1}{2}” \times 13” slip pocket piece and fold it in half with the 10 \frac{1}{2}” edges together (right sides facing). Sew around the three sides using a 1/4” seam allowance, leaving a 3” opening on one side for turning. Clip the corners to reduce bulk.
- Topstitch Top Edge: Topstitch 1/8” away from one long edge to establish the top of the pocket.
- Attach to Lining: Pin the pocket to the remaining lining piece, centering it 4” below the top U-shape edge of the lining piece.
Stitch around the side and bottom edges of the pocket, 1/8” from the edges, to simultaneously sew the pocket to the lining and close the turning opening.
- Divide Pocket: Use a fabric marking pen or chalk to draw a vertical line down the center of the pocket. Stitch along this line to create two separate slip pockets.
Attach the Magnetic Snap Closure
- Prepare Interfacing: The magnetic snap closure includes two main pieces and two back disks. Cut two circles of thick interfacing or quilt batting approximately the size of a quarter.
Place one disk on top of an interfacing circle and mark vertical lines through the disk openings. Use a seam ripper to cut small slits through these marks.
- Mark Lining: On one of the bag lining pieces, use a pen to make a small dot that is centered and 2” below the U-shaped top edge.
- Attach Snap: Place one of the disks over the marked dot and mark the vertical lines through the disk openings. Cut small slits using a seam ripper. Push the prongs of one snap piece through the lining slits.
Turn the piece over, put one of the interfacing circles over the prongs, followed by the disk, and fold the prongs outward to secure the snap.
Repeat this entire process to attach the opposite side of the magnetic snap closure to the other lining piece.
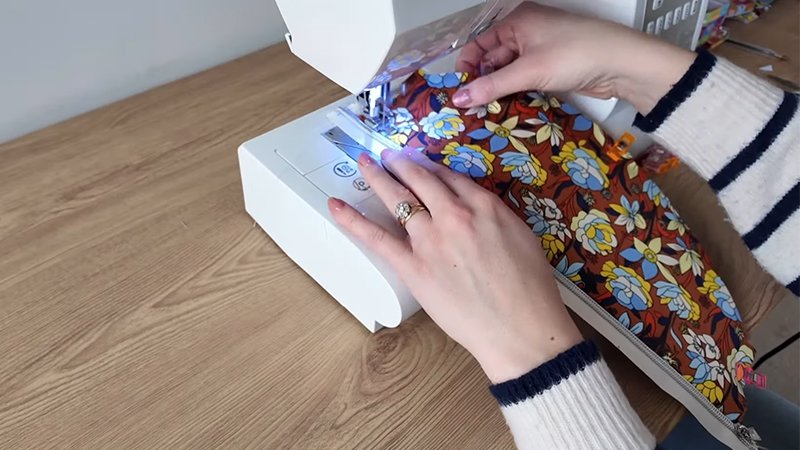
Make the Straps
- Stitch Strap: Pin the two strap pieces (4” \times 38”) together, right sides facing. Stitch both long edges together using a 1/2” seam allowance. Pressing the seams open now will make it easier to press the strap flat later.
- Turn and Press: Push a large safety pin through two layers of fabric (part of the seam allowance and the strap) at one end, then use it to push down through the center and turn the strap right side out.
- Topstitch: Press the strap flat and topstitch along the sides, 1/8” from the edge.
Assemble the Bag
Use a 1/2” seam allowance from this point forward.
- Sew Lining: Pin the two lining pieces (right sides facing) along the side and bottom edges. Sew the straight side edges and the bottom edge, making sure to leave a 5-6” opening for turning the bag later. Do not sew the cut out squares at the bag corners. Press the side seams open.
- Box Corners (Lining): To form the boxed corners, flatten the bag so the side seam aligns against the bottom seam, creating a straight line at the opening. Pin and sew across the opening.
- Sew Exterior: Repeat steps 1-4 to sew the bag exterior pieces together, except do not leave an opening in the bottom. Turn the bag exterior right side out.
- Attach Lining to Exterior: Place the bag lining over the bag exterior, right sides together. Match the side seams and the U-shaped edges, and pin along the U-shaped edges. Sew the top edges together along the U-shaped edges only; do not sew the straight side edges.
- Turn Bag: Turn the bag right side out through the opening left in the lining. Carefully press the top U-shaped edges.
- Insert Strap: Turn the edges at the side openings to the inside by 1/2” and press them flat. Insert one end of the strap 1/2” inside a side opening and pin it in place. Insert the other strap end in the opposite side of the bag in the same manner, confirming the strap is not twisted.
- Topstitch and Secure Strap: Secure the strap and topstitch around the top edge all at once. Sew along one top side edge of the bag to secure one side of the strap. Pivot and begin topstitching along the U-shaped edge.
When reaching the other side, stitch across it close to the edge, pivot, and topstitch across the side to attach the other end of the strap.
Once you reach the side where you began, sew across the side edge a second time to reinforce the stitching, backstitch, and reinforce the stitching on the other side as well.
- Final Step: Sew closed the opening in the bottom of the bag lining.