Materials Needed
- Yarn: Scheepjes Stone Washed DK (78% Cotton, 22% Acrylic; 142 yards/50g)
- Suggested Colors: Pastels and neutrals are ideal for a soft, feminine edge
- Yardage: Approximately 80-100 yards per yard of trim (you may need more for longer edges)
- Hook Size: 3.5 mm (E-4)
- Notions: Yarn needle for weaving in ends, scissors
Finished Measurements
- Trim Width: Approximately 1.5 inches (3.8 cm)
- Length: Customizable to your project – simply crochet to your desired length
Stitches & Abbreviations (US Terms)
- ch – chain
- sc – single crochet
- dc – double crochet
- sl st – slip stitch
- shell – 5 dc in the same stitch
Skill Level
- Beginner-Friendly: Perfect for crocheters familiar with basic stitches who want to add a decorative, textured edge to their work.
Stitching Instructions for Making the Simple Shell Stitch Trim Pattern:
Foundation Row

- Begin by chaining a multiple of 6 + 1.
- Example: For a short trim with 3 shell repeats, chain 19 (6×3 + 1).
Tip: The number of chains you start with determines the overall length of your trim. Add or subtract chains to fit your project.
Row 1 – Setting the Base

- Work 1 sc into the second ch from the hook.
- Skip 2 chains, then make a shell (5 dc) in the next chain.
- Skip 2 more chains, then make 1 sc in the following chain.
- Repeat the pattern skip 2 ch, shell in the next, skip 2 ch, sc in the next across the row, and finish with 1 sc in the last chain. Turn your work.
Important Tip: Ensure you place all 5 dc of the shell stitch in the same chain space to achieve the smooth, arch-like shape that defines the shell.
Row 2 – Creating Depth

- Ch 3 (counts as 1 dc), then place 2 dc in the same sc – this forms a half shell.
- Next, sc into the center (3rd) dc of the following shell, then work a shell in the next sc.
- Repeat this pattern across the row, and end with 3 dc in the last sc to create another half shell. Turn your work.
Note: The center dc of a shell is always the 3rd dc from the previous row’s shell. Be sure to identify it to maintain the stitch pattern.
Row 3 – Offsetting the Pattern

- Ch 1 and sc into the first dc of the row.
- Shell into the next sc, then sc into the center dc of the next shell.
- Repeat this alternating pattern across the row, and finish with 1 sc in the top of the turning ch. Turn your work.
This creates the signature wavy texture of the shell stitch trim by offsetting the shells.
Repeat Rows 2 and 3

Continue alternating Rows 2 and 3 until your trim reaches the desired length.
Finishing Touches

- Once you’ve reached the desired length for your trim, fasten off the yarn and cut any excess.
- Use a yarn needle to weave in all loose ends securely on the back side of the trim.
- If you want to give your trim a more polished finish, lightly block it. This will help smooth out the waves and enhance the stitch definition.
Creative Uses
This shell stitch trim is a versatile addition to many crochet projects:
- Blankets & Afghans: Add a soft, feminine touch to the edges of a cozy blanket or afghan.
- Baby Items: Perfect for edging baby blankets, bonnets, booties, or cardigans.
- Scarves & Shawls: Create a beautiful, decorative edge for scarves or shawls.
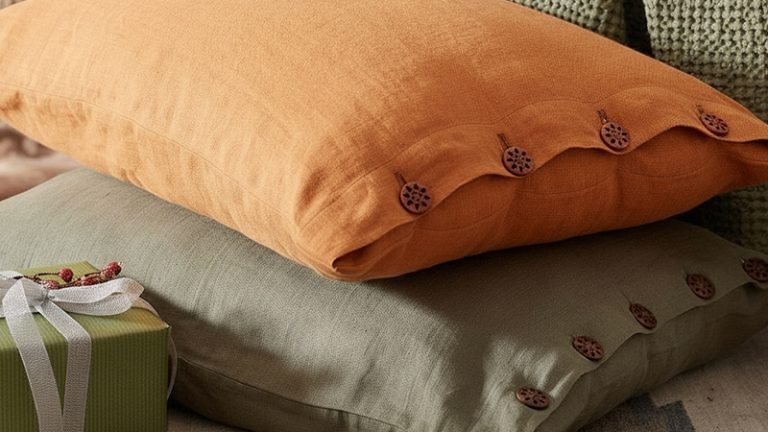
- Home Decor: Use as a charming border for table linens, curtains, or cushion covers.
Download PDF