
Pattern Description:
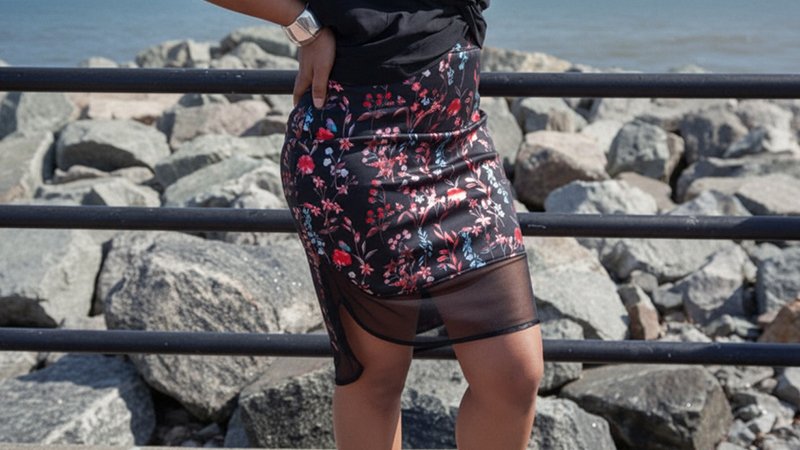
The Zamia Skirt is a fitted, mod skirt featuring a unique silhouette and eye-catching details. It is designed to hug curves in all the right places.
Key features include a sheer mesh underlay that aligns the hem, showing just a sliver of skin. This pattern is described as a transitional piece with a curved, high/low hem.
Materials Needed & Measurements:
- 1 yard of Black Ponte Knit with Red and Blue Foil Design.
- 1 yard of Black Stretch Polyester Power Mesh.
- 2 yards of Black Shiny Double Folded Tape.
- The Zamia Skirt Sewing Pattern (MDF141).
Measurements/Sizing Notes:
- All seam allowances are 1/2″ unless otherwise stated.
- The pattern is available up to a size 30.
Instructions for Making the Zamia Skirt Pattern:
Phase 1: Constructing the Skirt Body
The initial step in sewing the Zamia Skirt is focusing on the primary skirt pieces.
- Sewing Side Seams: The front of the skirt must be attached to the back of the skirt pieces by sewing the side seams together.
- Setting Aside: Once the main skirt body is constructed at the side seams, it can be set aside momentarily to prepare the other components of the pattern.
Phase 2: Preparing the Facings and Mesh Underlay
The next crucial steps involve preparing the components that will create the unique hem detail—the facings and the mesh underlay.
- Assembling Facings: Pin the individual facing pieces together at their side seams.
- Assembling Mesh Underlay: Similarly, pin the pieces of the mesh underlay together at their side seams.
Phase 3: Attaching the Hem Details
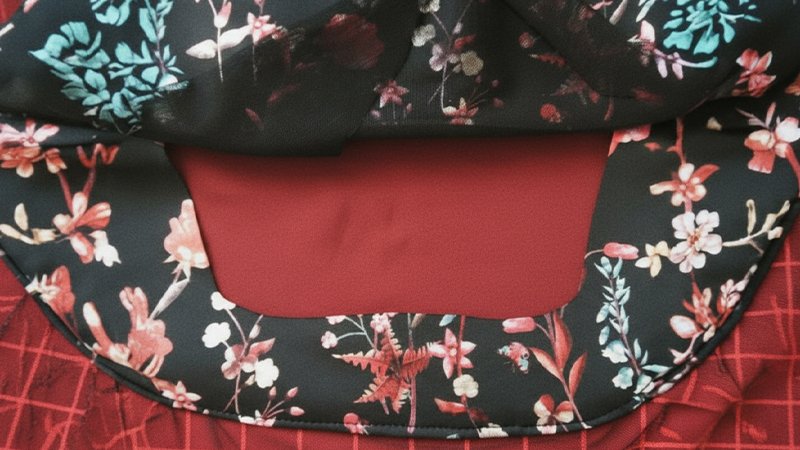
Attaching the facing and the mesh underlay to the skirt bottom is the step that might initially seem tricky but is actually quite easy. This process incorporates the sheer mesh that aligns the hem, intended to show “just a sliver of skin”.
- Creating the Hem Sandwich: The mesh is used to create a “sandwich” layer. You must sandwich the mesh between the main skirt body and the facing.
- Pinning: Pin this layered structure all the way around the bottom of the skirt.
- Stitching: Follow the curved edges of the hem while sewing. During this stitching process, it is essential to stretch the mesh to fit as you sew.
- Pressing and Edgestitching: After the attachment is complete, press the facing. Then, edge stitch the bottom of the facing. This step helps to keep the facing smooth and flat against the inside of the skirt.
Phase 4: Attaching the Waistband
The construction of the waistband is the penultimate sewing step.
- Waistband Construction: Sew together the waistband front and back pieces to create the full waistband loop.
- Attachment to Skirt: Pin the completed waistband piece to the top of the skirt.
- Stitching and Folding: Stitch the pinned waistband to the skirt. Once it is attached, fold down the top of the waistband.
- Topstitching: Finish the waistband by topstitching along each edge of the folded section.
Phase 5: Finishing Touches
The final step completes the skirt and enhances its appearance.
- Hem Finishing: The skirt bottom should be finished.
- Applying Double-Folded Tape: Achieve a stunning look by trimming in the skirt bottom with shiny double folded tape.
Once these steps are complete, the Zamia Skirt is complete.
Download Free PDF:


