Pattern Description:
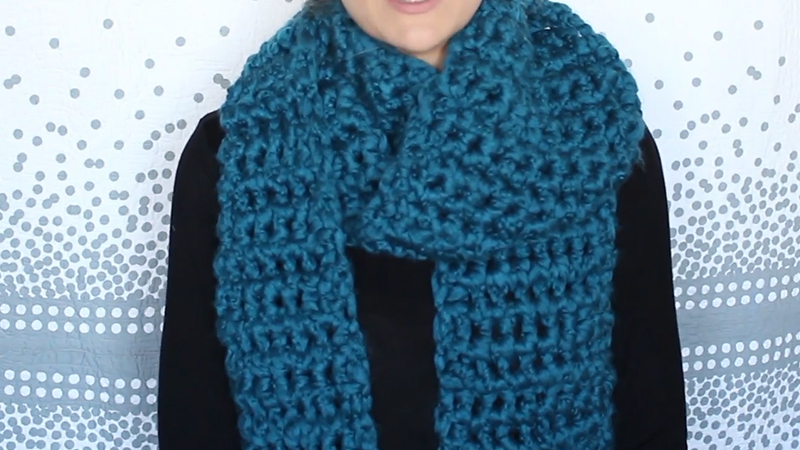
This beginner-friendly scarf is worked flat using simple crochet stitches and a bulky yarn, making it quick and satisfying to create.
The large hook size gives it a soft, cozy drape, while the playful fringe adds style. Perfect for new crocheters, it works up fast and makes a great gift.
Materials Needed & Measurements:
- Yarn: Red Heart With Love or Red Heart Dreamy (100% acrylic)
- Yarn Weight: Bulky (#5)
- Hook: 6.5 mm (US K)
- Notions: Tapestry needle, scissors
- Measurements: Generously sized scarf; approx. 370-466 yards of yarn needed
Abbreviations Used:
- Chain (ch)
- Single crochet (sc)
- Double crochet (dc)
- Slip stitch (sl st)
Instructions for Making the Easy Beginner Fringe Scarf Pattern:

Foundation Chain
- Ch 22 (or any even number to adjust width). This forms the base of your scarf.
- Be careful not to twist the chain.
Row 1: Establish Foundation Row
- Starting in the 2nd ch from hook, work 1 sc.
- Continue placing 1 sc in each ch across.
- At the end of the row, ch 1 and turn.
This row creates a sturdy foundation for the scarf.
Row 2: Begin Main Pattern
- Work 1 sc in first st.
- In the next st, work 1 dc.
- Alternate across the row: sc in next st, dc in next st.
- Continue until the last st, ending with a sc.
- Ch 1 and turn.
This alternating stitch pattern gives the scarf a lovely texture while remaining simple for beginners.
Row 3 – and All Remaining Rows
- Repeat the stitch sequence from Row 2.
- Work sc in first st, then dc in next st, continuing to alternate across.
- Each row should begin and end with a sc.
- Continue repeating until your scarf reaches your desired length (around 65-70 inches for a standard wrap).
- Do not fasten off yet; you’ll use the yarn for fringe attachment.
Fasten Off
- Once you reach your desired length, cut the yarn leaving about a 6-inch tail.
- Pull the tail through the last loop to secure.
- Weave in loose ends with a tapestry needle.
Adding Fringe
The fringe gives this scarf its signature look. Here’s how to add it:
- Cut Strands
- Cut yarn into pieces about 12 inches long.
- Each fringe group will use 3 strands. Prepare enough for both scarf ends.
- Attach Fringe
- Fold 3 strands in half to form a loop.
- Insert your hook into the edge stitch of the scarf.
- Pull the folded loop through the stitch, then pull the loose ends through the loop.
- Tighten gently to secure.
- Continue Across
- Repeat this process evenly across each end of the scarf.
- Keep spacing consistent for a neat finish.
- Trim Fringe
- Once all fringe is attached, lay the scarf flat and trim the ends evenly with scissors.
Customization Tips
- Width: For a wider scarf, start with more chains (always keep an even number).
- Length: Work more rows to make it longer, or fewer rows for a shorter version.
- Colors: Use a single solid yarn for a classic look, or alternate colors every few rows for stripes.
- Fringe Style: Experiment with shorter, longer, or even multi-colored fringe.
Finishing Touch
Once your scarf is complete and fringe is trimmed, give it a light steam block if desired. This will help even out stitches and give the scarf a polished look. Your cozy, handmade scarf is now ready to wear or gift!
Download Free PDF: