Pattern Description:
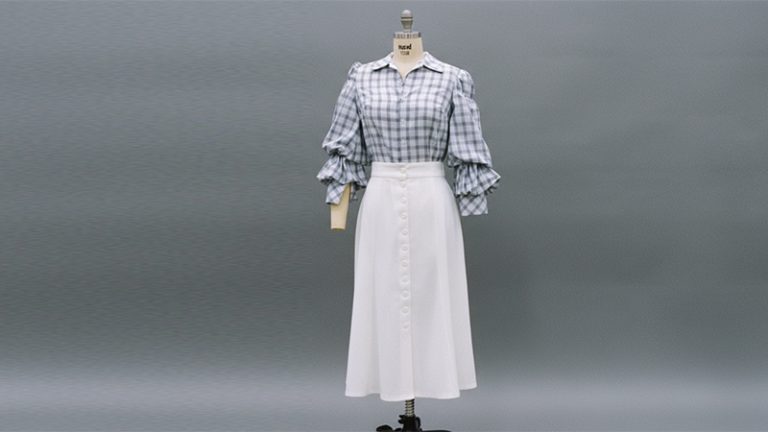
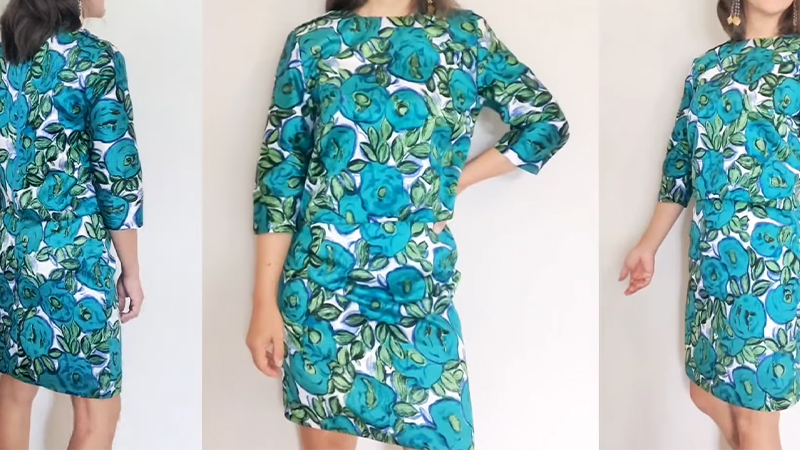
The Mulberry Blouse and the Sycamore Pencil Skirt form a luxurious, harmonious ensemble ideal for the modern, sophisticated woman.
The Mulberry Blouse features a refined silhouette enhanced by delicate detailing. Construction of the blouse incorporates unique elements like epaulette shoulder straps, shoulder pads, and a separating zipper closure at the center back.
The Sycamore Pencil Skirt is designed with a sleek, tailored, and form-fitting cut intended to enhance the wearer’s natural curves.
The skirt uses an invisible zipper closure and is considered comfortable enough for daily activities like getting in and out of a car.
Materials Needed & Measurements:
| Item | Quantity / Measurement | |
| Main Fabric (Metallic Olive and Moss Outlined Florals Luxury Brocade) | 4 yards | |
| Lining Fabric (Polyester Satin – Moss Green – Reverie Collection) | 4 yards | |
| Foam Shoulder Pads Covered with Black Polyester | 1 each (5.5″ x 3.25″ x .5″) | |
| Tan Metal Separating Zipper with Antique Gold Pull and Teeth | 1 each (22″) | |
| 887 Grasshopper Invisible Zipper | 1 each (24″) | |
| Gold/Green Rhinestoned Metal Shank Back Button | 2 each (36L/23mm) | |
| 768 Apple Green 100m Gutermann Sew All Thread | 2 spools | |
| Sewing Patterns (MDF401 & MDF402 – The Mulberry Blouse and The Sycamore Skirt) | Free download |
Alternative Fabric Recommendations:
- Damask
- Jacquard
- Heavy Polyester Satin
- Taffeta
General Pattern Measurements/Notes:
- A 1/2″ seam allowance should be used for all seams unless otherwise specified.
- The instructions are designed to guide the user through sewing the main fabric and the lining fabric simultaneously for both the blouse and the skirt.
- One comment suggests that for smaller sizes (2-4), only 1.5 yards of fabric may be required for both pieces, contrasting with the recommended 4 yards listed above.
Instructions for Making the Mulberry Blouse and The Sycamore Pencil Skirt Pattern:
Construction: The Mulberry Blouse
A 1/2″ seam allowance is required for all seams unless otherwise stated. The provided instructions are designed to guide the user in sewing the main fabric and the lining fabric simultaneously.
Construction begins with pinning and sewing the darts and pleats on the front blouse. The front and back pieces are then joined at the side seams, followed by joining them at the shoulder seams.
Key steps involving specialized detailing include:
- Epaulettes: Pinning and sewing the epaulette shoulder strap pieces, trimming the seam allowance, and turning them outward.
- Sleeves: Pinning and sewing the sleeves at the inseam, then setting in the sleeve while making sure to sandwich the epaulette shoulder strap in the self-fabric.
- Neckline and Lining: Joining the self and the lining fabrics together to sew along the neckline. The lining is then under stitched to the seam allowance.
- Shoulder Pads: Hand tacking the foam shoulder pads to the lining so that they are securely sandwiched between the self and lining fabrics.
- Finishing: The sleeve opening of the self and lining are pinned and sewn, ensuring the underarm seams align. The self and lining are then pinned right sides together and sewn across the bottom edge.
- Zipper Closure: The separating zipper is top stitched by folding in the seam allowance on each side of the center back, sandwiching the zipper in between the layers. The process concludes with sewing the decorative buttons onto the shoulders.
Construction: The Sycamore Pencil Skirt
Similar to the blouse, the skirt requires a 1/2″ seam allowance unless otherwise specified, and the instructions are written to guide sewing the main fabric and the lining fabric simultaneously.
Construction focuses on shaping the skirt through darts: the darts are pinned and sewn on both the front and the back of the skirt. The front and back pieces are then joined at the side seams.
Steps for attachment and closure include:
- Waistline: The waistband is placed facing down between the self and the lining, and then sewn across the waistline.
- Bottom Edge: The self and the lining are pinned and sewn along the bottom edge.
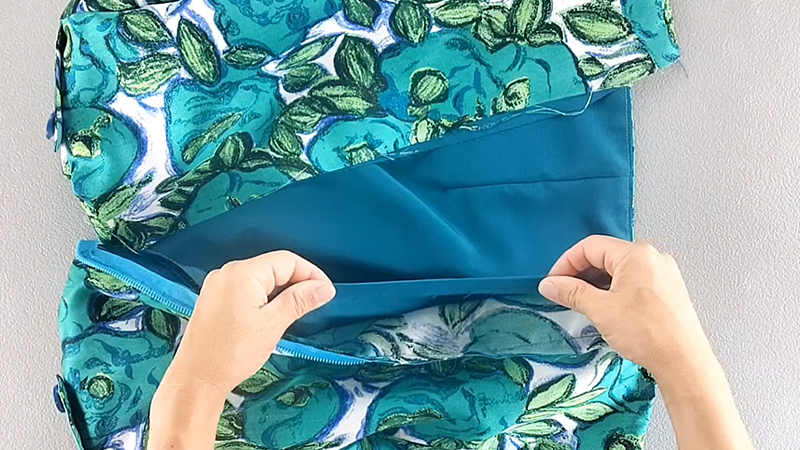
- Zipper Insertion: The zipper is pinned and sewn at the ½” seam allowance of the self fabric only.
- Lining Finish: To complete the skirt, the ½” seam allowance of the lining is folded back and blind stitched to the zipper tape.
For those wishing to modify the pattern, a back slit can be created by simply hemming the edges at the center back instead of sewing them together.