Pattern Description:
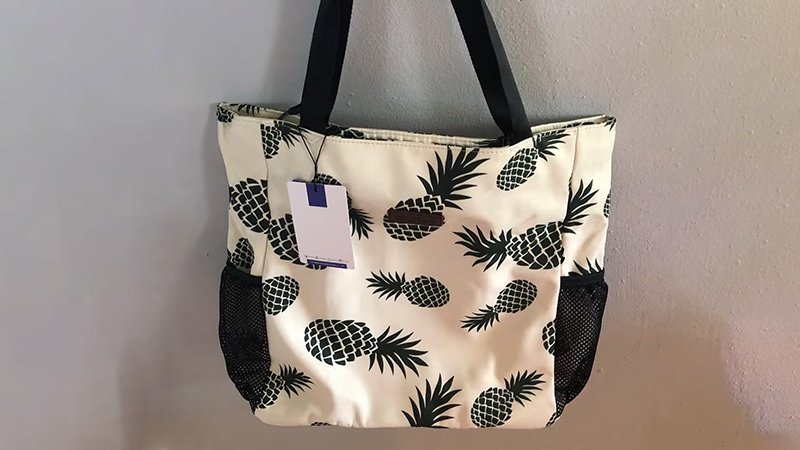
This tutorial guides you through making the Wonderfully Waterproof Tote Bag, perfect for summer outings, beach trips, or carrying wet items while keeping everything inside dry.
Constructed with laminated cotton and PUL (Eco-PUL™ recommended for its anti-microbial properties), this bag features a firm, removable waterproof base and durable straps. The finished bag is stylish, roomy, and easy to sew.
Finished Bag Dimensions: 14″ wide × 6″ deep × 14″ high
Materials Needed:
- Laminated cotton: 5/8 yard
- PUL fabric: 5/8 yard
- Double fold 1/2″ bias tape
- Two sets of plastic snaps
- Lip balm (to prevent sticking under the presser foot)
- Heavy-duty needle, rotary cutter or scissors, clips/pins, yardstick
- Optional bottom insert: cardboard & duct tape
Cutting Measurements:
| Piece | Fabric | Dimensions | Notes |
| Bag Body | Laminated Cotton & PUL | 17″ × 21½” | Opens to 34″ wide |
| Strap Halves | Laminated Cotton & PUL | 2″ × 21½” | Sew together to form one long strap |
| Bottom Insert Sleeve | Laminated Cotton | 14½” × 13″ | Sleeve for the cardboard insert |
| Bottom Insert | Cardboard | 13½” × 6″ | Wrap with duct tape for waterproofing |
Instructions for Making the Waterproof Tote Pattern:
1. Outer Bag Body
Fold the laminated cotton with selvages together. With right sides facing, clip the sides (avoid pins as they leave holes) and stitch with a ½” seam allowance.
To create the 6″ depth, square the corners: pull each corner into a triangle, mark 6″ across the point, stitch, then add a second seam ¼” away for reinforcement. Trim excess fabric.
2. Making and Attaching the Strap
Stitch the short ends of the two strap pieces together to form one long strap, pressing the seam open.
Lubricate the laminated side lightly with lip balm to prevent sticking, then topstitch ¼” from either side.
Align each strap end with the bag’s side seams, clip in place, and stitch with a ¼” seam allowance. Pull straps upward and topstitch for reinforcement. Repeat on the other side.
3. Lining and Optional Pocket
Construct the lining with PUL fabric, repeating the outer bag steps. To add a pocket, cut a 9″ × 7″ rectangle (or desired size), hem the top, fold under remaining edges, and stitch to the lining.
4. Assembly and Finishing
Insert the lining into the bag with wrong sides facing. Pin along straps and top edges, then baste 1/8″ from the edge.
Apply double-fold ½” bias tape along the top edge, stitching slowly around the straps and corners to maintain smooth curves. Overlap tape ends neatly for a polished finish.
5. Waterproof Bottom Insert
Cut laminated cotton 14½” × 13″ for the sleeve. Wrap the cardboard (13½” × 6″) in duct tape.
Fold the sleeve in half (7¼” × 6½”), stitch one short end and one side with a 3/8″ seam allowance, trim corners, and turn right side out. Insert the cardboard and stitch the open edge closed.
6. Attaching Closures
Use two sets of plastic snaps for secure closure. Place them 1½” below the top edge and 4½” inward from the side corners, with decorative caps facing outward. Secure with a snap press or pliers.
This Wonderfully Waterproof Tote Bag is now ready to use. Its roomy interior, water-resistant materials, and removable base make it versatile for the beach, gym, or daily errands.
The combination of laminated cotton and PUL ensures durability while keeping the bag stylish and functional. Enjoy your handmade, practical tote!