Pattern Description:
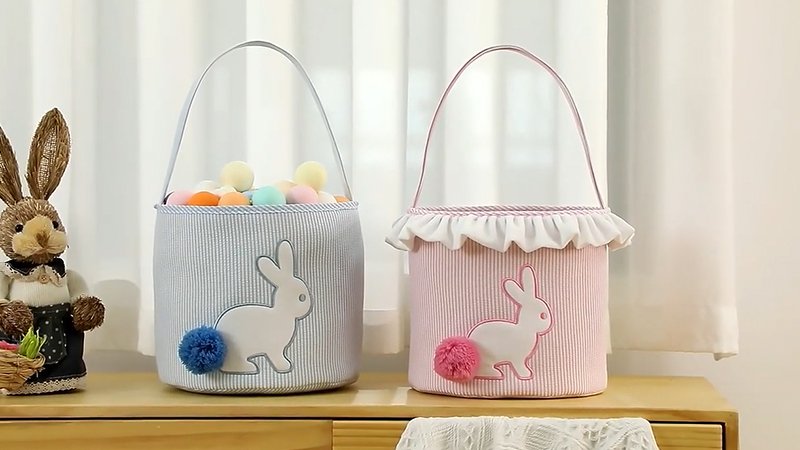
Sew an easy, unlined tote bag featuring a cute bunny applique design, perfect for use as an Easter egg-finding bag.
The design includes a trick for applying a big applique before sewing the bag, and uses a “magic corner” technique where the corner is stitched and boxed simultaneously. The project is recommended for canvas or home decor weight fabric.
Materials Needed & Measurements:
- Fabric scraps for the applique, including something soft for the tail.
- A 17” \times 34” canvas or home decor weight fabric for the tote.
- 2 strips of quilt weight cotton fabric 4” \times 28” for the handles.
- 2 strips of fusible fleece 1” \times 27 \frac{1}{2}” for the handles.
- A fabric marking pen.
- HeatnBond (recommended for the applique method).
- SuperStik glue stick (used specifically for attaching the fleece circle tail).
Instructions for Making the Cute Tote Bag with Optional Applique Bunnies Pattern:
Preparation and Initial Marking
The primary material required is a 17” \times 34” piece of canvas or home decor weight fabric for the main body of the tote.
- Take the 17” \times 34” piece of heavy fabric and fold it to create a 17” square.
- Position the fabric so the fold is closest to you.
- Using a fabric marking pen, mark the edge of the fold and both sides 4” above the fold. You must mark both layers on both sides.
Applying the Bunny Applique
The applique requires fabric scraps, including a soft material (like fleece) for the tail. The applique is applied to the main fabric piece while it is still flat.
- Use your preferred applique method, such as HeatnBond, which is highly recommended.
- Trace the bunny design onto the paper side of the HeatnBond.
- Cut out the traced design, fuse it to the back of the applique fabric, cut the shape out, and then remove the paper backing.
- Arrange the bunny applique near the center of the 17” square, wherever you prefer.
- Press the applique pieces to fuse them. If you are using a soft material like a fleece circle for the tail, it may not fuse, potentially due to the risk of melting it with a hot iron. In this specific case, use a SuperStik glue stick to attach the fleece circle.
- Stitch the applique to the bag fabric using your chosen stitch, such as a machine blanket stitch.
Sewing the Bag Body and the Magic Corner
This section utilizes the “magic corner” technique where the side seams and the boxed corner are sewn in one step.
- Fold the tote bag piece in half again with the right sides together.
- At the bottom of the bag, create a pleat on each side. To form the pleat, bring the mark you previously made at the fold up to the marks located 4” away from the fold.
- Securely pin the pleat, and then pin up the side of the tote. Repeat this on both sides of the bag.
- Stitch the side seams starting from the top, continuing all the way down and over the pleat to the very end. Be sure to backstitch securely.
- Finish the resulting seam using a zig-zag stitch or a serger.
- The side seams are now sewn and the corners are boxed. Although you can leave the corner as is, you may choose to stitch the resulting triangle down to achieve a more finished look. This step is awkward but possible; be sure to pin the triangle before stitching.
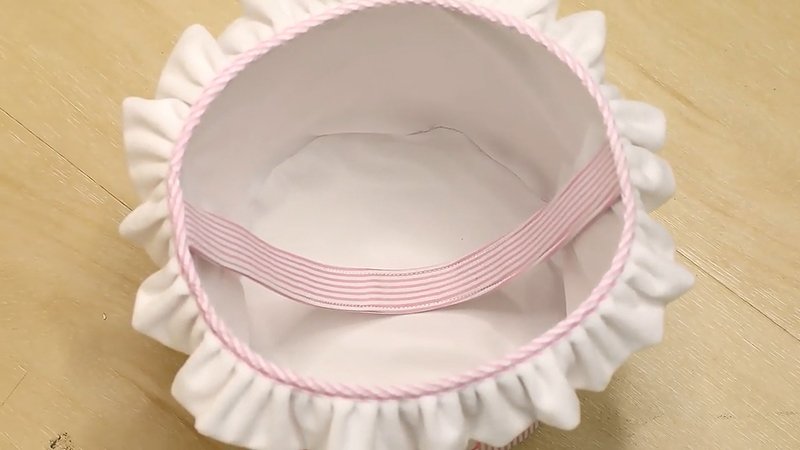
Hemming the Top Edge
Once the sides are sewn, hem the top opening of the bag.
- Fold down the top edge 1” and press.
- Fold down another inch and press again.
- Stitch close to the fold.
Constructing and Attaching the Straps
You will need two strips of quilt weight cotton fabric, 4” \times 28”, and two strips of fusible fleece, 1” \times 27 \frac{1}{2}”.
- For each strap, fold the cotton strip in half and press it.
- Open the strip, and then press the long edges toward the inside, approximately 1/8” from the center.
- Press the short ends 1/4” to the inside.
- Lay the 1” strip of fusible fleece along the inside of the strap on one side.
- Re-fold the strap and press well, ensuring both long edges are properly aligned.
- Stitch all the way around the straps, approximately 1/8” from the edge.
- Pin the finished straps to the top of the bag. The placement should be 4” from each side seam. The strap should overlap the front of the bag by about 1 \frac{1}{2}” to 2”, or overlap based on what looks best to you.
- Stitch the straps to the bag, following the existing topstitching. You can secure them by stitching a simple rectangle or a rectangle with an ‘x’ in the middle. Both methods are noted to look good.