Pattern Description:
This is a free sewing pattern for a cute and easy tote bag with rope handles. It is quick to make because you do not have to sew handles.
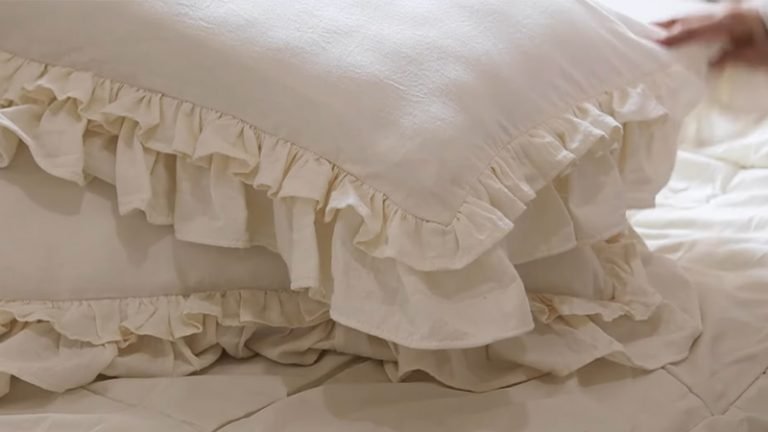
The finished bag is about 10” tall and 16” wide, and is suitable for use as a purse, shopping tote, gym bag, or diaper bag. The construction results in a sturdy bag designed to hold up to lots of use.
Materials Needed & Measurements:
| Material | Quantity / Measurement | Notes |
| Cotton Canvas (or other 44” wide fabric) for the top portion | 1/2 yard | If using quilting weight cotton, additional interfacing (like HeatnBond lite) is suggested for interior pieces. |
| Cotton Canvas (or other 44” wide fabric) for the bottom portion | 1/2 yard | Cotton canvas was used for both the inside and outside of the featured totes. |
| Stabilizer | 1 yard | HeatnBond Fusible Fleece was used, but medium weight interfacing would also work. Two 14” x 19” pieces of fusible fleece are cut for the exterior. |
| Cotton Rope for handles | 1 3/4 yd | Found in the home decor trimmings section; 100% cotton rope was used. Cut into two 28” lengths for the handles. |
| Grommets | 4 sets | Purchased from the home decor section. The package should include tools (anvil and setter) if this is the first time purchasing them. |
| Template | 1 | The free curve template is downloadable. If drawing your own, it is 5” wide and 0.75” tall. |
Cutting Instructions for Making the Rope Handle Tote Bag Pattern:
Begin by preparing the fabric pieces:
- Cut four rectangles measuring 7\ 1/2” by 19” from the designated top fabric.
- Cut four rectangles measuring 7\ 1/2” by 19” from the bottom fabric.
- For the pocket, cut two rectangles measuring 5\ 1/2” by 10” from either the top or bottom fabric.
- For stabilization, cut two 14” \times 19” pieces of fusible fleece, or use one of the side panels as a pattern for cutting the stabilizer.
- Cut the cotton rope into two 28” lengths for the handles. If the rope was taped at the store, remove the tape before measuring.
Modify the shape of the side panels:
- Download the free curve template, which measures 5” wide and 0.75” tall if you choose to draw your own.
- Fold each of the eight fabric rectangles (the side panels) in half to locate the center. Align the center marks on the template with the center top of the bag and cut out the curve on all the side panels.
- Cut 2\ 1/2” squares from the bottom corners of every side panel.
Stitching the Bag
Assembling Side Panels and Pocket
Start by sewing one ‘top fabric’ piece to one ‘bottom fabric’ piece along one long edge, being mindful of print direction if the fabrics are directional.
Repeat this for all four sets. Press the seam toward the bottom fabric and top stitch close to the seam on all four panels; these are now referred to as the ‘side panels’.
To prepare the exterior panels, fuse the two pieces of fusible fleece stabilizer to two of the side panels.
These two pieces with the fusible fleece become the exterior side panels, while the two pieces without fleece are the interior (lining) side panels.
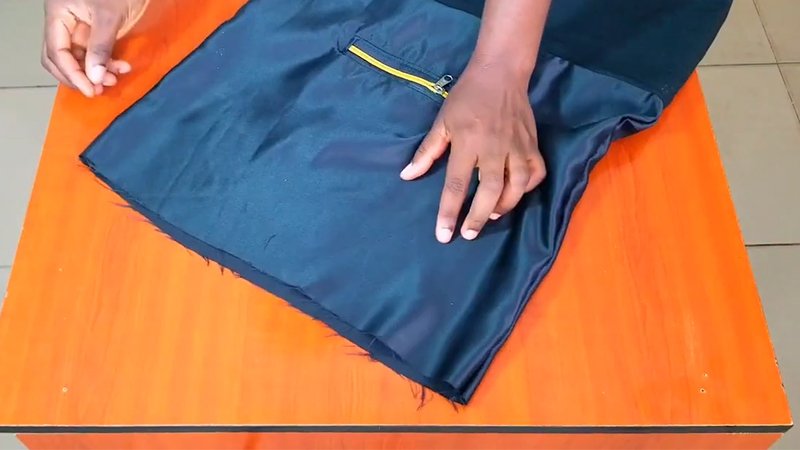
For the pocket, pin the two 5\ 1/2” \times 10” rectangles right sides together and sew around all the edges.
Leave a 4” opening on the bottom for turning. Clip the corners, turn the pocket right side out, press, and topstitch only along the top edge.
Attach the pocket to one of the lining panels by centering it and pinning it over approximately 1” of the bottom fabric portion.
Stitch around the sides and the bottom of the pocket using a 1/4” seam allowance; this stitching will simultaneously close the 4” turning opening. Stitch a dividing line in the pocket if desired.
Constructing and Joining the Bag Body
Pin the two exterior side panels together along the sides and bottom, and separately, pin the two interior side panels together along the sides and bottom.
Stitch both the exterior and interior sections using a 1/2” seam allowance. Remember to leave a 5” opening on the bottom of the interior panels only, which will be used for turning the bag later.
Press all seams open. Box the corners by pinching the fabric to align the side and bottom seams, pinning them in place. Stitch these corners with a 1/2” seam allowance.
Turn the bag exterior right side out. Place the interior bag over the exterior, ensuring they are right sides together, and pin all around the top edge.
Stitch around the top with a 1/2” seam allowance, attempting to pivot where the curve begins and ends.
To ensure the curves turn properly, clip a wide notch over the corner of each curve. Additionally, make numerous clips along the curve edges, cutting close to the stitching line without snipping the threads.
Turn the entire bag right side out through the 5” opening left in the interior. Push out the corners using your fingers or a turning tool.
Close the opening in the interior panels by stitching it shut, either by hand or by machine. Finally, press the top of the bag and top stitch 1/4” from the edge.
Adding the Grommets and Rope Handles
Installing the Grommets
Use the larger half of a grommet to trace a circle at the top of the bag in one of the curve corners.
The grommet should sit about 1/4” from the edges, meaning the circle will be approximately 1/2” from the edges.
Cut out this circle through both layers of fabric; making a hole with a seam ripper and then cutting around with small scissors can facilitate this step.
To install the grommet, you will need an anvil and a setter tool. Place the larger, front side of the grommet through the hole from the front of the bag.
Place the smaller half of the grommet over it on the inside of the bag. Position the anvil underneath the grommet (on the outside/front of the bag) on a hard surface.
Place the setter tool on top and strike hard with a hammer. You can strike gently at first to test the necessary force to bend the metal and set the grommet, continuing to pound until the grommet is perfectly set. Repeat this process until you have two grommets installed for each bag handle.
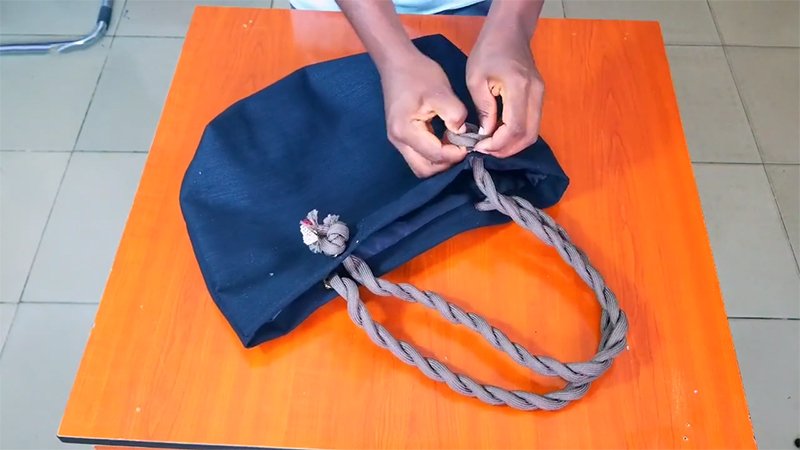
Attaching the Rope Handles
Using the two 28” lengths of rope cut previously:
- Push one end of a rope section from the inside of the bag to the outside through a grommet.
- Tie a knot at the end of the rope.
- Push the other end of the same rope section through the second grommet on the same side of the bag and tie a knot there as well.
- Repeat these steps for the remaining handle.
If desired, fray the ends of the rope and trim the strings to ensure they are even.