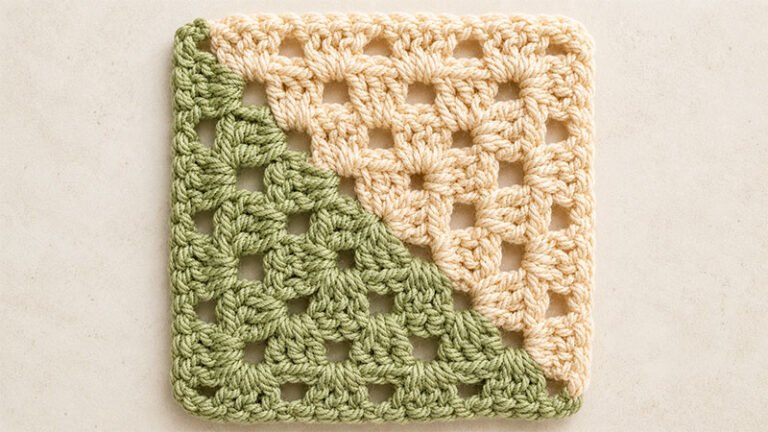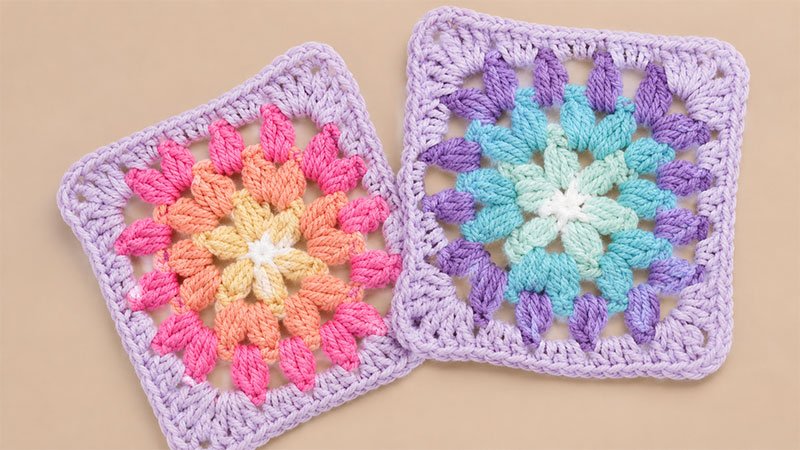
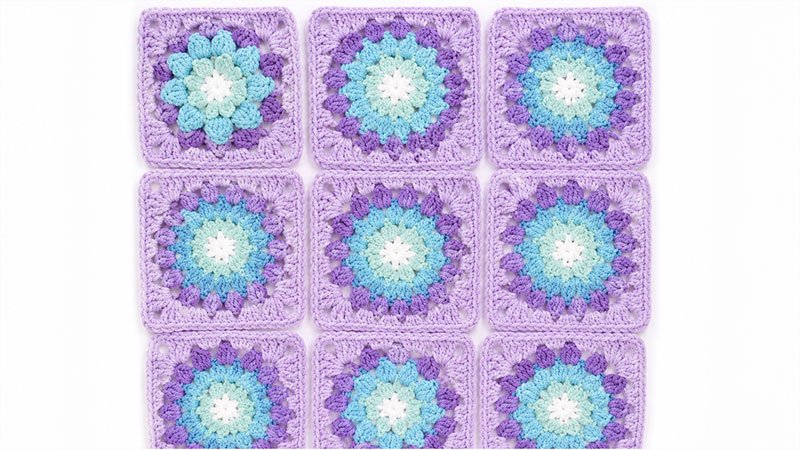
This beautiful textured square begins as a puffy, dimensional flower and transitions into a classic granny square. It is perfect for blankets, bags, or garments.
Materials
-
Hook: 6.0-mm (Size J/10 US, 4 UK)
-
Yarn: Aran weight (Medium / Category 4). This pattern is fantastic for using up small leftover scraps of yarn.
-
Tools: Tapestry needle for weaving in ends, and scissors.
Finished Size
-
Approximately 6 inches (15.2 cm) square.
Special Stitch Guide: How to Make the Puff Stitch
For this pattern, each puff stitch is worked as follows:
-
Yarn over, insert your hook into the designated stitch or space, and pull up a loop (3 loops on hook). Pull this loop up to the height of a double crochet.
-
Yarn over, insert your hook into the same stitch/space, and pull up another loop (5 loops on hook).
-
Yarn over, insert your hook into the same stitch/space, and pull up one final loop (7 loops on hook).
-
Yarn over and carefully pull through all 7 loops on your hook.
-
Chain 1 to lock the puff stitch closed. (Note: This locking chain is part of the puff stitch itself, not the extra chains mentioned in the pattern steps below).
Step-by-Step Pattern Instructions
The Flower Center
Round 1: Creating the Base
-
Form a Magic Circle (also known as a Magic Ring).
-
Chain 1 (this does not count as a stitch).
-
Work 6 single crochets directly into the ring.
-
Pull the yarn tail to pull the circle tight.
-
To finish the round, slip stitch into the top of the very first single crochet you made.
-
Stitch count: 6 single crochets.
Round 2: The Inner Petals
-
Chain 1.
-
In the very first stitch, work 1 Puff Stitch, then chain 3.
-
Move to the next stitch and work 1 Puff Stitch, chain 3.
-
Repeat this process in every single crochet around. You will create a total of 6 puff petals.
-
To finish, slip stitch into the top of the very first puff stitch to close the loop.
-
Stitch count: 6 puff stitches, 6 chain-3 spaces.
Expanding the Flower
Round 3: Multiplying the Petals
-
Chain 1, then slip stitch into the first open chain-3 space to position your yarn.
-
Inside this first chain-3 space, work the following sequence: 1 Puff Stitch, chain 2, and a second Puff Stitch.
-
Move to the next chain-3 space and repeat the exact same sequence: (1 Puff Stitch, chain 2, 1 Puff Stitch).
-
Repeat this pattern inside every chain-3 space all the way around.
-
Slip stitch into the top of your first puff stitch to join the round.
-
Stitch count: 12 puff stitches, 12 chain-2 spaces.
Round 4: The Final Flower Layer
-
Chain 1, then slip stitch into the first chain-2 space.
-
The Setup: In this first space, work 1 Puff Stitch, chain 2, and another Puff Stitch.
-
The Sides: In each of the next 2 chain-2 spaces, work only 1 Puff Stitch, then chain 2.
-
The Repeat: Repeat this entire sequence (Double puff in one space, single puff in the next two spaces) around the circle. You will repeat this sequence 4 times in total.
-
Slip stitch into the top of the first puff stitch to finish.
-
Stitch count: 16 puff stitches, 16 chain-2 spaces.
Squaring the Flower
Round 5: Turning the Circle into a Square
Pro-Tip: In this round, we use stitches of varying heights (single, half-double, double, and treble crochets) to flatten out the sides and build up the corners. All stitches are worked into the chain-2 spaces from Round 4.
-
Chain 1, then slip stitch into the first chain-2 space.
-
Begin the squaring sequence:
-
Space 1: Work 3 single crochets into the space.
-
Space 2: Work 1 half-double crochet and 2 double crochets into the space.
-
Space 3 (The Corner): Work 1 double crochet, 2 treble crochets, chain 2, 2 treble crochets, and 1 double crochet all inside this single space.
-
Space 4: Work 2 double crochets and 1 half-double crochet into the space.
-
-
The Repeat: Repeat this entire 4-space sequence 4 times around the flower.
-
Slip stitch into the top of your very first single crochet to close.
-
Stitch count: 15 stitches per side, plus 4 chain-2 corner spaces.
The Border
Round 6: The Finishing Frame
-
Chain 1 (does not count as a stitch).
-
Work 1 half-double crochet into the top of every single stitch along the side.
-
When you reach a corner chain-2 space, work 2 half-double crochets, chain 2, and 2 more half-double crochets directly into that corner space.
-
Continue working 1 half-double crochet in each stitch across the sides, and framing the corners.
-
Slip stitch into the first half-double crochet of the round to join.
-
Stitch count: 19 half-double crochets per side, plus 4 chain-2 corner spaces.
Finishing Touches
Cut your yarn, leaving a 6-inch tail. Pull the loop straight through to fasten off. Using your tapestry needle, neatly weave the yarn tails into the back of your stitches to hide them.
Blocking Note: To make your granny square perfectly crisp and straight, pin it down to a blocking mat, mist it lightly with water, and allow it to dry completely. This relaxes the yarn fibers and makes joining multiple squares much easier!