
Pattern Description:
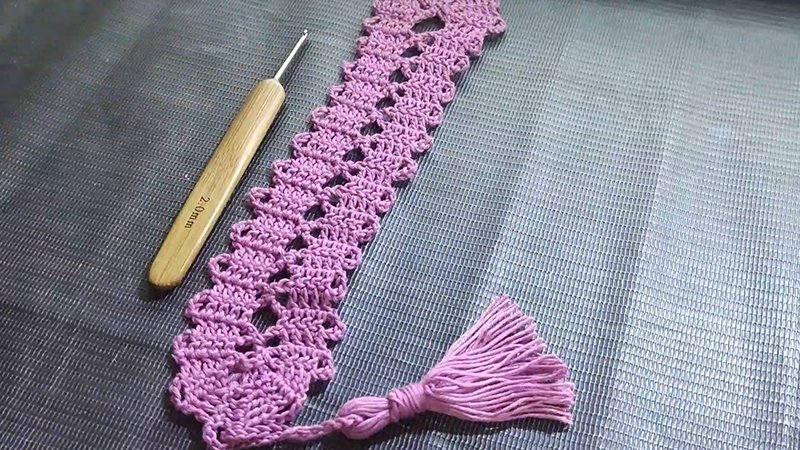
This elegant crochet bookmark is created using the Bruges Lace crochet technique. This technique imitates complex, fine bobbin lace by using a crochet hook to create ribbons or tapes.
This small project is described as perfect for those who want to try learning the Bruges lace technique. It is classified as having an Intermediate Skill Level.
Materials Needed & Measurements:
| Category | Detail | |
| Finished Size | About 10″ long. | |
| Yarn | Aunt Lydia’s crochet cotton thread size #10. | |
| Hook | US size 6/1.8 mm crochet hook. | |
| Other Materials | 2-1/2” x 2-1/2” piece of cardboard (used for making the tassel). | |
| Other Materials | Tapestry needle (used for weaving in ends and assembly). |
Abbreviations Used:
- Ch – chain
- DC – double crochet
- Sl St – slip stitch
- St (Sts) – stitch (stitches)
Instructions for Making the Bruges Lace Bookmark Pattern:
Bookmark Strip Instructions:
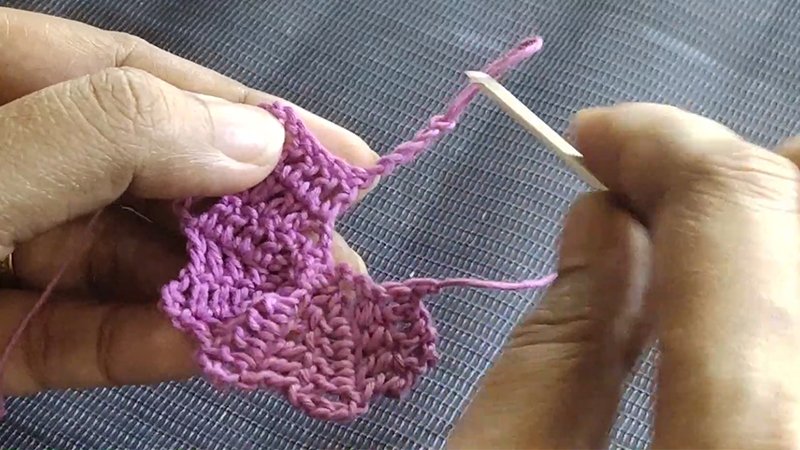
The strip is created primarily by working 4 DC across the width of the tape.
- Starting the Strip
- Row 1: Ch 9, DC in 6th Ch from hook and in each of next 3 Sts, turn. (Total – 4 dc).
- Rows 2-8: Ch 5, DC in each St across, turn.
- First Connection
- Row 9: Ch 5, DC in first St and in each of next 3 Sts, Ch 2, insert hook in 4 previous Ch-5 spaces on same edge, starting at nearest, Sl St them together, turn.
- Row 10: Ch 2, DC in last DC made and in each of next 3 Sts, turn.
- Center Strip Section
- Rows 11-40: Ch 5, DC in each St across, turn. (You crochet into each of the 4 DC across the short side of the strip, not into the Ch 5).
- Second Connection
- Row 41: Repeat Row 9.
- Row 42: Ch 2, DC in last DC made and in each of next 3 Sts, turn.
- Inner Edge Connections (Rows 43-63)
- Row 43: Ch 5, DC in first St and in each of next 3 Sts, Ch 2, Sl St in next free Ch-5 space on inner edge, turn.
- Rows 44-63: Repeat Rows 42-43.
- Finishing the Strip
- Row 64: Ch 5, DC in first St and in each of next 3 Sts.
- Fasten off, leaving a long tail for sewing.
- Using a sewing needle and the tail, join the first and last rows together.
Tassel Creation
The following steps use the thread and the 2-1/2” x 2-1/2” piece of cardboard:
- Wrap thread around the cardboard approximately 50 times.
- Thread the needle with 10” of thread under the wrapped threads in the center and tie tightly.
- Flip the cardboard over and cut the wrapped threads through the center.
- To make the tassel top: cut a 12” of thread and wrap it tightly around the tassel twice, about 3/8” down from the top. Tie a knot and hide the ends inside the tassel.
- Weave in any ends from the top.
- Trim the tassel ends evenly.
Assembly and Finishing
Assembly
- Join the thread to the top of the tassel and Ch 25.
- Fasten off, leaving a 5-7” tail.
- Thread the tail into the tapestry needle.
- Draw the chain through 2 Ch-5 arches of one end (of the bookmark strip).
- Secure the tail to the same place as it was joined.
- Fasten off.
Finishing
- Block and shape the finished bookmark.


