Pattern Description:
This charming baby blanket features a windowpane design, alternating between cream and soft plum stripes.
The pattern uses half double crochet (HDC) stitches, with color changes carried along the edges for a seamless look.
The result is a soft, textured blanket measuring approximately 35 x 35 inches, perfect for baby photo shoots or as a thoughtful gift.
Materials Needed & Measurements:
- Yarn: Bernat Softee Baby Cotton (60% Cotton, 40% Acrylic)
- 6 skeins in Cotton (cream)
- 3 skeins in Soft Plum
- Yarn Weight: Light (3)
- Hook: Size G (4.00 mm) or size needed for your personal tension
- Notions: Scissors, tapestry needle
- Measurements: Approximately 35 x 35 inches
- Gauge: 3 inches = 13 HDC and 9 rows
Stitches & Abbreviations Used:
- SC: Single Crochet
- HDC: Half Double Crochet
- FPDC: Front Post Double Crochet
- BPDC: Back Post Double Crochet
Instructions for Making the Cotton Windowpane Baby Blanket Pattern:
Step 1: Starting the Foundation Chain
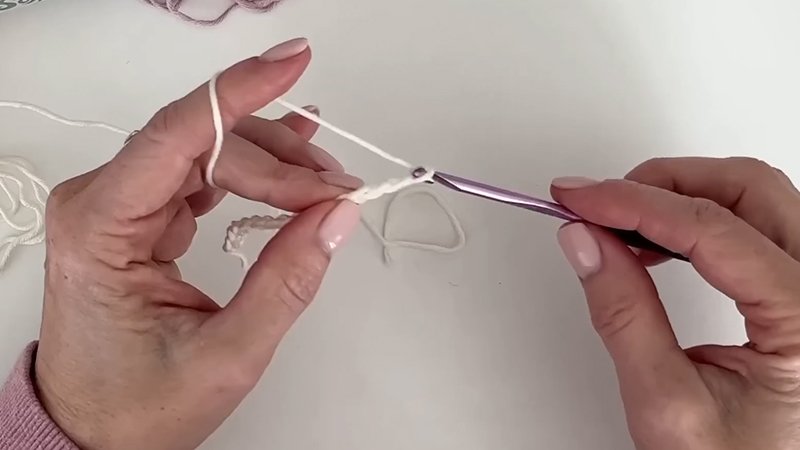
- Begin with the cream yarn.
- Chain 112 – this foundation chain sets the width of your blanket.
- Make sure not to twist the chain; turn your work to begin the first row.
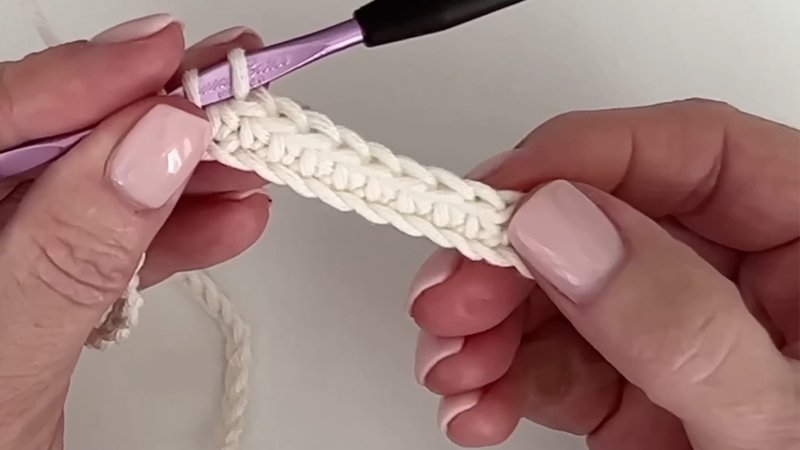
Step 2: Row 1 – Half Double Crochet Foundation

- Starting in the third chain from hook, hdc in each chain across.
- You should have 110 hdc at the end of the row.
- Chain 2 and turn your work.
Step 3: Establishing the Windowpane Pattern
The windowpane effect comes from alternating blocks of cream and plum colors, worked in half double crochet with front post and back post stitches to create subtle texture.
Rows 2-4 (Cream):
- Hdc in each stitch across, maintaining the cream yarn.
- Chain 2 and turn after each row.
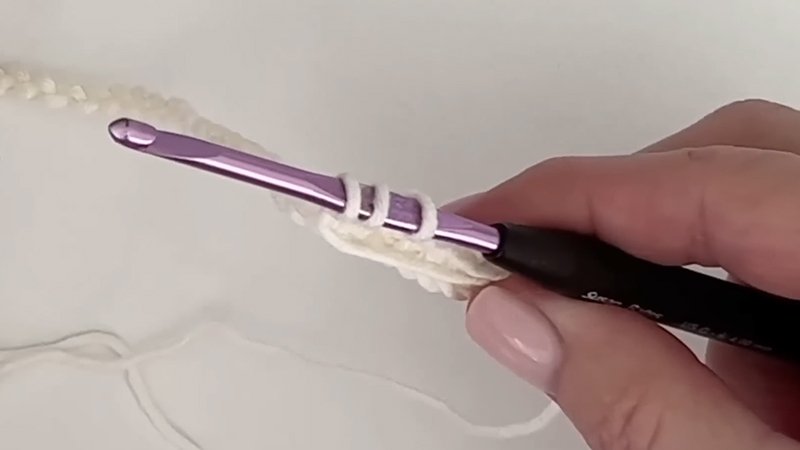
Step 4: Color Change to Plum
- On Row 5, switch to the plum yarn.
- Attach plum yarn with a slip stitch in the first stitch.
- Hdc across the row with plum.
- Chain 2 and turn.
Step 5: Windowpane Textured Rows
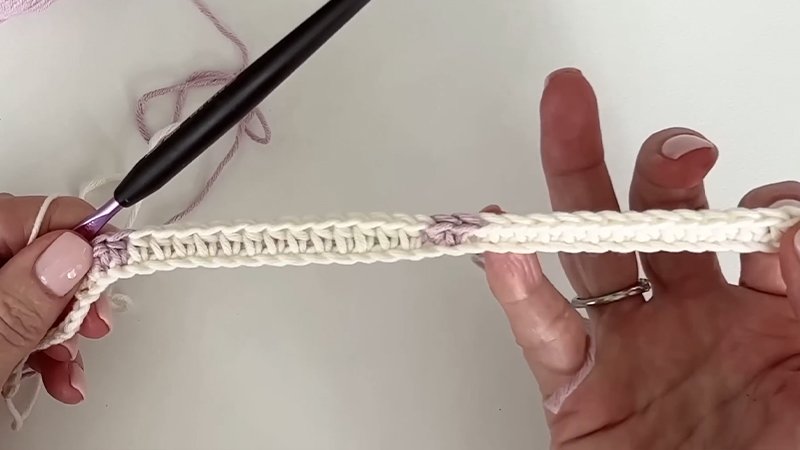
Starting from Row 6, create the textured windowpane by alternating front post double crochet (fpdc) and back post double crochet (bpdc) stitches in each block.
Instructions for Textured Rows:
- For the first 10 stitches (windowpane block), work fpdc around the post of the stitch below.
- For the next 10 stitches, work bpdc around the post.
- Repeat this alternating pattern across the row.
This creates the ridges and texture typical of the windowpane design.
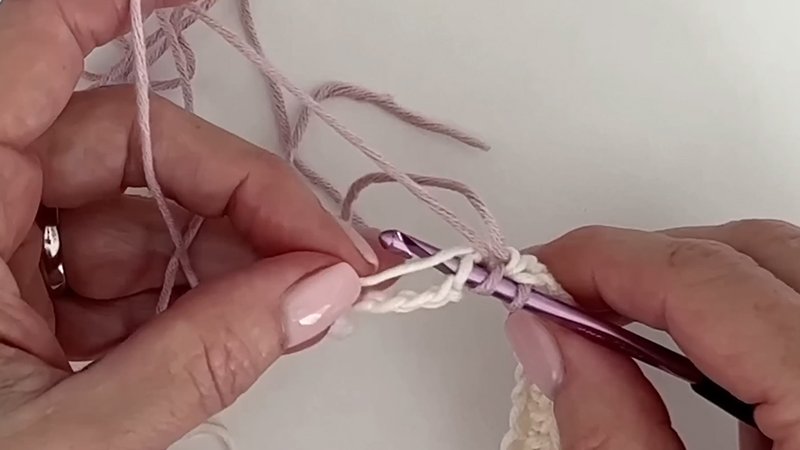
Step 6: Continuing Color Changes and Pattern
- Alternate 4 rows of cream yarn, then 3 rows of plum yarn.
- For every row, continue the alternating fpdc and bpdc stitch pattern to maintain texture.
- Always chain 2 and turn at the end of each row.
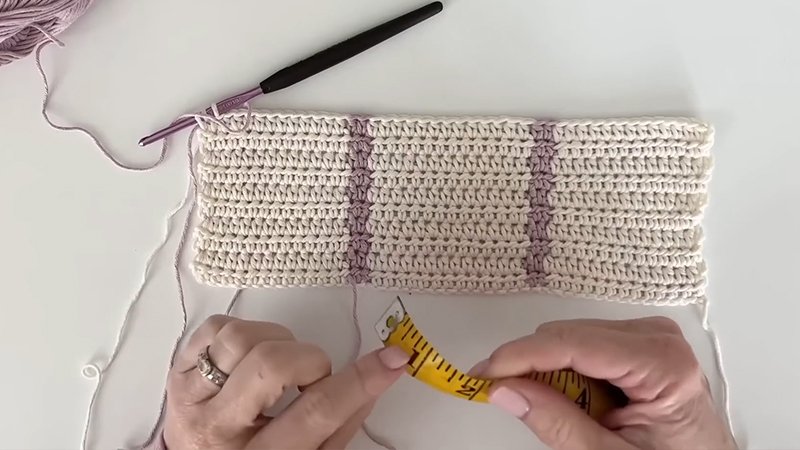
Step 7: Working to Blanket Length
Continue repeating the color block sequence and windowpane stitch pattern until the blanket reaches approximately 35 inches (about 100 cm) in length.
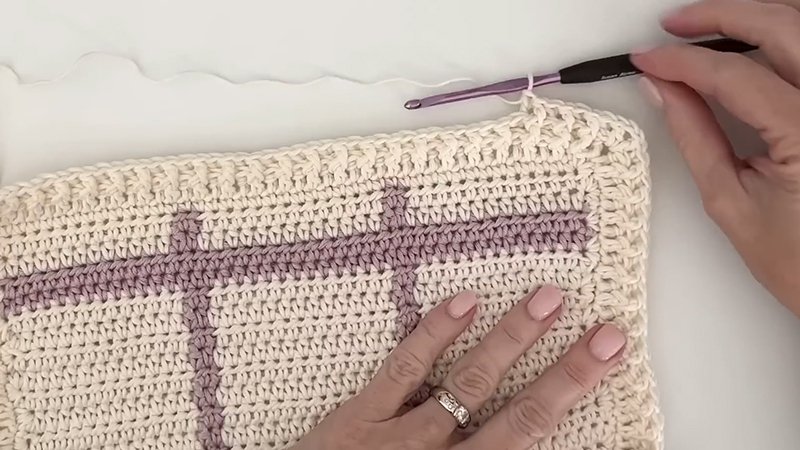
Step 8: Finishing the Blanket Edges
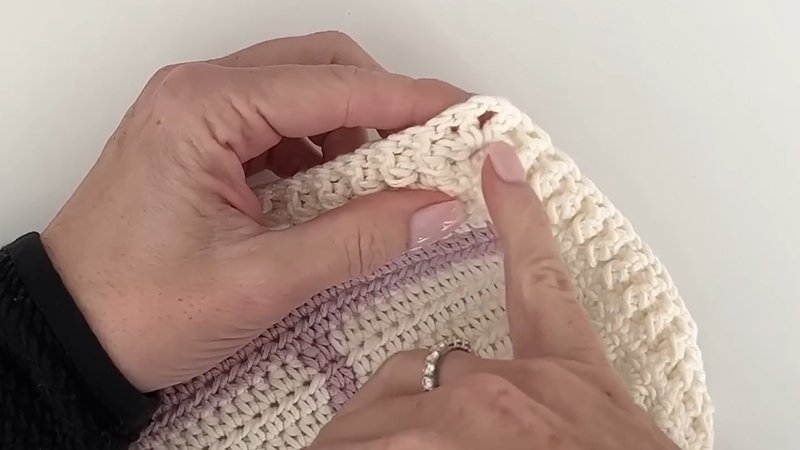
Once the blanket reaches the desired size, finish with a neat border:
- With cream yarn, work one round of single crochet evenly around the edges of the blanket.
- Place 3 sc in each corner stitch to keep the corners flat.
- After the border, fasten off and weave in all loose ends with a tapestry needle.
Tips for Success:
- Maintain even tension to keep the blanket square and consistent.
- When changing colors, carry the unused yarn loosely along the edge or cut and weave in ends to prevent bulk.
- Use stitch markers to help track your blocks of fpdc and bpdc stitches, especially if counting gets tricky.
- Blocking your finished blanket lightly can help even out stitches and enhance the texture.
Download Free PDF: