
Pattern Description:
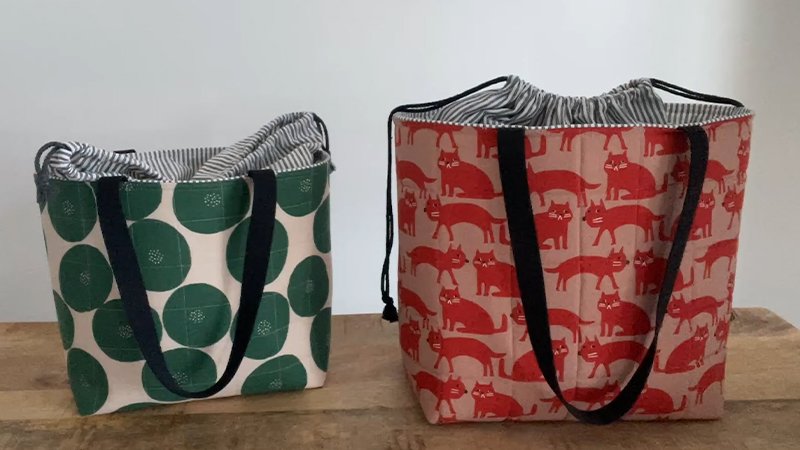
Learn to sew an easy, Japanese-inspired square bag with a boxy shape. This beginner-friendly design uses simple side darts to create the shape.
Instructions include two sizes: a large tote for groceries or supplies, and a small, fat quarter friendly size perfect for a casual purse or lunch bag.
Materials Needed & Measurements:
Finished Dimensions
| Size | Bottom Dimensions | Height |
| Large Bag | Approximately 10″ \times 11″ | 15″ tall (at high points where straps are attached) |
| Small Bag | Approximately 5″ \times 6″ | 9″ tall (at high points where straps are sewn on) |
General Materials Needed
- Thread (polyester thread is recommended as it has a slight stretch which helps prevent breaking with heavy use).
- A sewing machine.
- Cutting tools: scissors, rotary cutter, acrylic ruler, and cutting mat.
- Iron and ironing board.
- A fabric marking pen or pencil.
- Sewing pins.
- Chopstick or turning tool.
- A safety pin (for turning the small straps).
Large Bag Materials & Cutting Instructions
| Item | Quantity Needed | Cutting Dimensions |
| Fabric for Exterior | 1 yard | 1 square of fabric 31″ \times 31″ |
| Fabric for Lining | 1 yard | 1 square of fabric 31″ \times 31″ |
| Bag Straps | 2 rectangles | 4″ \times 30″ (Straps may be cut from either exterior or lining fabric) |
Small Bag Materials & Cutting Instructions
| Item | Quantity Needed | Cutting Dimensions |
| Fabric for Exterior | 1 fat quarter (18″ \times 21″ piece of fabric) | 1 square of fabric 18″ \times 18″ |
| Fabric for Lining | 1 fat quarter (18″ \times 21″ piece of fabric) | 1 square of fabric 18″ \times 18″ |
| Straps (Exterior) | 2 rectangles | 1 \frac{1}{2}” \times 18″ |
| Straps (Lining) | 2 rectangles | 1 \frac{1}{2}” \times 18″ |
Instructions for Making the Japanese Style Square Bag with Quilting Cotton Pattern:
Cutting Instructions
Cutting Dimensions (Large Bag):
- 1 square of exterior fabric 31″ \times 31″.
- 1 square of lining fabric 31″ \times 31″.
- 2 rectangles 4″ \times 30″ for the bag straps. The strap pieces can be cut from either the exterior or lining fabric, depending on whether you want them to match the inside or outside of the bag.
Make the Bag Straps
- Take the 4″ \times 30″ fabric strips and fold each one in half lengthwise, ensuring the wrong sides are together, and press.
- Open the strip, then fold the long raw edges toward the center and press.
- Fold the strip in half once more and press again. This process results in two finished strips measuring 1″ \times 30″.
- Topstitch along both of the long edges of each strap, staying close to the edge.
Make the Bag Body
- Place the two 31″ squares (exterior and lining) right sides together and secure them with pins around all four sides.
- Sew around the perimeter of the square using a 3/8″ seam allowance, but leave a 6″ opening unstitched for turning the bag later.
- Trim away the excess fabric located at the corners.
- Turn the square right side out through the turning opening. Use the chopstick or turning tool to gently push out the corners.
- Press the entire square flat. At the opening, fold the raw edges inward to the inside and press them to maintain a neat seam.
- Topstitch around the entire perimeter of the square, 1/8″ from the edge. This step simultaneously closes the 6″ turning opening.
Fold, Mark, and Sew Darts to Shape the Bag
- Fold the resulting square bag in half so that the lining fabric is facing the outside, and press the folded edge.
- Using a fabric marker or pencil, make marks on the folded edge and on the sides that are 7″ away from the corners of this folded edge. Connect these marks with drawn lines.
- Open the bag and fold it in half again, as if folding it into quarters, and press the new folded edge. The first fold will now appear as a horizontal line.
- Use the fabric marker to make marks 7″ away from the corners on this new folded edge and the sides, connecting these marks with drawn lines.
- Place pins along the lines you just drew (the second set of lines).
- Sew along these drawn lines to create wide darts, being sure to backstitch neatly at the beginning and end of each dart.
- Open the bag and re-fold it along the first fold line you pressed in Step 1. The bag will no longer lie flat due to the darts, which is correct.
- Bring the upper corners together and pin along the dart lines that you drew first (the initial set). Sew along these lines to complete the last two darts.
- With the bag still inside out, open each dart and press it flat so it forms a triangle shape. Pin the open edge of the dart closed through all layers.
- Sew a single straight line across the open edge of the dart to close it and secure the dart to the sides of the bag so it is held out of the way. Since this line of stitching will be visible from the outside of the bag, make sure to use matching thread in your bobbin. Tip: Pulling the bobbin thread to the top before you begin attaching each dart can help prevent a ‘nest’ of thread from forming on the bag’s exterior.
- Repeat this step for all four darts to secure them to the inside of the bag.
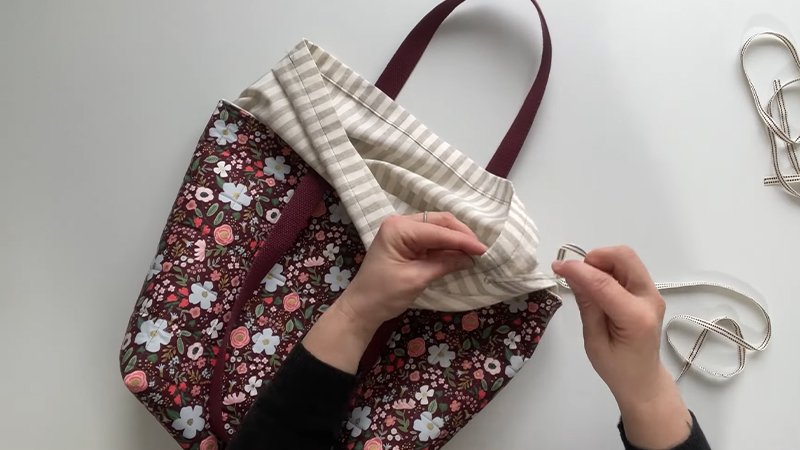
Add the Bag Straps
- Fold both ends of each finished strap over by approximately 1/2″ and press.
- Turn the bag right side out. Pin the ends of one strap to adjacent upper corners. The folded edges of the strap should be positioned against the lining side of the bag.
- Ensure the folded end of the strap is placed approximately 1″ below the corner point; this prevents the raw edges of the folded-under portion from showing.
- Neatly sew in a square shape to secure the strap firmly to the bag. If desired, sew an ‘X’ shape in the middle of the square for extra strength.
- Attach the two ends of the second strap to the remaining top corners of the bag in the same manner.


