Skill Level: Beginner to Intermediate
If you’re comfortable with double crochet stitches and working in the round, you’re ready for this project.
Materials Needed:
- Yarn: Use any yarn you like. Cotton, acrylic, or blends all work well. For a denser square, choose a medium-weight yarn.
- Crochet Hook: Use the hook size recommended on your yarn label. If unsure, start with a 4.0mm (G) or 5.0mm (H) hook for worsted weight yarn.
- Tapestry Needle: For weaving in the ends neatly.
- Scissors: To trim your yarn after fastening off.
Abbreviations (US Terms):
- ch = chain
- dc = double crochet
- rep = repeat
- st = stitch
- ch sp = chain space
- sl st = slip stitch
Pattern Notes:
- Begin with a magic circle to ensure the center hole is tight and clean.
- This pattern is worked in the round, with each round starting in the corner space of the previous round.
- The ch-2 at the beginning of each round counts as the first dc. If you prefer, you can start with a ch 3, which is more traditional.
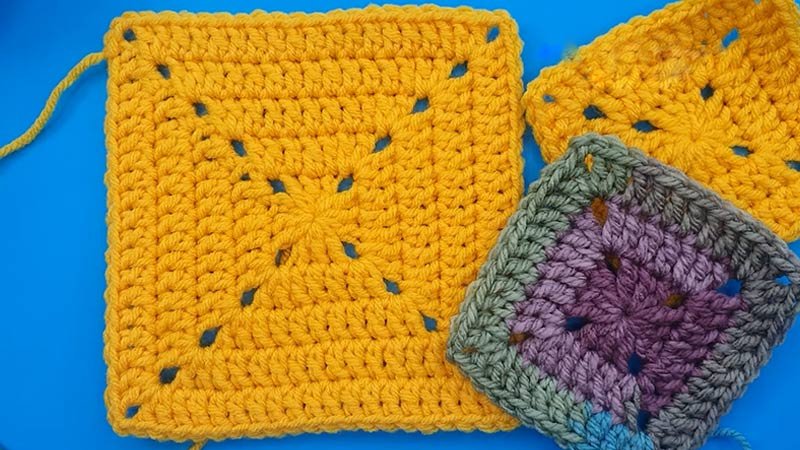
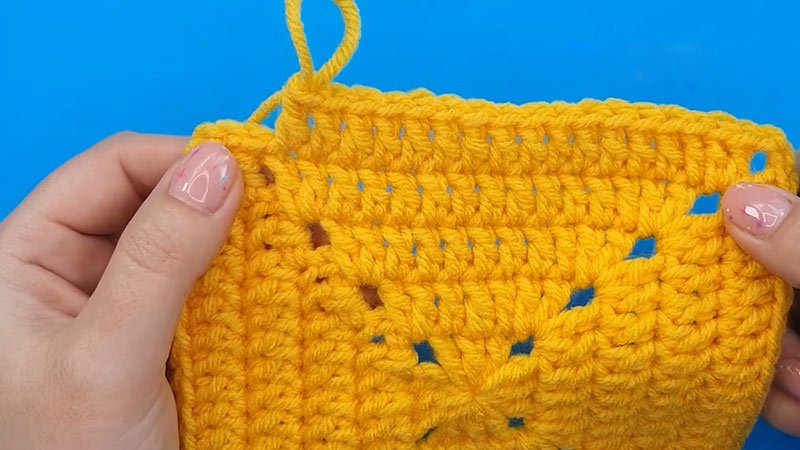
- The square grows by four stitches per side with each new round.
- You can repeat Round 3 as many times as needed to reach your desired size.
- The final round includes a clean join with sl st for a seamless edge.
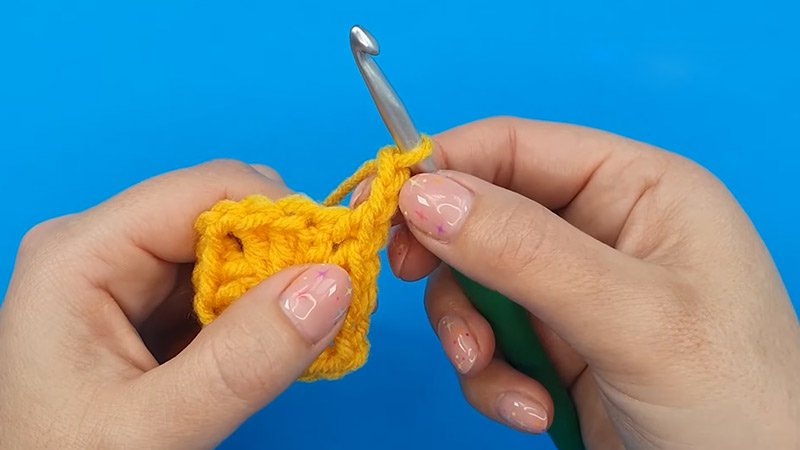
Instructions for Making the Seamless Solid Granny Square Pattern:
Start with a magic circle:
- Round 1

- Ch 3 (counts as 1 dc). Work 2 dc into the ring.
- Ch 2, 3 dc – repeat from to three more times.
- You will have four 3-dc groups separated by ch-2 spaces.
- To close the round, work 1 dc into the top of the starting ch-3 (this substitutes for the final corner ch-2 space). Tug the yarn tail to close the magic circle tightly.
- Round 2
- Ch 2 (counts as 1 dc).
- Work 1 dc in the same space.
- Work 1 dc in each stitch across the first side.
- In each ch-2 corner space: (2 dc, ch 2, 2 dc).
- At the end of the round, work 2 dc in the starting corner space and 1 dc on top of the beginning ch-2 to close.
- Round 3
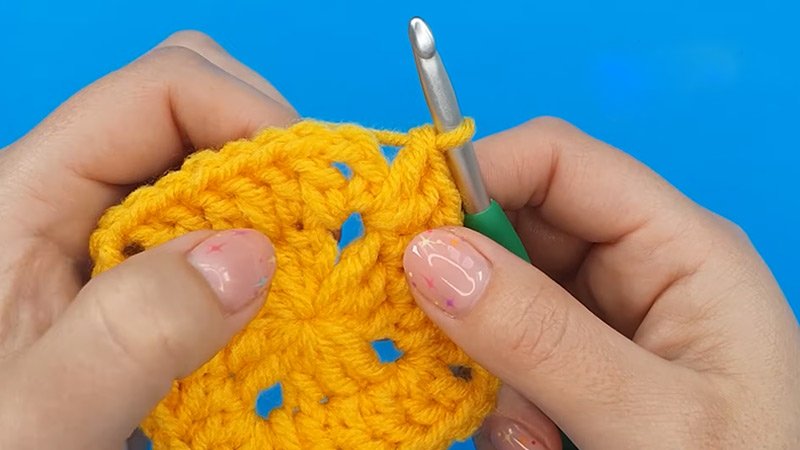
- Ch 2 (counts as 1 dc).
- Work 1 dc in the same space.
- Work 1 dc in each stitch across the side.
- In each corner ch-2 space: (2 dc, ch 2, 2 dc).
- At the end, work 2 dc in the starting corner space and 1 dc on top of the beginning ch-2 to close.
Continue Growing the Square:
Repeat Round 3 for as many rounds as needed. Each new round will add four more stitches to each side of the square. For example:
- After Round 1, each side has 3 stitches.
- After Round 2, each side has 7 stitches.
- After Round 3, each side has 11 stitches, and so on.
For the Festival Pic ‘n’ Mix Blanket CAL, complete five total rounds to match the project’s motif size.
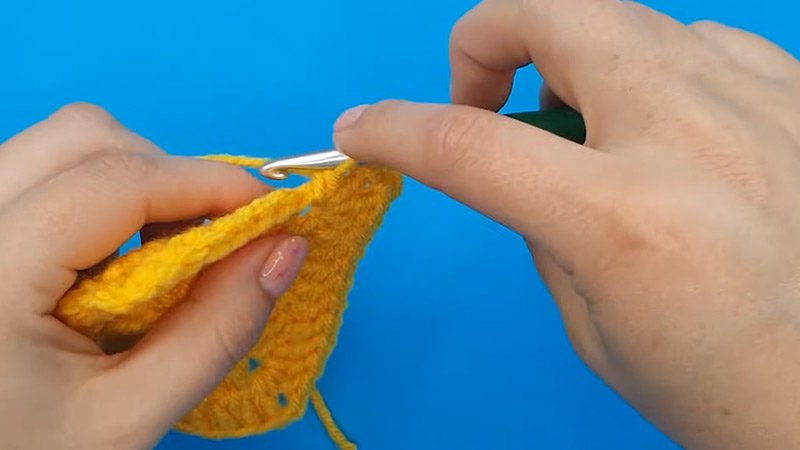
Final Round (Optional or for Finishing):
- Ch 2 (counts as 1 dc).
- Work 1 dc in the same space.
- Work 1 dc in each stitch along the side.
- In each corner: (2 dc, ch 2, 2 dc).
- At the end, work 2 dc in the starting corner, ch 2, and sl st to the top of the beginning ch-2 to join seamlessly.
Finishing Touches:
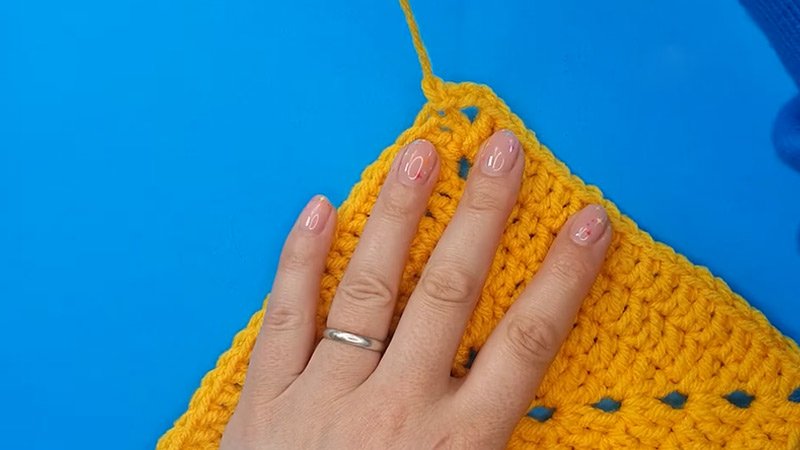
Fasten off your yarn. Use a tapestry needle to weave in any loose ends along the back of the stitches. Block your square if necessary for a clean, flat finish, especially if you’re joining it with others for a blanket.
Tips for Success:
- Use stitch markers to help identify corners if needed.
- Count your stitches after each round to avoid unintentional increases or decreases.
- Consider changing colors between rounds for a striped, modern look.
Download PDF