
Pattern Description:
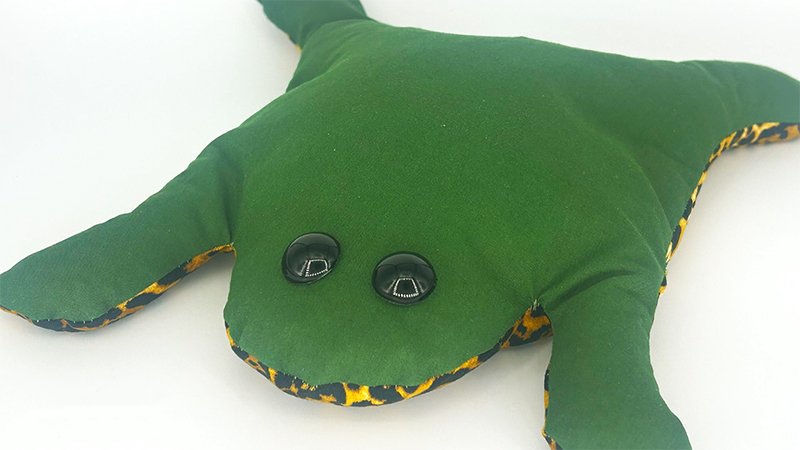
Make your own playful bean bag frog that’s perfect for games, decoration, or stress relief. This soft, posable critter has a weighted body, a fun floppy shape, and a wide mouth for extra character. Great as a sewing project for beginners to advanced makers.
Materials Needed & Measurements:
Fabrics to Sew Bean Bag Frogs:
- For the back of the frog: One or two fabrics, each approximately 9 x 12 inches.
- For the frog’s belly: A piece of fabric about 12 x 18 inches.
- For the frog’s opened mouth: Scraps of fabric (or use one of the other frog fabrics), about 4 x 5 inches.
Additional Materials Needed:
- Baubles, beads, or buttons for the eyes (alternatively, draw them with a permanent marker).
- Poly pellets (or plain uncooked rice): About two cups per frog. Poly pellets are preferred as they are not food, will not attract insects, and are not subject to moisture problems like rice.
- Sewing machine with BERNINA Patchwork Foot #97/97D and the Free-hand System.
- A large bowl.
- Measuring cup.
- Funnel (or paper rolled into a funnel).
- Chopstick or paintbrush.
- Pins.
- Scissors.
- Thread.
- Scotch tape (optional, for holding pellets).
- Stiletto (optional, for moving pellets).
- Heavy paper or cardstock (optional, for making a funnel).
Instructions for Making the Swamp Fun Bean Bag Frog Pattern:
Making the Pattern Pieces
Using the provided pattern, you will cut out the various fabric components for your frog:
- Cutting the Top (Back) Pieces: Cut out two pieces for the top of the frog, which will form its back. You can use either one or two different fabrics for these pieces.
- Cutting the Bottom (Belly) Piece: Take the same pattern and fold it on the dotted line. Cut one piece on the fabric fold to create the bottom or belly side of the frog. It’s important to note that the pattern’s dotted line might not align perfectly with the fold due to potential redrawing or distortion during printing, so feel free to adjust as needed to make it work for you.
- Cutting the Mouth Pieces: Cut out two pieces for the mouth from your scrap fabric.
Joining the Frog Back Pieces
Begin by sewing the two frog back pieces together along the arch only. Once sewn, press the seam open.
Attaching the Mouth Pieces
Next, with right sides of the fabric together, sew one mouth piece to the arch of the back piece and the other mouth piece to the belly piece. Sew along the upper curve of the mouth using a ¼” seam allowance.
After sewing, clip the curves to reduce bulk, then turn the mouth pieces to the right side of both the back and belly sections. Press these seams flat.
Stuffing and Securing the Mouth Pieces
Working over a large bowl to catch any spills, use a spoon or measuring cup to place approximately two tablespoons of poly pellets into each of the mouth pieces.
Push these pellets towards the top of the mouth, away from the raw edge where you will be sewing.
To keep the pellets in place, you can use a strip of scotch tape and then a row of pins on each side.
Carefully and slowly sew ¼” from the raw edge to encase the pellets. As you sew, use your fingers or a stiletto to ensure no pellets are in the path of the needle, as hitting them can break your needle.
Joining the Frog Halves
Once both mouthpieces are sewn shut, lay the two main frog pieces (the back/mouth assembly and the belly/mouth assembly) right sides together.
Pin generously and carefully, especially around all the curved areas, as the pieces may slide while sewing.
Set your sewing machine’s stitch length slightly lower than the default to help ensure the pellets do not fall out.
Starting at the edge of one side of the mouth, sew ¼” along the edges all the way around to the other side of the mouth. Use the knee lift on your machine as needed to reposition your work smoothly.
Turning Right Side Out and Shaping
Clip all the small curves on the sewn edges. Then, carefully turn the frog right side out through the opening at the mouth.
Use a chopstick or the back of a paintbrush to gently poke out all the curves and limbs, shaping the frog.
Filling the Frog Body
Again, work over a large bowl. Using either a funnel or a piece of heavy paper or cardstock taped into a funnel shape, begin to fill the frog through the mouth opening.
Direct the pellets into the lower legs first, and as you add more, work them down into the lower legs and arms.
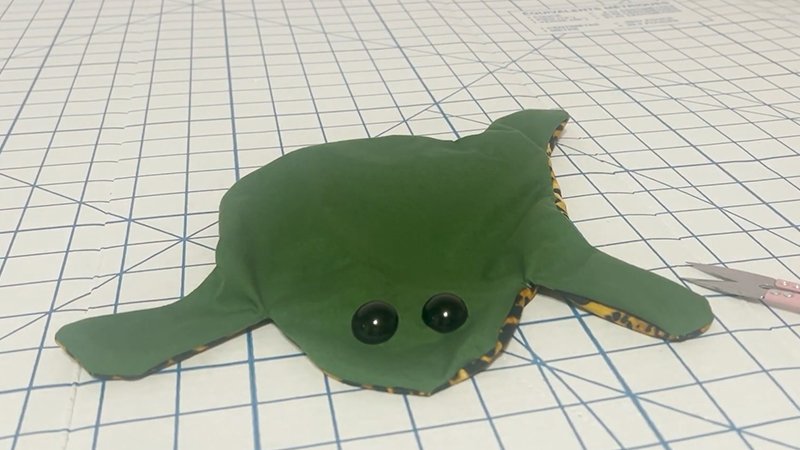
The amount of pellets you use will determine the frog’s stiffness; more pellets will make it stiffer, while fewer will make it floppier and more posable. The choice is yours.
Closing the Mouth Opening
Ensure that the pellets are well away from the top of the frog and use pins to hold them in place. Return to your sewing machine.
Line up the two pieces of the mouth and sew directly on the line of stitching that is visible from when you first sewed the mouth pieces shut.
Make sure to sew from one side to the other with no gaps, moving any wayward pellets out of the way as you sew.
This step can be a bit tricky; if it feels too daunting, you can hand-sew the opening inside the mouth with a tight slip stitch instead.
Final Adjustments and Adding Eyes
Once the mouth is closed, you can maneuver the pellets around inside the frog to position them exactly where you want them.
Finally, depending on your choice of eyes (baubles, beads, buttons, or drawn), sew, draw, or glue them in place.
This project has a difficulty level for all levels and typically takes about 60 minutes to complete.
Download Free PDF:


