Pattern Description:
- Difficulty Level: Intermediate to advanced. Not suited for beginners.
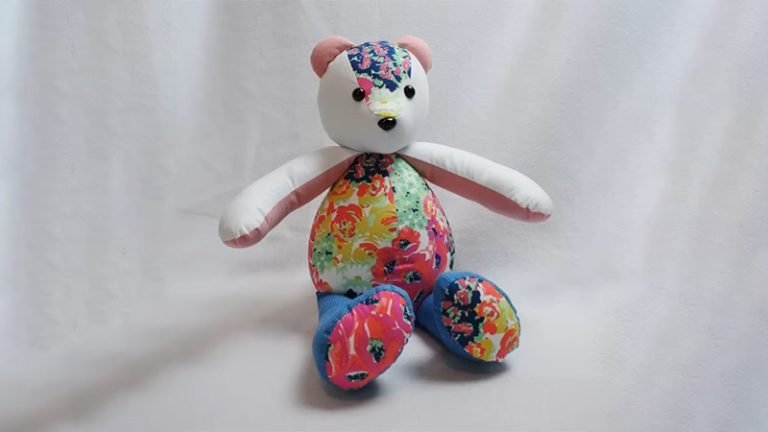
- Finished Size: Approximately 16 inches tall (measured from bottom to ears).
- Pattern Format: Free downloadable PDF file. Print the pieces and transfer them to fabric.
- Customization: The pattern can be resized using a photocopier. Scaling up makes a larger bear, scaling down creates a smaller version.
- Seam Allowance: Add 1/4 inch seam allowance to every piece when cutting. If omitted, the finished bear will be slightly smaller but still proportional.
- Pattern Labeling: Each piece is marked with a letter or letter-number combination. Follow the markings carefully when assembling.
Materials Needed & Measurements
To complete the teddy bear, gather the following:
- Body Fabric (1 yard): Fleece is recommended for a soft finish. Faux fur or “minky” fabric may be used for a fluffy texture. Avoid fabrics that fray excessively.
- Contrast Fabric (1/2 yard): For detail pieces such as ears, forehead, mouth, paw pads, and foot bottoms. Choose a color that contrasts or complements the body fabric.
- Stuffing: Polyester fiberfill is ideal. Other options include wool roving or scrap fabric pieces.
- Eyes: One set of 18mm plastic animal safety eyes. For baby-safe bears, embroider the eyes or use felt patches instead of plastic.
- Nose Material: Small scrap of felt or embroidery thread. Felt noses are soft and safe, while embroidery adds durability.
- Sewing Tools: Sewing machine, sharp scissors, hand-sewing needles, straight pins or clips, and fabric marking tools. Some areas of the bear require hand-stitching for precision.
- Cardboard (optional): To back printed pattern pieces for easier tracing and repeated use.
Preparation:
- Download and Print the Pattern: Print the PDF at 100% scale to preserve accuracy.
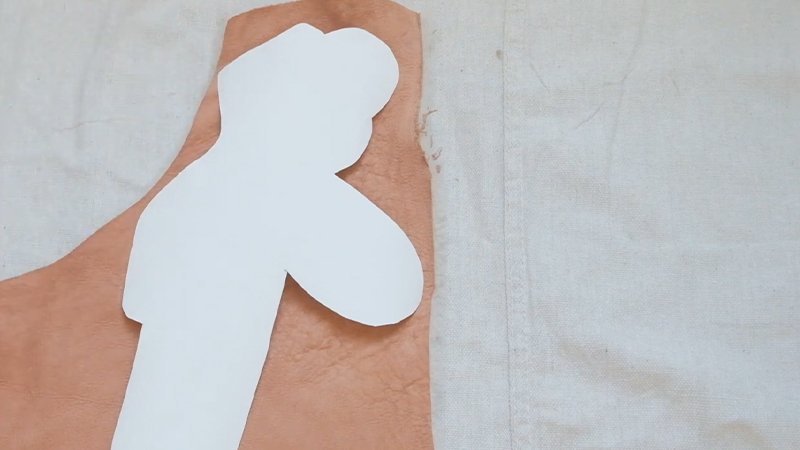
- Back the Pattern: Glue each piece onto cardboard if you plan to reuse it. This provides durability and ease in tracing.
- Trace and Cut Fabric: Place pattern pieces on the fabric, trace with a fabric marker, and cut carefully. Be sure to add 1/4 inch seam allowance unless you prefer a slightly smaller bear.
- Pay Attention to Mirrored Pieces: When a pattern specifies “2, 1 reverse,” cut one piece normally and one reversed to create mirrored shapes.
- Organize Pieces: Keep pieces grouped by body sections (head, body, arms, legs) to avoid confusion.
Sewing Instructions for Making the Teddy Bear Pattern:
1. Head Assembly (Pieces #1-5)

- Ears (#1): Place ear fabric pieces right sides together and stitch around, leaving the straight edge open. Turn right side out.
- Forehead (#2) & Side Head (#3): Stitch the side head pieces to the forehead, inserting the ears in the designated points (A2).
- Mouth (#4): Align with forehead piece and stitch from point B, shaping the muzzle. Sew the mouth’s center seam.
- Head Back (#5): Sew the two halves together at the center seam. Attach to the front head assembly, ensuring ears align (A1) and seams meet correctly. Turn right side out.
2. Front Body Assembly (Pieces #6-10)
- Belly (#6): Stitch the center seam.
- Arms (#7 & #8): Attach the hand fronts (#7) to the arm fronts (#8).
- Legs (#9 & #10): Connect the leg tops (#9) to the foot tops (#10).
- Combine: Attach completed arms and legs to the belly, matching pattern letters. Take care to position legs outward correctly. Pin thoroughly before sewing.
3. Back Body Assembly (Pieces #11-14)

- Tail (#11): Sew right sides together, leaving an opening. Turn right side out.
- Back (#12): Sew center seam, inserting the tail at the marked location.
- Bottom Leg (#13): Stitch center seam from point S to K. Attach to back body.
- Arm Back (#14): Join to back body, matching letters.
- Combine Front & Back: Sew assembled front body to back body, leaving openings at neck and feet.
4. Attach Feet Bottoms (Piece #15)
- Sew foot bottoms (#15) to leg openings, aligning points Q and R with seams. Pin generously to manage fabric stretching. Turn right side out when finished.
5. Face Details
- Eyes: Insert safety eyes securely or embroider eyes for baby-safe bears.
- Nose: Cut a small felt triangle or oval and hand-sew in place. Alternatively, embroider with satin stitches.
- Mouth: Fold and tack the fabric according to markings. Use hand-stitches to define the lip line. A vertical stitch can connect the nose to the mouth.
6. Join Head and Body

- With the bear still inside out, align the neck opening of the body to the base of the head. Stitch securely around.
- Turn the entire bear right side out.
- Stuff evenly with polyester filling. Begin with the head, then arms and legs, finishing with the body. Adjust firmness to preference.
- Hand-sew the final opening closed with invisible ladder stitches.
Extra Tips for Success
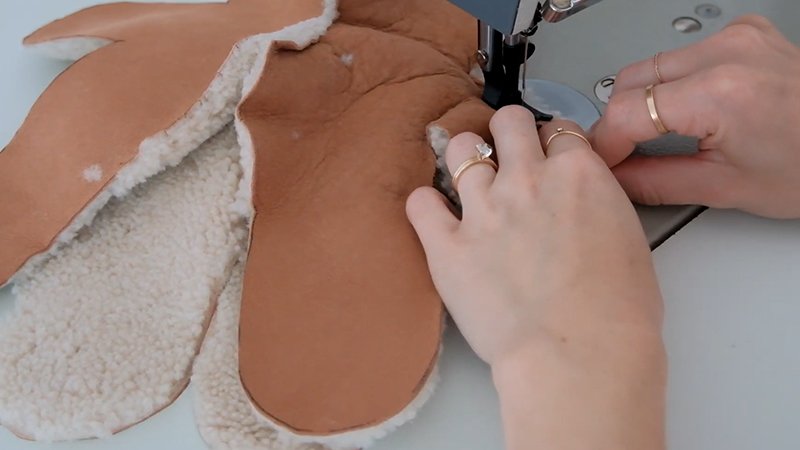
- Pin First, Sew Second: Always pin or clip pieces in place before stitching, especially around curves.
- Work in Small Sections: Sew slowly around tight curves such as the muzzle and foot pads.
- Mix Machine and Hand Sewing: Some small or curved sections are easier to complete by hand.
- Check Symmetry: Regularly compare left and right sides of the bear to ensure balance.
- Scaling: Resize the pattern with a photocopier to create smaller or larger bears. Adjust eye and nose size proportionally.
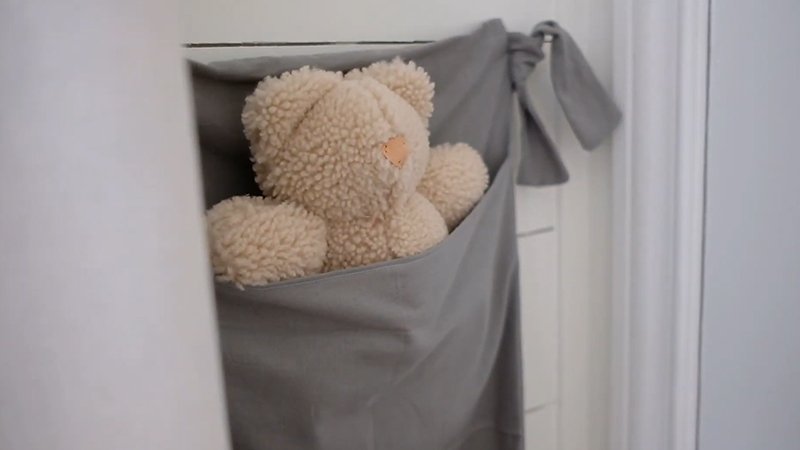
- Memory Bears: For sentimental projects, use fabric from clothing. Cotton, flannel, or jersey work best. Avoid overly stretchy knits unless stabilized.
Safety Considerations
- For Children Under 3 Years: Avoid plastic eyes or buttons. Embroider all facial features and double-stitch seams.
- Durability: Use short stitches (2-2.5mm) on a machine to strengthen seams. Reinforce stress points such as arms, legs, and head joints.
- Fabric Choice: Wash fabric before use to avoid shrinking or color transfer.
Download Free PDF: