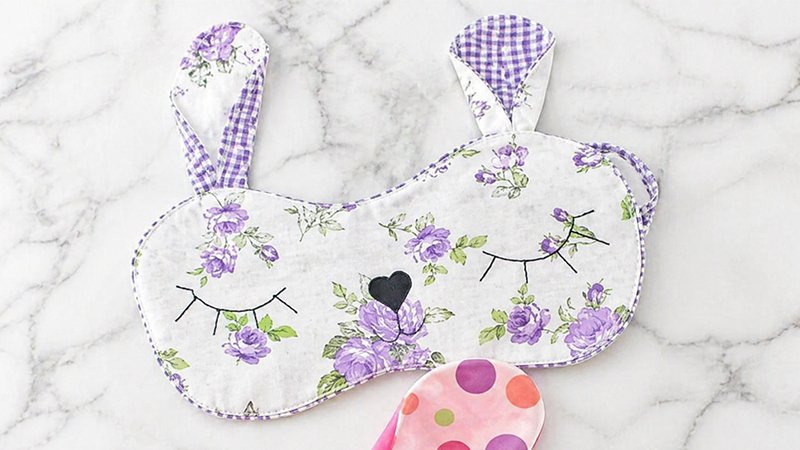
If you’re looking for a quick, cute, and practical sewing project, this bunny sleeping mask is perfect. It’s ideal for using up scrap fabric, making thoughtful handmade gifts, or simply enjoying a relaxing craft session. Best of all, you can complete it in about 30 minutes.
Whether you’re new to sewing or experienced, this project is small, manageable, and great for practicing precision.
Materials You’ll Need
Gather everything before you begin:
- Scrap fabric (for front, back, and ears)
- Small piece of black fabric (for the nose)
- Standard interfacing
- Double-sided fusible interfacing
- Elastic (1 3/16″ wide, about 4″ long)
- Matching thread + black thread (for facial details)
- Fabric pen + chalk pen
- Scissors + pinking shears
- Sewing machine
- Iron
Choosing Your Fabric
Think about comfort and how the mask will be used:
- Cotton (front + back):
Best for back sleepers or travel use (planes, buses). - Fleece (back side):
Ideal for side sleepers—soft, prevents face marks, and adds cushioning.
Customizing Your Bunny
You can easily personalize your mask:
- Trim the ears for a smaller or subtler look
- Make them uneven for a playful, quirky style
- Change colors/patterns for different people (kids, adults, gifts)
Step 1: Cut Your Fabric Pieces
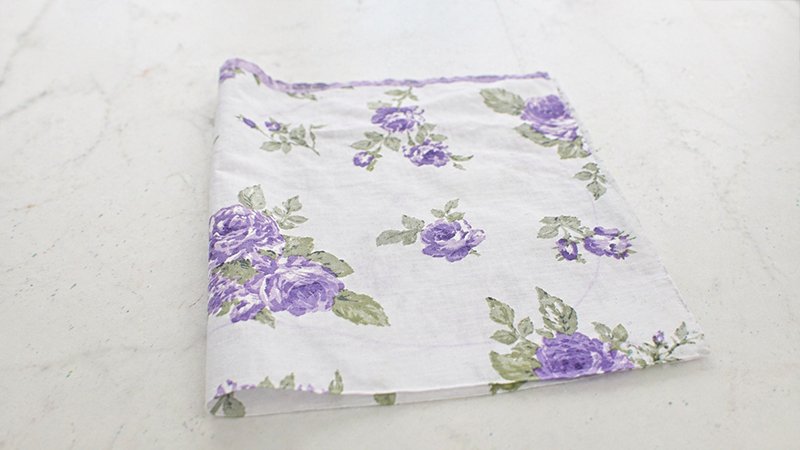
Mask Body
- Fold your fabric in half (right sides together or as required by the pattern).
- Place the mask pattern along the fold.
- Trace and cut:
- 1 front piece
- 1 back piece
Ears
- Cut 4 ear pieces total:
- 2 from front fabric
- 2 from the back fabric
Nose
- Apply interfacing to a small section of black fabric first (for stability).
- Trace the nose shape onto the interfaced side.
- Carefully cut using sharp scissors.
Step 2: Add the Bunny Face
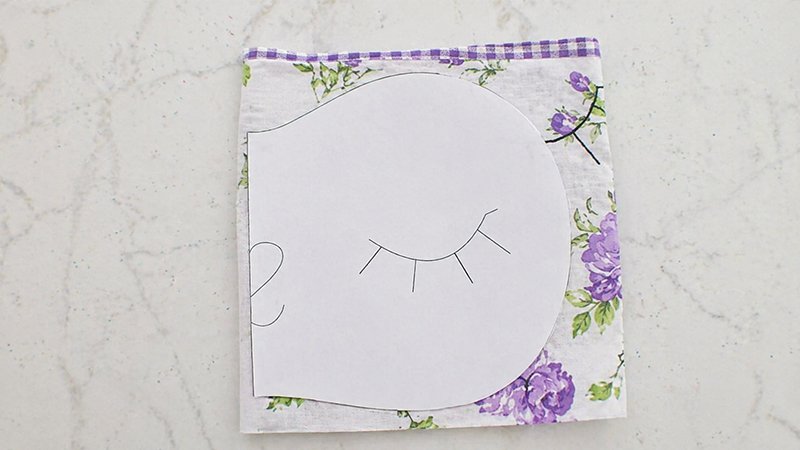
Attach the Nose
- Trace the nose shape onto double-sided fusible interfacing.
- Cut it out.
- Sandwich it between:
- The mask front
- The black fabric nose
- Use your pattern as a guide to position it correctly.
- Press with an iron to fuse in place.
Draw the Face
- Use a fabric pen to trace the eyes and mouth.
- If you can’t see through the fabric:
Tape the pattern and fabric to a window for backlighting.
Stitch the Features
- Use black thread
- Options:
- Hand stitching (easier for beginners)
- Machine stitching (use low speed + short stitch length)
Step 3: Sew the Ears
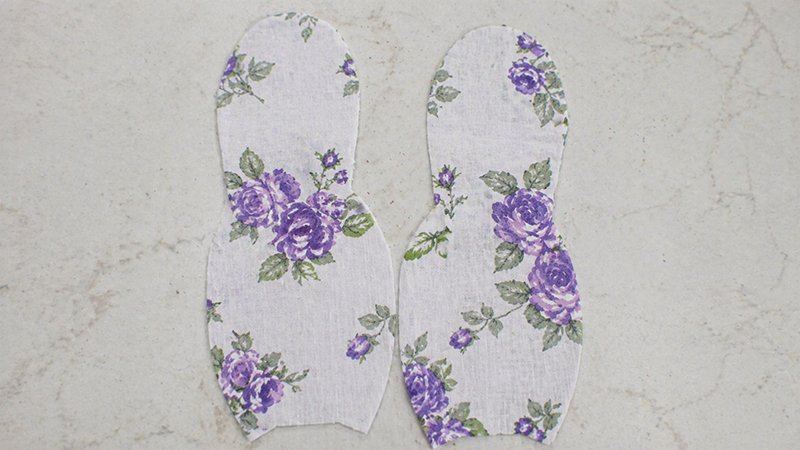
- Place:
- 1 back ear (right side up)
- 1 front ear (wrong side up)
- Sew around sides and top using ¼″ seam allowance
- Leave the bottom open
- Turn the right side out
- Smooth edges and press flat
Shape the Ears
- Fold the bottom edges inward toward the center
- Press again
- Sew a small horizontal stitch across the bottom to secure the shape
Repeat for the second ear.
Step 4: Make the Elastic Strap
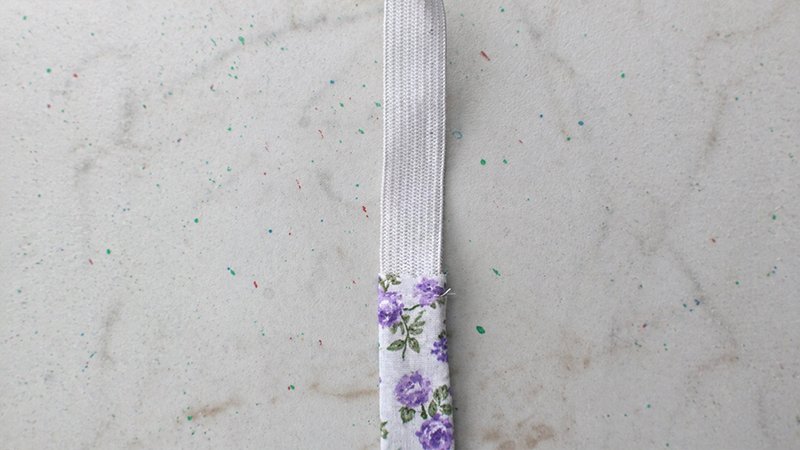
Prepare Fabric Tubes
- Cut:
- 2 strips: 5″ × 2″
- Elastic: ~4″
- Fold one strip lengthwise (wrong sides out)
- Insert the elastic inside
- Sew along the long edge:
- Stitch beside the elastic (don’t catch it!)
- Remove the elastic temporarily
- Trim seam allowance slightly
- Turn the tube right side out
Finish Strap
- Trim one end with pinking shears
- Reinsert elastic
- Tuck about ¼″ of elastic into the end
- Stitch across to secure
Repeat for the second strip → forms one continuous covered strap
Step 5: Final Assembly
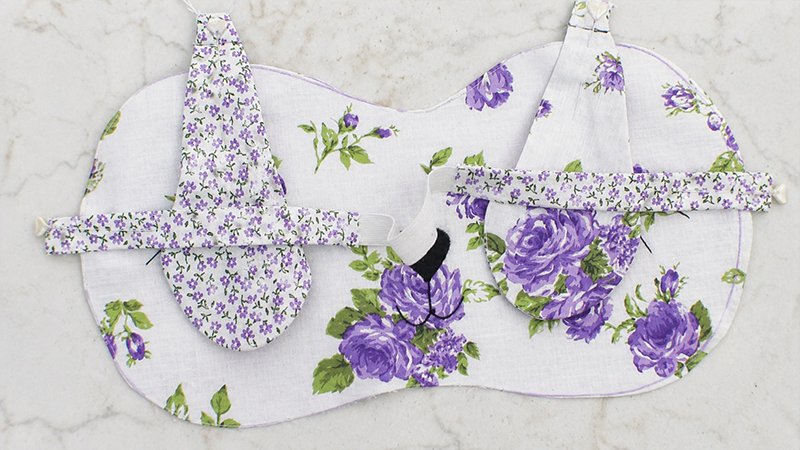
Layer Everything
- Place back mask piece (right side up)
- Position ears:
- Facing downward toward the center
- Pin in place
- Place strap ends at sides and pin
- Add front mask piece on top:
- Wrong side facing up
- Right sides of mask pieces touching
Sew the Mask
- Pin all layers securely
- Sew around the edge using a ¼″ seam allowance
- Leave a small gap at the bottom for turning
- Trim seam allowance around curves (reduce bulk)
- Do NOT trim near the gap
Turn & Finish
- Turn the mask right side out through the gap
- Tuck raw edges inside
- Press flat with the iron
- Edge stitch around the entire mask
- Closes gap
- Gives a clean, professional finish
You’re Done!
Give your mask a final press—and your adorable bunny sleeping mask is ready to use or gift!
Extra Tips
- Use soft fabrics for comfort against the skin
- Add a layer of batting for extra padding
- Make matching sets for gifts
- Try different animal designs using the same base pattern
This project is a perfect mix of cute, functional, and beginner-friendly, and a great way to turn fabric scraps into something special.