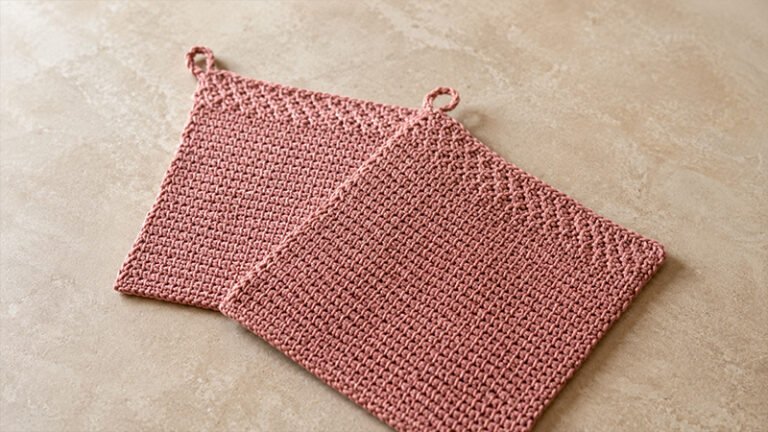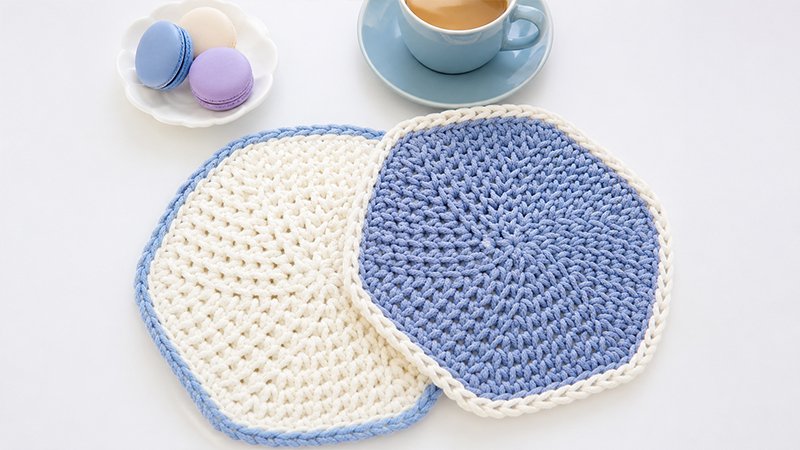
This project transforms basic single crochet stitches into a faux-knit texture by placing your hook directly into the “V” of the stitch rather than under the top loops.
Worked in seamless rounds, this hexagon expands by placing regular increases at six specific points. A final contrasting border in the back loops gives it a clean, professional finish.
Materials & Specifications
-
Hook: 8.0 mm (Size L-11 US)
-
Yarn: Bulky weight (Size 5) cotton cord or rope.
-
Color A (Main): Approx. 39 yards / 35 meters
-
Color B (Border): Approx. 4 yards / 3 meters
-
-
Notions: 1 stitch marker (crucial for tracking continuous rounds), tapestry needle, and scissors.
-
Finished Size: Approximately 8 inches (20.5 cm) from point to point.
-
Gauge: 5 rounds of knit stitches = 4 inches (10 cm).
Stitch Guide & Abbreviations (US Terms)
-
Ch: Chain
-
MC: Magic Circle (Magic Ring)
-
Sc: Single Crochet
-
Sl St: Slip Stitch
-
BLO: Back Loop Only
-
St(s): Stitch(es)
-
Knit St (Waistcoat Stitch): Insert your hook directly into the center of the “V” of the single crochet stitch from the previous row (below the top two loops), yarn over, pull up a loop, yarn over, and pull through both loops on your hook. Keep your tension loose so it is easy to insert the hook on the next round.
-
Knit St Inc (Increase): Work two knit stitches into the exact same “V” space from the previous row.
Step-by-Step Instructions
The Hexagon Base
Note: Do not join the rounds with a slip stitch. You will work in a continuous spiral. Place your stitch marker in the first stitch of each round to keep track of your position.
Round 1: Form a magic circle. Chain 1, then work 6 single crochet stitches into the ring. Pull the yarn tail tight to close the center hole. (6 sts)
Round 2: Work a knit stitch increase into every stitch around. (12 sts)
Round 3: [Work 1 knit stitch increase in the next stitch, then 1 regular knit stitch in the following stitch]. Repeat the sequence inside the brackets a total of 6 times. (18 sts)
Round 4: [Work 1 knit stitch increase, then 1 regular knit stitch in each of the next 2 stitches]. Repeat from * to * 6 times. (24 sts)
Round 5: [Work 1 knit stitch increase, then 1 regular knit stitch in each of the next 3 stitches]. Repeat from * to * 6 times. (30 sts)
Round 6: [Work 1 knit stitch increase, then 1 regular knit stitch in each of the next 4 stitches]. Repeat from * to * 6 times. (36 sts)
Round 7: [Work 1 knit stitch increase, then 1 regular knit stitch in each of the next 5 stitches]. Repeat from * to * 6 times. (42 sts)
Round 8: [Work 1 knit stitch increase, then 1 regular knit stitch in each of the next 6 stitches]. Repeat from * to * 6 times. (48 sts)
Round 9: [Work 1 knit stitch increase, then 1 regular knit stitch in each of the next 7 stitches]. Repeat from * to * 6 times. (54 sts)
Round 10: [Work 1 knit stitch increase, then 1 regular knit stitch in each of the next 8 stitches]. Repeat from * to * 6 times. (60 sts)
Finishing the Base: Slip stitch into the very next stitch to smooth out the edge. Cut Color A and fasten off.
The Contrast Border
Round 11: Locate any stitch from Round 10. Insert your hook into the back loop only (BLO) of that stitch and pull up a loop of Color B. Loosely work a slip stitch into the back loop of every stitch all the way around the hexagon. Keeping these stitches loose prevents the edges of your trivet from curling upward. (60 sts)
Finishing Touches
-
Cut Color B, leaving a 6-inch tail.
-
Thread the tail onto a tapestry needle. To create a seamless edge, pass the needle under both loops of the first slip stitch you made in Round 11, then bring it back down through the center of the last slip stitch you created.
-
Pull gently to match the tension of the surrounding stitches.
-
Securely weave all loose yarn tails into the back of the trivet and snip any excess cord.