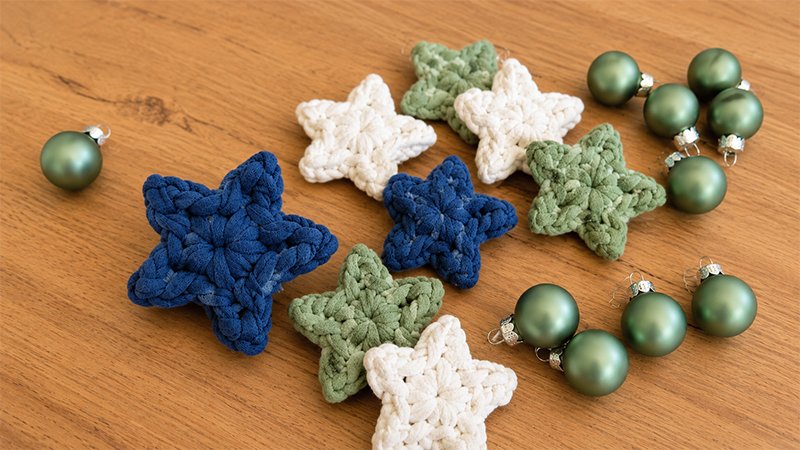
This quick-to-stitch star is the perfect last-minute holiday project. Made with thick T-shirt yarn, it holds its shape beautifully without needing stiffener. Hang it on your tree, string several together into a festive garland, or tie one onto a holiday gift wrap for a handmade touch.
Project Details
-
Skill Level: Easy / Beginner
-
Finished Size: About 2.5 inches (5 cm) across
-
Gauge: Not critical for this project
Materials Needed
-
Yarn: Super Bulky T-shirt yarn (such as Hoooked Zpagetti)
-
Hook: 8.0 mm (US L-11 / UK 0)
-
Tools: Tapestry needle and scissors
Abbreviations (US Terms)
-
Ch: Chain
-
MC: Magic Circle (Magic Ring)
-
Sc: Single Crochet
-
Sl St: Slip Stitch
-
St(s): Stitch(es)
Special Stitch Guide
-
Picot Stitch: Chain 3. Insert your hook into the back loop (or back bump) of the very first chain you made, yarn over, and pull through both loops on your hook to create a small, pointed peak.
Step-by-Step Pattern Instructions
Step 1: Create the base Start by forming a Magic Circle (Magic Ring) to serve as the center of your star.
Step 2: Work the star points You will work all of your stitches directly into the center of the magic circle to create a 5-point star.
-
First Point: Work 1 single crochet into the ring, then make a Picot Stitch (Chain 3, slip stitch into the first chain).
-
Second Point: Work 1 single crochet into the ring, then make a Picot Stitch.
-
Third Point: Work 1 single crochet into the ring, then make a Picot Stitch.
-
Fourth Point: Work 1 single crochet into the ring, then make a Picot Stitch.
-
Fifth Point: Work 1 single crochet into the ring, then make a Picot Stitch.
Step 3: Close and Finish
-
Pull the yarn tail of your magic circle firmly to close the center hole tight.
-
Insert your hook into the first single crochet you made at the beginning of the round and work a slip stitch to join the circle.
-
Cut your yarn, leaving a 6-inch tail. Pull the loop straight through to fasten off.
-
Thread the yarn tail onto your tapestry needle and weave it securely through the back of the stitches, then trim any excess yarn.
Tip: Leave one of the yarn tails long if you want to use it as a hanging loop for your tree!