Pattern Description:
This charming Fabric Lovers Apron pattern by Maureen Cracknell features a simple yet stylish half-apron design with a gathered skirt and wide waistband.
It combines coordinating fabrics for a patchwork-inspired look, perfect for home sewers who love mixing prints.
The pattern emphasizes creativity and practicality, ideal for everyday kitchen use or as a handmade gift.
Materials Needed & Measurements:
- 1 yard main fabric (apron skirt)
- ½ yard coordinating fabric (waistband and ties)
- ¼ yard accent fabric (pocket)
- Matching thread
- Scissors or rotary cutter
- Pins and sewing machine
- Iron and ironing board
- Optional: lace or trim for decoration Measurements: Apron skirt: approx. 18″ long × 40″ wide Waistband: 4″ × 20″ Ties: two pieces, each 4″ × 36″ Pocket: 8″ × 10″ (adjustable)
Instructions for Making the Fabric Lover’s Apron Pattern:
1. Preparing Your Materials
Before you begin sewing, gather all your materials and tools in one place. Choose three coordinating fabrics- one for the apron skirt, one for the waistband and ties, and one for the pocket or accent.
Iron all pieces to remove wrinkles for accurate cutting. Having your fabrics smooth will help ensure clean lines and even seams when you start stitching.
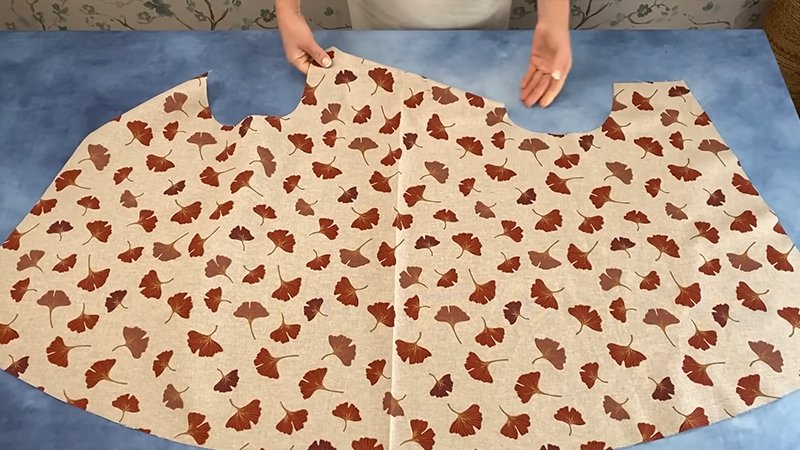
2. Cutting the Fabric
Start by cutting each fabric according to the following measurements:
- Apron skirt: 18 inches long × 40 inches wide
- Waistband: 4 inches high × 20 inches wide
- Ties: two pieces, each 4 inches × 36 inches
- Pocket: 8 inches × 10 inches
If you’d like a fuller apron, increase the width of the skirt or the length of the ties. You can also adjust the skirt length to suit your height or preference.
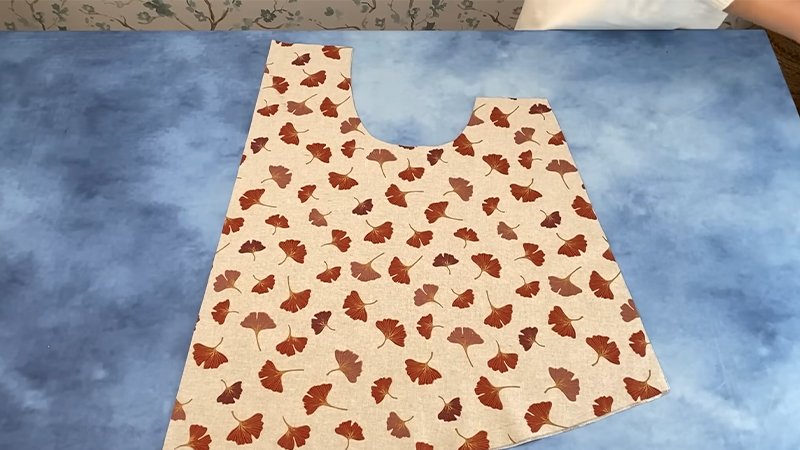
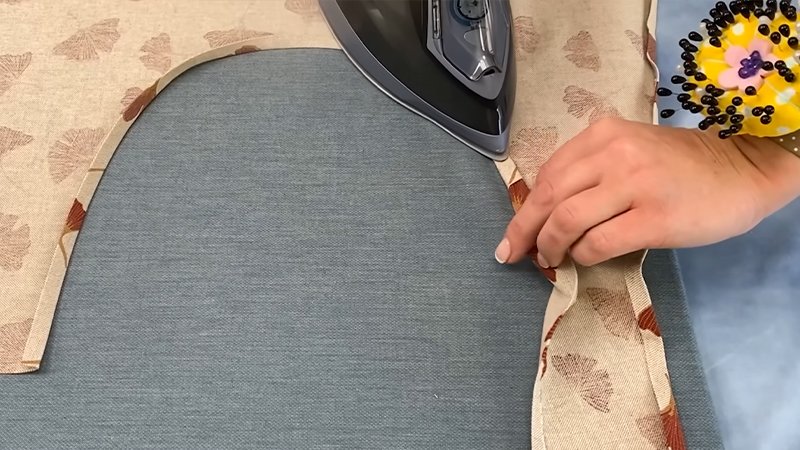
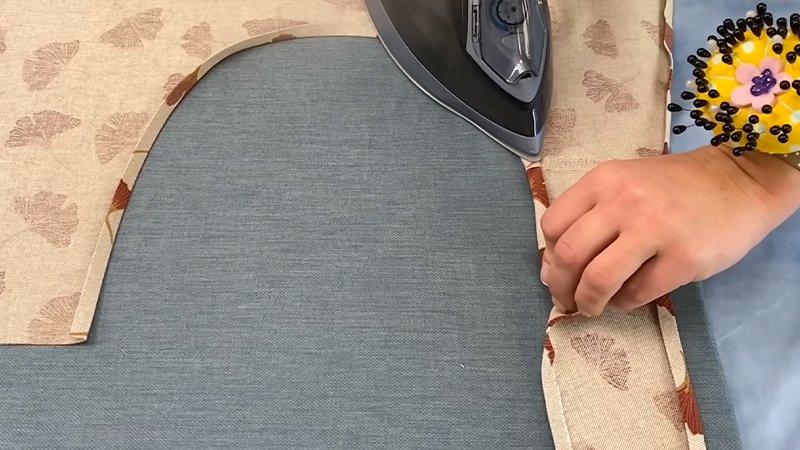
3. Hemming the Apron Skirt
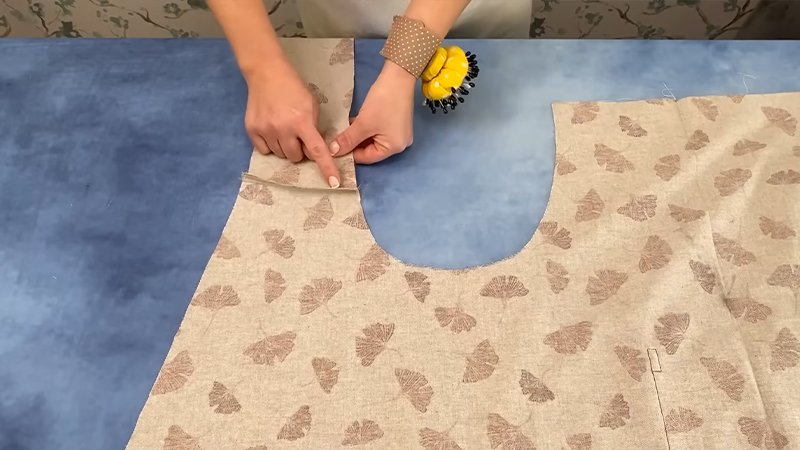
To create neat edges, fold the two short sides of the apron skirt ¼ inch toward the wrong side of the fabric, press with an iron, and fold again another ¼ inch. Pin the folds in place. Stitch close to the inner folded edge to form a clean double hem.
Repeat the same process for the bottom edge of the skirt, pressing and sewing to give it a finished look. This step prevents fraying and gives your apron a professional touch.
4. Gathering the Skirt
The gathered effect gives this apron its charming, vintage-inspired style. To create gathers, set your sewing machine to a long straight stitch and sew two parallel rows of stitching along the top edge of the skirt- one at ⅛ inch and the second at ¼ inch from the edge.
Leave several inches of thread at both ends. Gently pull the bobbin threads to gather the fabric until the top edge measures about 20 inches wide- the same width as your waistband piece. Even out the gathers so they are distributed uniformly across the top.
5. Preparing the Waistband
Take the waistband piece and fold it in half lengthwise with the right sides facing out. Press the fold with an iron to create a crisp crease.
Then, unfold and press ½ inch toward the wrong side along both long edges. This will form a clean border when you attach it to the skirt.
6. Attaching the Skirt to the Waistband
With right sides together, align the gathered edge of the apron skirt with one long edge of the waistband. Pin in place, making sure the gathers stay even.
Stitch along the pinned edge with a ½-inch seam allowance. Press the seam toward the waistband and fold the remaining half of the waistband over the gathered seam so it encloses the raw edges.
Stitch along the folded edge to secure everything neatly. At this stage, the skirt and waistband should look joined with no visible raw seams.
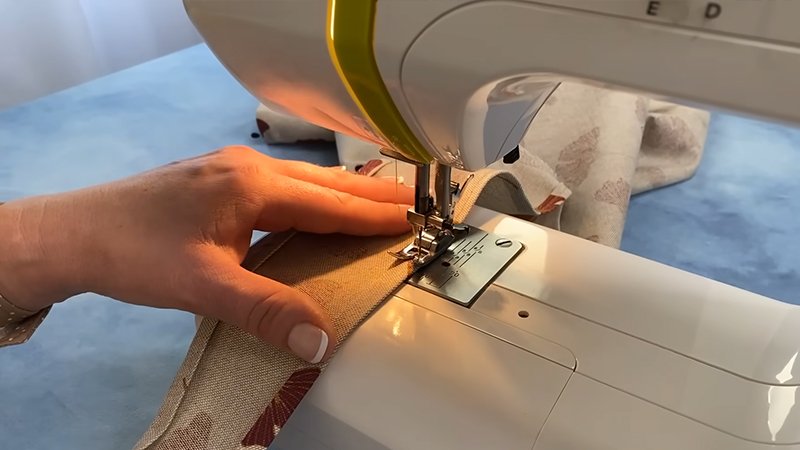
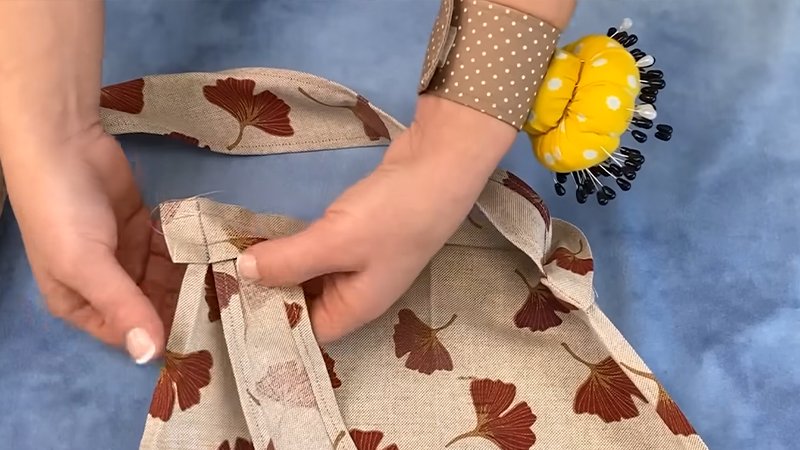
7. Making and Attaching the Ties
Take the two tie pieces and fold each one in half lengthwise, right sides together. Sew along one short end and the long edge, leaving one end open for turning.
Clip the corners at the sewn end, turn the ties right side out, and press them flat with an iron.
Next, insert one open end of each tie into the short ends of the waistband, about ½ inch deep. Pin and sew securely in place.
Make sure your stitches reinforce this area well since apron ties often experience tension when being tied around the waist.
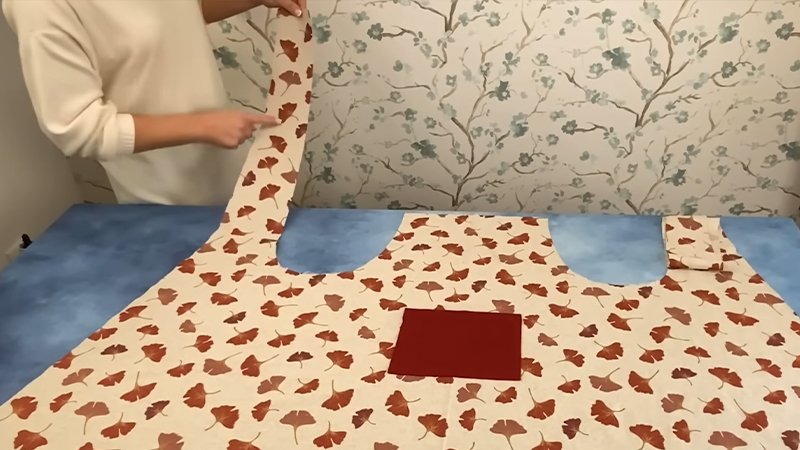
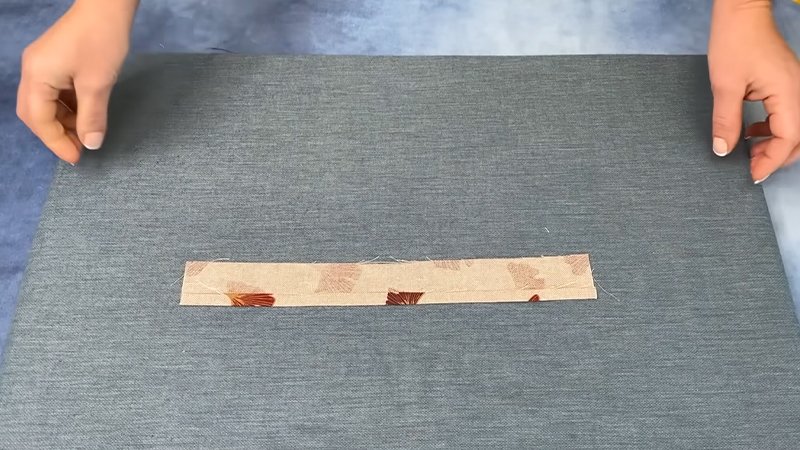
8. Adding the Pocket
Cut an 8″ × 10″ rectangle from your accent fabric for the pocket. Fold the top edge down ¼ inch, press, and fold again another ¼ inch to form a clean hem. Stitch across the folded edge. Press ¼ inch around the remaining three sides.
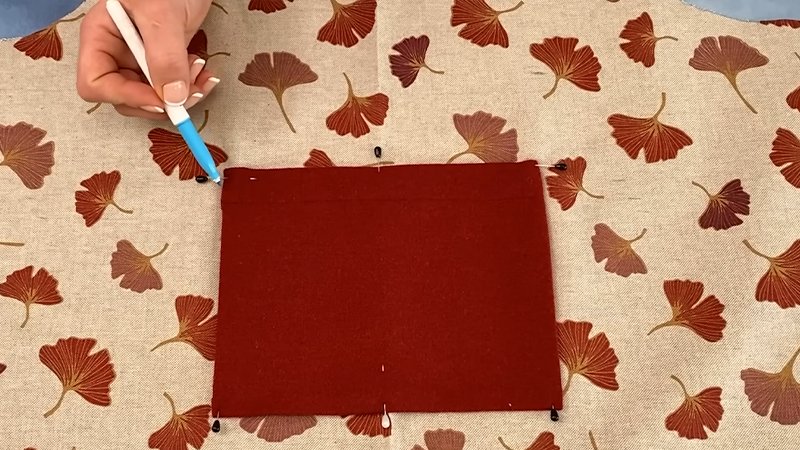
Position the pocket on the right or left side of the apron skirt (whichever feels more natural to you), about 4 inches below the waistband.
Pin it in place and sew along the sides and bottom edges, backstitching at the start and end to reinforce.
You can divide the pocket into smaller compartments by sewing a vertical line down the center if you like.
9. Optional Finishing Touches
To personalize your apron, consider adding lace, ribbon, or decorative trim along the bottom hem or pocket edge.
You could also topstitch around the waistband for a crisp, defined finish. A coordinating button or embroidery detail makes it extra special and handmade-looking.
10. Pressing and Final Check
Finally, give your completed apron a thorough pressing with your iron to set all seams and smooth out any wrinkles.
Check for loose threads and trim them off. Once done, tie the apron around your waist- it should feel comfortable, with the skirt gently flaring out and the waistband sitting snugly.
Now, ou now have a beautifully handcrafted Fabric Lover’s Apron- simple, functional, and full of personality.
Download Free PDF: