
In the landscape of contemporary fine art, few media possess the evocative power and ethereal transparency of watercolor.
For the serious artist aiming to achieve professional-grade results, mastering specific methodologies is not merely an option—it is a strategic necessity.
Among these, the wet-on-wet watercolor technique stands as the most popular and vital procedure to master. It is the cornerstone of creating sophisticated backgrounds, organic transitions, and atmospheric depths that define world-class artwork.
This comprehensive guide delves into the technical protocols of wet-on-wet painting, offering a blueprint for artists to harness the fluidity of water and the vibrancy of pigment to dominate the medium.
The Strategic Foundation: Understanding the Wet-on-Wet Mechanic
At its core, the wet-on-wet technique involves applying wet pigment onto a surface that has already been saturated with a layer of water.
This creates what is known as a “channel of water”. When the paint hits this damp surface, it does not sit static; instead, it expands and moves smoothly across the page.
The primary objective of this method is to produce seamless gradients and lovely drying effects that are impossible to achieve on a dry surface.
Because the water allows the coat to dry uniformly, it eliminates visible lines between different levels of color saturation. This makes it the ideal candidate for hazy backgrounds, clouds, and subtle line compositions.
The Pre-Painting Protocol: Preparation for Professional Excellence
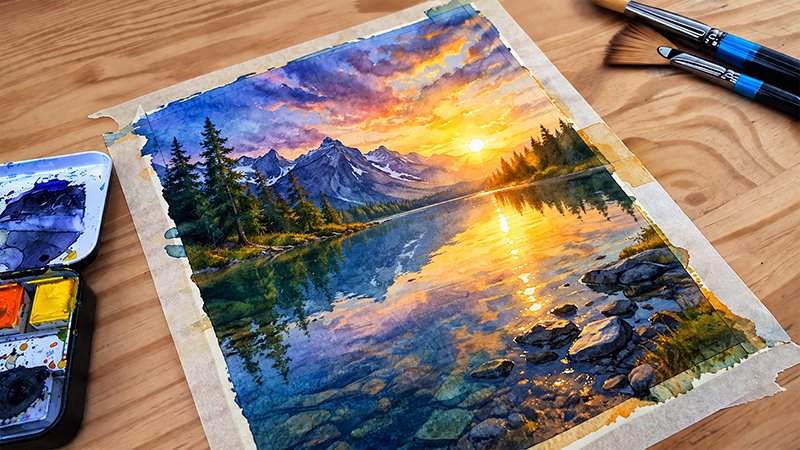
In high-stakes artistic production, the quality of the output is often determined before the first brushstroke is made. Proper preparation ensures that the artist can focus entirely on the fluid behavior of the medium.
1. Environment and Mindset
Success in wet-on-wet painting requires significant concentration. It is recommended to find a quiet spot where you can focus on the technical steps without interruption.
While the process is a task that should be relaxing and enjoyable, the time-sensitive nature of working with wet paper demands a disciplined environment.
2. Essential Materials and Logistics
A professional-grade setup requires specific logistics to maintain the integrity of the pigments:
- The Dual-Jar System: Always have two jars of water on hand. One jar is dedicated to rinsing bristles to remove previous pigments, while the other provides clean water for saturating the paper.
- Surface Tension Control: Use scotch tape to divide your page or secure it to your work surface. This not only keeps the paper flat but also creates professional white-bordered areas once the project is complete.
- Brush Selection: For the initial application of water to the paper, always utilize larger brushes. This ensures a fast, even coat before the paper begins to absorb the moisture unevenly.
The Gradient Methodology: Engineering Smooth Chromatic Transitions
Gradients are the most helpful foundational task for any watercolorist. They demonstrate the artist’s ability to manage the “fade” from high saturation to transparency or the blend between two distinct hues.
Creating Single Color Gradients (Monochromatic Precision)
To create a simple, professional gradient, follow this technical sequence:
- Saturation: Apply a thin, uniform coat of water to the entire surface area of your sectioned-off paper using a clean brush.
- Pigment Loading: Mix your chosen color and begin applying full brush strokes at the lower part of the section.
- The Ascent: Move the strokes from left to right across the entire wet page.
- The Fade: Gradually work the brush upward. Because the paper is wet, the paint will intuitively fade as you progress toward the top.
- Quality Control: To ensure the most professional “dark-to-light” effect, always start at the bottom of the section. This prevents harsh lines and ensures the palest areas are at the top.
Creating Dual Color Gradients (Polychromatic Blending)
For more complex backgrounds, such as a transition between purple and blue, speed is critical to ensure the surface remains wet.
- Application: Apply the first color at the bottom of the wet section, moving upward.
- Opposition: Apply the second color at the top of the section, moving downward.
- Convergence: Allow the two colors to blend in the middle.
- Saturation Tip: Keep your paintbrush wet as you layer more color to increase the saturation. As the piece dries, the colors will blend seamlessly without noticeable lines.
Celestial Artistry: The Wet-on-Wet Sky Protocol
The wet-on-wet technique is uniquely suited for painting skies and clouds because, in nature, every sky is unique. This allows the artist to be creative with color schemes and organic shapes.
Step 1: Generating the Atmosphere
Start with a fresh piece of paper secured with tape. Apply a uniform layer of water across the entire area, paying close attention to the corners, which are often overlooked.
Step 2: Chromatic Layering
While the surface is still wet, introduce a sophisticated color palette—commonly yellow, blue, red, and purple. Add strokes in varying directions.
The wet layer will allow these colors to flow and spread, creating interesting organic shapes that mimic the natural movement of the atmosphere.
Step 3: Creating Cloud Structures
To define clouds, the artist must leave “light occasions” in the painting. By intentionally leaving lighter or unpainted patches, you create darker and lighter areas that mirror the highlights and shadows of real clouds.
To finish the scene, a long stroke across the bottom of the page creates a horizon line, instantly contextualizing the sky within a landscape.
The Depth Blueprint: Integrating Wet-on-Wet with Wet-on-Dry
Integrating wet-on-wet and wet-on-dry techniques is a strategic approach to watercolor that creates professional-grade depth and dimension in a painting.
By combining the fluidity of a wet surface with the precision of a dry one, artists can establish a clear visual hierarchy between atmospheric backgrounds and detailed foregrounds.
The Role of Each Technique
Understanding the “Depth Blueprint” requires distinguishing between the two methods:
- Wet-on-Wet (WoW): This involves applying wet paint to a surface already saturated with water. It creates a “channel of water” that allows pigment to expand and flow smoothly, resulting in hazy backgrounds, seamless gradients, and organic shapes like clouds.
- Wet-on-Dry (WoD): This is the more traditional method of applying wet paint to a dry surface. It is ideal for stark features, “distinguishing traits,” and fine lines that require high definition.
Execution of the Depth Blueprint
The process of integrating these techniques follows a specific sequence to ensure a sense of depth:
- Establish the Background (Wet-on-Wet): Begin by using the wet-on-wet technique to create the “backdrop” of the painting, such as a vibrant sky or soft landscape. The blurring effect inherent in this method naturally recedes into the distance, giving the page an immediate sense of depth.
- The Critical Drying Phase: It is essential to let the wet-on-wet layer fully dry before moving forward. Adding new paint on top of a dried background is the standard way these two mediums are used in conjunction.
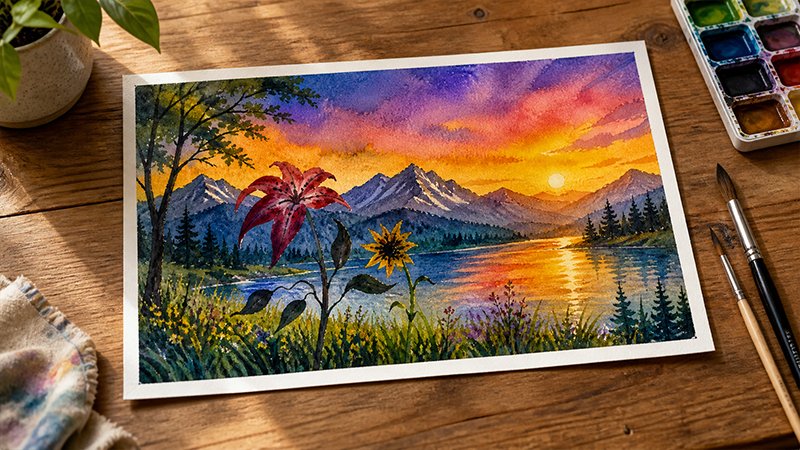
- Define the Foreground (Wet-on-Dry): Once the surface is dry, use the wet-on-dry technique to paint subject matter like trees, animal life, or flowers. These sharp, detailed features “reframe” the soft background, bringing the viewer’s focus to the front of the composition.
Characterizing Depth through Object Scale
A key strategy in this blueprint is the use of object scale to define the depth of field. For example:
- Painting large blossoms in the foreground using wet-on-dry creates the illusion of proximity.
- Painting smaller trees in the background (or mid-ground) helps contextualize the landscape’s distance.
By utilizing the wet-on-wet technique for “subtle line compositions” in the background and the wet-on-dry technique for “stark features” in the foreground, artists can successfully create a multi-dimensional piece of art.
Executive Troubleshooting: Maintaining Quality Control
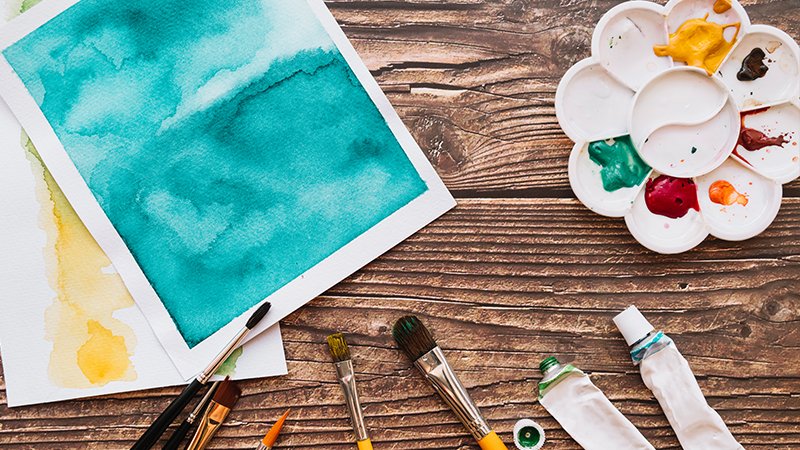
To maintain professional standards and ensure high-quality output in wet-on-wet watercolor painting, artists must master several technical “troubleshooting” protocols centered on moisture management, timing, and material precision.
Moisture and Timing Control
The most critical factor in maintaining quality is the moisture level of the paper.
- The “Thin and Even” Rule: When saturating the paper, the water layer must be thin and even. A common mistake is overlooking the corners of the page, which prevents the colors from blending seamlessly into the overall design.
- The Timing Window: You must work quickly because the technique only functions while the paper is still wet. Once the “channel of water” begins to dry, colors will no longer flow and expand smoothly, leading to visible lines or unintended textures.
- Brush Selection: Always use larger brushes when applying the initial water layer to ensure the entire surface is covered before it begins to dry.
Ensuring Chromatic Purity and Smoothness
Quality control also extends to the purity of the pigments and the smoothness of the transitions.
- The Dual-Jar System: To avoid contaminating your “clean” water or muddying your colors, always maintain two jars of water—one specifically for rinsing bristles and one for loading the brush with clean water.
- Edge-to-Edge Consistency: When creating gradients, you must paint the color all the way to the end of the page. This ensures that the fade is uniform and that the edges remain as professional as the center of the piece.
- Saturation Management: If you find the colors are too pale, you can increase the saturation by keeping the brush wet while layering more color into the damp surface, allowing them to blend intuitively as they dry.
Structural Integrity and Professional Finish
Physical preparation of the workspace prevents common technical failures.
- Tape Adhesion: Use scotch tape to divide the page or create borders, but ensure it firmly adheres to the surface to prevent paint from seeping underneath.
- Safe Removal: To avoid destroying the page after the painting is complete, the tape must be detached slowly.
- Environmental Focus: Because this technique necessitates high levels of concentration and effort, quality is best maintained by setting aside dedicated, uninterrupted time to complete the “wet” phase of the painting.
Strategic FAQ: Mastering the Technical Nuances
Q: What exactly happens on a molecular level during wet-on-wet painting?
A: When you apply wet paint to a wet surface, the pigment utilizes the water as a transport mechanism. It expands through the channel of water, moving much more smoothly than on a dry surface, which results in the characteristic soft-focus and “hazy” effects used for backgrounds.
Q: How do I know when to use wet-on-wet versus wet-on-dry?
A: Use wet-on-wet for backgrounds, gradients, clouds, and any element requiring subtle line compositions. Switch to wet-on-dry (wet paint on a dry surface) for the foreground or any subject that requires “stark features” and distinguishing traits.
Q: What are the best subjects for the wet-on-wet technique?
A: Beyond landscapes and skies, wet-on-wet is an entertaining and effective way to create any background where a sense of depth is required.
It is particularly effective for clouds because they are uniquely different in shape and color, allowing the artist to “scribble” with colors on a wet surface to find organic forms.
Conclusion: The Path to Professional Mastery
Mastering watercolor is an exercise in balancing technical discipline with creative spontaneity. By understanding the mechanics of the wet-on-wet technique—from the proper preparation of the workspace to the strategic use of object scale—you can create artwork that exhibits professional depth and atmospheric beauty.
The transition from a beginner to a multidisciplinary expert like Matthew Matthysen requires a commitment to these foundational procedures.
As you continue to experiment with how colors flow and interact, remember that every sky is unique, and every stroke on a wet page is an opportunity to capture the organic fluidity of the world.
