Pattern Description:
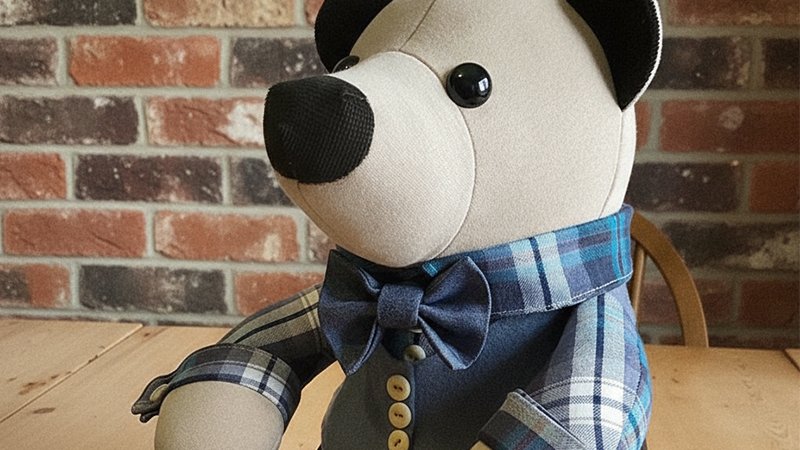
This DIY project creates a soft, stuffed felt bear with a buttoning system for its clothes, inspired by a traditional stuffed doll.
It’s an easy craft that helps children practice fine-motor skills and allows them to participate in designing their friend’s wardrobe. The bear is stuffed and stitched, and its clothing attaches with buttons.
Materials Needed & Measurements:
Materials:
- Felt in tan, dark brown, or black, plus colors for clothing (wool blend felt is recommended).
- Embroidery floss.
- Stuffing.
- Scissors.
- Needle.
- Pins or clips.
- Dress-Up Bear Templates.
Measurements:
- 4 Buttons (approximately 3/4-inch).
- Buttonhole slits in the clothing are cut by folding felt in half, and their size may need adjustment based on the button size or to make them easier for a child to use.
Stitches & Abbreviations Used:
- Whip stitch (for eyes and nose).
- Back stitch (for the mouth).
- Running stitch (around the bear).
Instructions for Making the Hand-Sewn Felt Bear with Button-On Clothes Pattern:
Bear Construction Instructions
Follow these steps to create your felt bear:
- Cut Bear Shapes and Facial Features: Using the provided Dress-Up Bear Templates, carefully cut out two identical bear shapes from your chosen tan felt. Next, cut out the eyes and nose pieces from dark brown or black felt.
- Stitch Facial Features: Take one of the tan bear shapes. Stitch the felt eyes and nose onto this piece using a simple whip stitch. Then, embroider the bear’s mouth with a back stitch.
- Attach Buttons: On the same bear shape where you’ve stitched the face, sew the four buttons into place. Their precise locations should be marked on your templates.
- Optional: If you prefer a more modest bear or want clothing on both sides, you can add another set of buttons to the back bear piece at this stage. This would also require cutting two sets of clothing later.
- Assemble Bear Body: Place the front and back bear pieces together, ensuring their edges align perfectly. Use pins or clips to hold them securely in place.
- Stitch Bear Perimeter: Using three strands of embroidery floss, stitch around the entire perimeter of the bear with a running stitch. Crucially, leave an opening at the top of the bear’s head.
- Stuff the Bear: Begin to fill the bear with stuffing. Use small pieces and work your way up from the legs. Aim for a consistency that is not too firm, but also not so loose that the bear becomes too floppy. Remember to push stuffing into the ears to ensure they are properly filled.
- Close the Opening: Once the bear is adequately stuffed, stitch the opening at the top of the head closed. Your bear’s body is now complete and ready for its wardrobe!
Clothing Construction Instructions
Now, let’s create the button-on clothes for your bear:
- Cut Clothing Pieces: Refer to your Dress-Up Bear Templates to cut out various clothing items from the felt colors you’ve selected.
- Create Buttonholes: For each piece of clothing that requires buttons, fold the felt in half and carefully cut buttonhole slits.
- Check and Adjust Buttonholes: It is important to check each buttonhole against the specific buttons you are using. This process helps to stretch the felt slightly, making the buttonholes easier to use. Depending on your button size or if a child will be dressing the bear, you may need to enlarge the buttonhole openings slightly to make them easier to manipulate.
- Embellish Clothing (Optional): The clothing can be kept simple, or you can add extra embellishments. This step is perfect for involving children, allowing them to choose colors or additional decorative elements. You could even let them decorate the clothes by gluing on felt pieces or painting with fabric paint.
- Dress the Bear: Once the clothes are ready, your bear is set to be dressed! Some pieces might use all four buttons, while others are separate. You can also layer pieces, such as a shirt under overalls. The cape slips on from the back, ready to turn your bear into a superhero!
This project provides a fun way for little ones to develop a valuable life skill as they learn to button and unbutton their bear’s clothes. Happy crafting!
Download Free PDF: