Pattern Description:
This free bolster pillowcase pattern shows how to create a stylish, snug-fitting cover for a bolster or neck roll pillow using quality upholstery fabric.
The design features a barrel body with circular end panels and offers closure options such as a zipper or invisible stitch.
Materials Needed & Measurements:
Pillow Form:
- Length: 20 inches
- Diameter: 9 inches (This pattern is designed for a tight-fitting cover.)
Fabric & Supplies:
- High-quality upholstery fabric (54-inch width recommended)
- Strong polyester or nylon thread
- Optional: twine and 1⅛-inch button forms (for fabric-covered buttons)
Tools & Notions:
- Acrylic ruler and rotary cutter (or scissors)
- Chalk pencil and scratch awl for marking
- Seam ripper and basting tape (Seamstick)
- Deluxe magnetic sewing guide
- Straight and long hand sewing needles
- Iron and pins or clips
- Zipper (optional, length matching pillow width)
Instructions for Making the Bolster Pillowcase Pattern:
Step 1: Cut the Fabric Panels
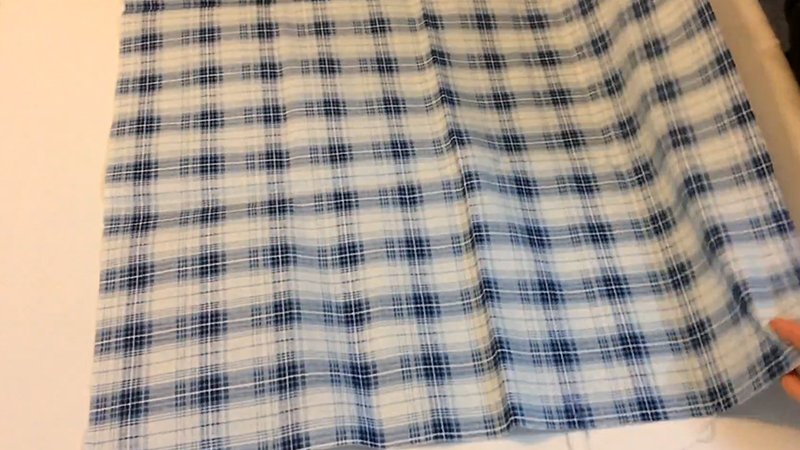
Use the calculated dimensions to cut your fabric pieces: one large barrel panel (the body) and two circular end panels.
To draw the circles, use a compass or tie a string to a pencil and anchor the other end at the center point.
For a 9-inch diameter, mark a 4½-inch radius and cut precisely with scissors or a rotary cutter.
Step 2: Prepare and Sew the Zipper Opening (Optional)
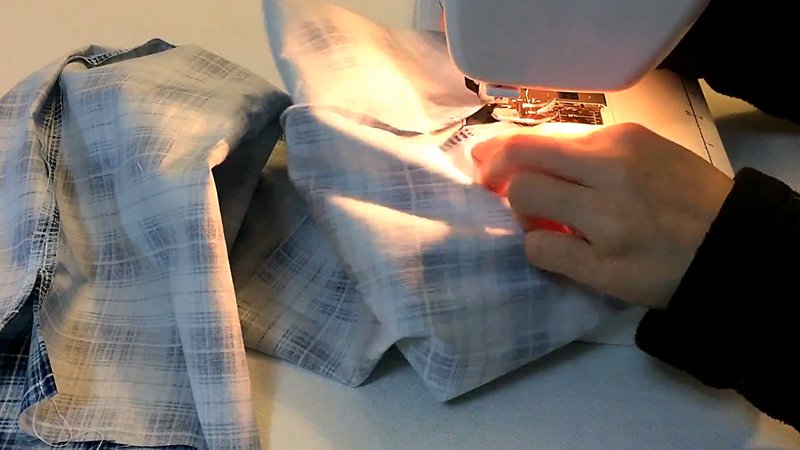
Fold the main barrel panel in half lengthwise, marking 2 inches in from both ends where the zipper will stop. Begin stitching with a 4 mm stitch length, reversing at both start and stop points.
For the center portion of the seam, increase the stitch length to the maximum setting, as these stitches will later be removed to install the zipper.
Press the seam open. Place basting tape on each side of the zipper, coil side up, and position it along the seam. Stitch along both sides of the zipper, making sure to move any excess fabric away from the needle.
Reinforce the ends by sewing across the zipper 2 inches from each edge. Use a seam ripper to carefully remove the temporary center stitches, revealing a neat zipper opening.
If you prefer a sewn-shut closure, skip this step and leave the center portion unstitched for the invisible hand-sewn finish later.
Step 3: Attach the Circular Ends
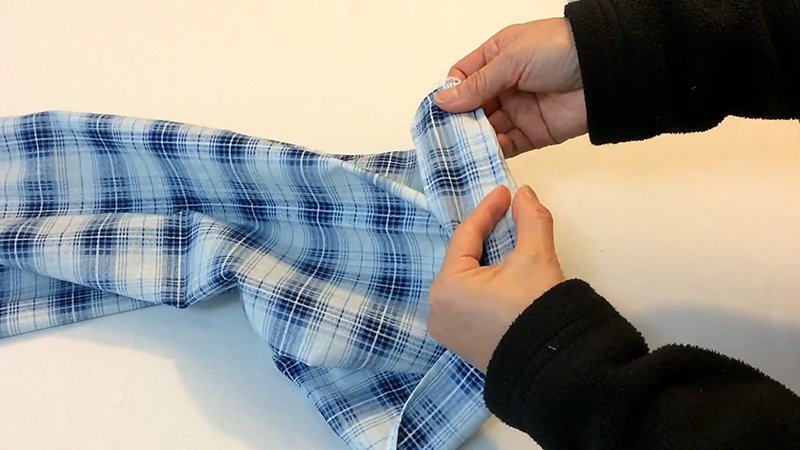
Turn the fabric wrong side out. Create match-up marks on both the circular panels and the barrel to ensure even alignment, typically four equal quarters. Pin or clip the first circle to the edge of the barrel, aligning the marks.
Sew around the perimeter with a ½-inch seam allowance, reversing at the start and finish to secure.
Move the fabric slowly and ease the edges together to avoid puckering. Repeat for the second circle panel on the opposite end.
Step 4: Insert the Pillow and Close the Opening
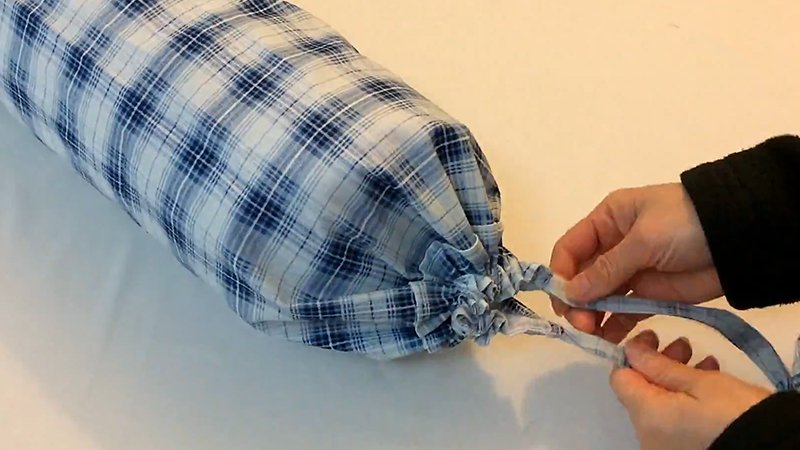
Turn the cover right side out and carefully insert the bolster pillow form, ensuring it fills both ends smoothly.
For an invisible stitch closure, fold under the raw fabric edges and press flat. Thread a needle with doubled, knotted thread and use a ladder stitch: insert the needle under one folded edge, then across to the opposite fold, alternating sides every ¼ inch.
After several stitches, gently pull the thread to close the gap seamlessly. Knot securely at the end.
Step 5: Optional Fabric-Covered Buttons
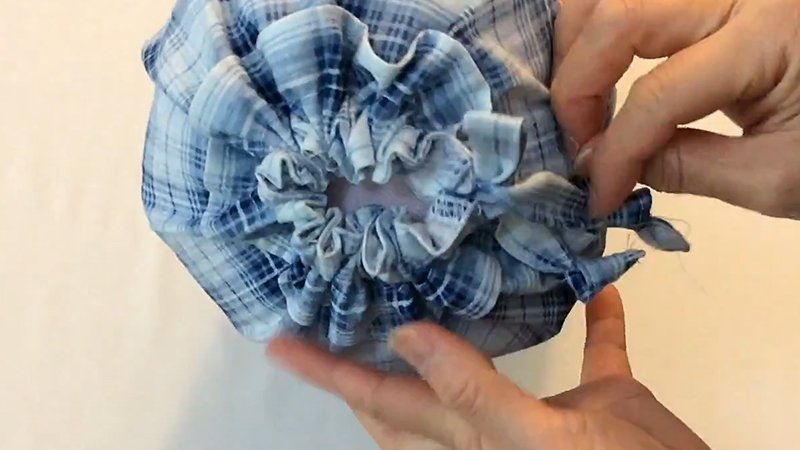
To elevate the look, add fabric-covered buttons to each end of the pillow. Cut two 2-inch fabric circles for 1⅛-inch button forms.
Sew a loose basting stitch around each circle’s edge and gather it over the button form, tying the threads tightly at the back.
Mark the center of each pillow end. Using a long hand needle threaded with doubled twine, push through one button, then through the pillow center to the opposite end, exiting at the second mark.
Attach the other button and pull tightly until both are snug. Tie multiple knots to secure and trim excess twine.
Finishing Touches
Your custom bolster pillowcase is now complete. Whether you use a zipper or invisible stitch closure, the result is a polished, durable, and elegant pillow cover.
The optional buttons add a decorative accent, making your handmade bolster perfect for sofas, beds, or reading nooks.