Pattern Description:
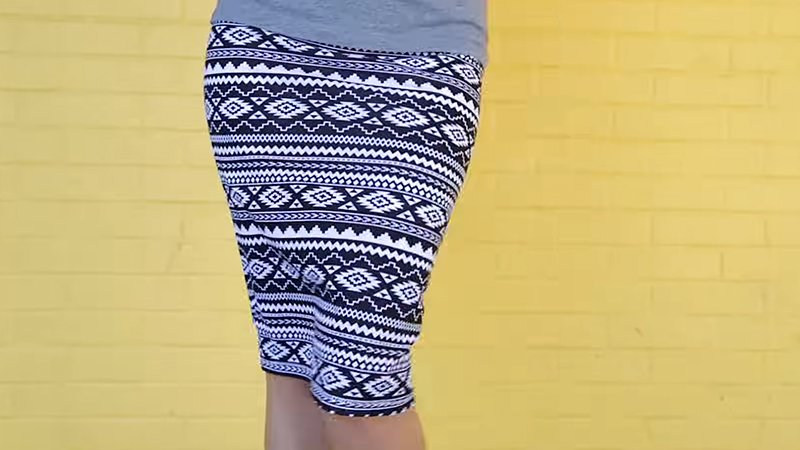
This is a basic, beginner-friendly skirt pattern designed to be fitted and tight. It involves drafting the front piece using personal measurements for the waist, hip, length, and bust span.
A 1-inch allowance is added for the waist dart. The back piece is traced from the front, incorporating a zipper allowance (e.g., 1.5 inches) and extending the back dart length by 1 inch compared to the front dart. The front center is cut on a fold.
Materials Needed & Measurements:
| Category | Item/Measurement | Details/Purpose | |
| Measurements | Skirt length | Used to mark the full length of the skirt. | |
| Measurements | Waist measurement | Divided by four, plus 1 inch added for the dart. | |
| Measurements | Waist to hip measurement | Used to measure from the waist down to the hip line (e.g., 8 inches). | |
| Measurements | Hip measurement | Divided by four to mark on the hip line. | |
| Measurements | Bust pan | Also referred to as the nipple to nipple measurement; divided by two to determine the dot placement. | |
| Materials | Pattern drafting materials | Necessary for drafting the pattern. | |
| Materials | Ruler | Used to extend lines and join points. | |
| Materials | Pins, cell tape, or a book | Used to hold the front pattern in place while tracing the back pattern. |
Instructions for Making the Pencil Skirt Pattern:
Initial Measurements and Setup
- To begin drafting the pattern, you will need several key measurements: the skirt length, waist measurement, waist to hip measurement, hip measurement, and bust span (also referred to as the nipple to nipple measurement).
- The first step is to establish the template for the front pattern. Designate a side that will serve as the center front, remembering that this side will be placed on a fold when cutting the fabric. The top edge of your material will serve as the template for the waistline.
Drafting the Front Pattern Shape
- Mark Length and Hip: From the waistline, measure down to mark the full desired skirt length. Also, measure down from the waistline to determine the waist to hip measurement (e.g., 8 inches) to establish the hip line. Extend these lines using a ruler.
- Calculate Waist and Hip Points:
- Take the waist measurement, divide it by four, and add 1 inch for the dart. Mark this total measurement on the waistline.
- Take the hip measurement, divide it by four, and mark this result on the hip line.
- Form the Hip Curve: From the hip point you just marked, move up by 1 inch. Use a curved line to join the waist point to this elevated 1-inch point, forming the hip curve.
- Create the Slant (Optional Tight Fit): You have the option to extend the hip line straight down to the skirt length. However, if you desire a tighter, more slanted fit, measure the distance of your hip line (e.g., 9 inches).
Remove 1/2 inch from this measurement (or up to 1 inch, depending on how fitted you want the skirt to be).
Mark this reduced measurement (e.g., 8 and 1/2 inches) at the bottom length of the skirt, and then extend the lines to meet, creating the slant.
- Shape the Waist Side: Go up on the side of the skirt (the non-center front side) by about 1/2 inch or 1 inch. Curve this point inward to meet the existing waistline, extending the waistline sideways as needed.
Creating the Front Dart
- Find Dart Placement: Use the bust span (nipple to nipple measurement). Divide the bust span by two (e.g., 6 inches divided by two is 3 inches) and mark this point on the waistline. This marks the center of the dart.
- Shape the Dart: From this center point, go out on both sides by 1/2 inch. This totals the 1 inch that was previously added to the waist measurement. From the center mark, go straight down by 4 inches. Join the half-inch marks to the 4-inch point to complete the dart shape.
- Cut the Front: Once the front pattern is complete, cut it out and label it “Front”.
Drafting the Back Pattern
Drafting the back pattern is made easier by tracing the front pattern.
- Mark Zipper Allowance: Place a new pattern piece down. Mark a straight line down the side that will serve as the back center seam, adding the zipper allowance.
- Trace the Shape: Place the front pattern directly onto the new piece, aligning the front center line before the zipper allowance line.
Secure the pattern in place using pins, cell tape, or even a book so it doesn’t move. Trace the entirety of the front pattern shape onto the back pattern piece, excluding the zipper allowance area.
Back Dart Adjustment and Final Steps
- Extend the Back Dart: The key difference between the front and back patterns, besides the zipper allowance, is the dart area. For the back dart, it must be extended by 1 inch.
- Redraw the Dart: Use the same center point placement (e.g., 3 inches from the side) and the same width (1/2 inch on both sides) as the front dart. However, instead of going down 4 inches, measure down 5 inches and connect the dots to that lower point.
- Final Reminders: When you cut the pattern on the actual fabric, remember to add stitching allowance to all sides of the pattern. Also, ensure the front pattern piece is cut on a fold.