Pattern Description:
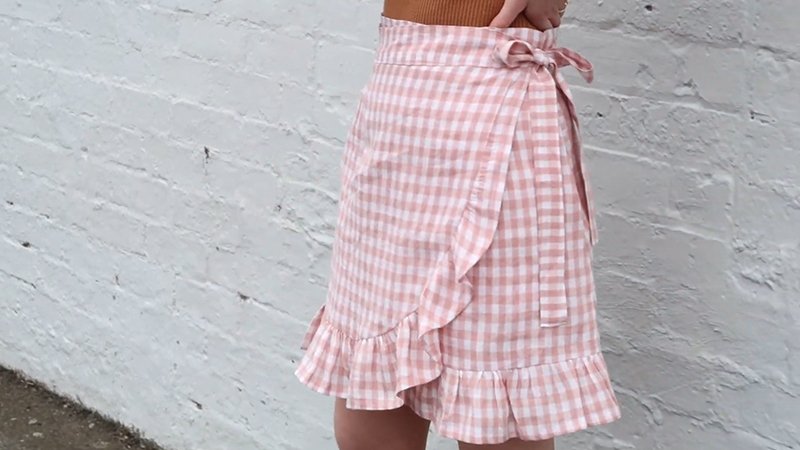
This free DIY wrap skirt pattern is a beginner sewing project that can be made in any size. It is fast to sew because it features only one seam and bias binding for finishing the edges.
Designed as a half circle skirt, it offers a simple flared shape and beautiful drape. A genius overlap design ensures full coverage, preventing the skirt from flipping up or flashing.
Materials Needed & Measurements:
Materials Needed
- Sewing tools.
- 4 yards of woven fabric.
- 9+ yards of 1/2″ double fold bias tape in coordinating colors.
- Sewing machine and matching thread.
- The free wrap skirt pattern.
Recommended Fabrics
- Quilting cotton.
- Chambray.
- Cotton lawn.
- Swiss dot.
Measurements & Construction Notes
- The pattern guide is available for any size. Circle skirts are adjustable and work for multiple people and sizes, even when weight fluctuates.
- The skirt only requires one straight seam to be sewn right sides together.
- The remainder of the edges (hem and waist) are finished by sewing on the bias binding.
- The bias binding for the waist starts in the middle, sews out to each point, and continues to create the ties. Approximately 10 inches of bias binding should be added past the point for each tie.
- When determining the inner circle measurement for the waist, the pattern uses a radius measurement (e.g., 9.5″ radius was used for a 29″ waist, but clarification suggests ensuring this is treated as the radius, not the diameter).
Instructions for Making the Wrap Skirt Pattern:
Drawing and Cutting the Skirt Pattern
The skirt pattern guide is available for any size. The longest part of this project is usually just drawing out the wrap skirt pattern piece before cutting. Once drawn, you will cut out the skirt.
The design is based on a half circle skirt, and circle skirts are advantageous because they are adjustable and work for multiple sizes, even when weight fluctuates.
If you need to calculate the measurements for the waist opening, clarification is offered on calculating the inner circle: ensure the measurement is treated as the radius, not the diameter. For instance, a 9.5″ measurement is used as the radius for a 29″ waist.
Sewing the Skirt Seam
The construction of this skirt requires only one straight seam.
- Sew the single straight edge of the fabric right sides together using a straight stitch.
- Next, finish the raw edges.
- Finally, press the seam to one side.
Finishing Edges with Bias Binding (Hem)
Once the single seam is sewn and pressed, the remaining edges (the hem and the waist) are finished using bias binding.
To finish the hem of the skirt, sew on the bias binding. The bias binding should be sewn all the way out to each point of the skirt edge. If you finish a piece of bias binding, stop, and then sew on the next piece of bias binding to ensure a continuous edge.
Attaching Bias Binding for the Waist and Ties
The waist edge is finished with bias binding, which also serves to create the ties.
- Start by sewing the bias binding onto the waist in the middle and sewing it out to one point.
- At the point, keep sewing the bias binding to create the tie.
- Add approximately 10 inches of bias binding past the point for the tie length.
- Cut the bias binding, then fold the short end in.
- Sew over the short end to keep it folded.
- Start back in the middle and finish the other side of the waist with bias binding, leaving another 10 inches for the second tie.
Wearing the Finished Skirt
The skirt is designed with a genius overlap that prevents flashing if the crossover flips up, ensuring full coverage.