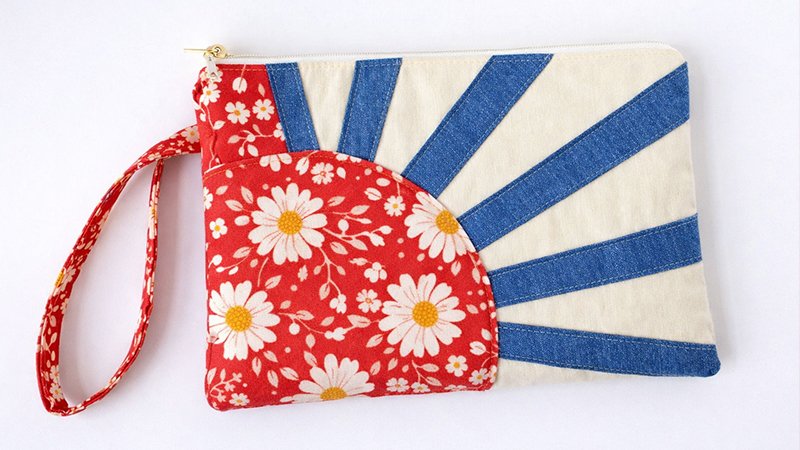
Create a bright, meaningful handmade pouch that symbolizes hope and new beginnings. This project combines simple sewing techniques with a beautiful sun appliqué and is perfect for gifting or personal use.
Materials & Tools
Gather everything before starting:
Fabrics
- Exterior fabric: ¼ yard (quilting cotton; sky tones like pink or blue work well)
- Lining fabric: ¼ yard quilting cotton
- Sun rays fabric: Yellow scraps (minimum 6″ × 6″)
- Sun circle & strap fabric: Yellow print (6″ × 6″ + 2″ × 14″)
Notions
- Interfacing (¼ yard: felt, fusible fleece, or batting)
- Fusible adhesive (paper-backed, e.g., Heat n Bond Lite)
- 9″ zipper (longer is okay and often easier)
Tools
- Iron + ironing board
- Aluminum foil
- Cardboard (cereal box)
- Scissors/rotary cutter
- Pins or clips
- Sewing machine + zipper foot
- Glue stick (optional but helpful)
Cutting Guide
Accuracy matters—cut carefully:
- Exterior: 2 pieces – 7″ × 9″
- Lining: 2 pieces – 7″ × 9″
- Interfacing:
- 2 pieces – 7″ × 9″
- 1 strip – ½” × 14″
- Sun rays: 6 strips – 2″ × 6½”
- Strap: 1 strip – 2″ × 14″
- Adhesive:
- 2 squares – 6″ × 6″
- Cut one into six 1″ strips
Step 1: Create the Sun Appliqué (Foil Method)
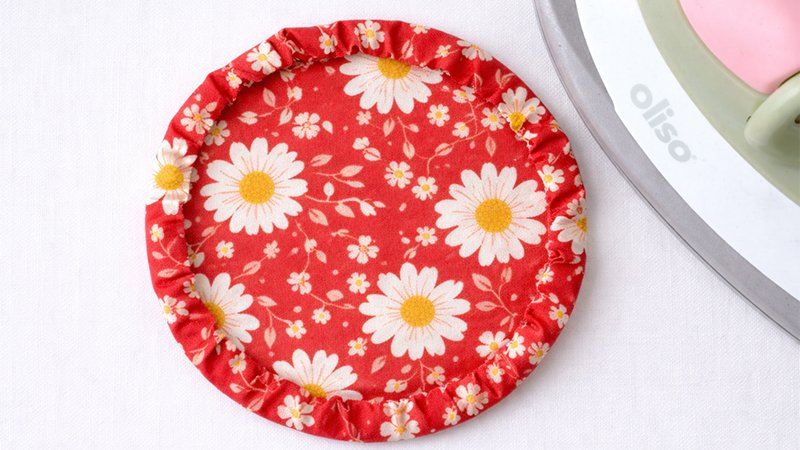
This technique ensures a smooth, professional curved edge.
- Make template
- Draw a 5″ circle on cardboard and cut it out.
- Trace the same circle onto adhesive (paper side) and cut.
- Attach adhesive
- Iron adhesive to the wrong side of the sun fabric.
- Cut fabric, leaving ½” seam allowance around the circle.
- Foil pressing trick
- Place fabric (adhesive side up) on foil.
- Put a cardboard circle on top.
- Fold foil tightly over edges.
- Press
- Cover with scrap fabric and press with an iron.
- Heat shapes the curve perfectly.
- Finish
- Remove foil and cardboard.
- Peel backing.
- Press edges only (avoid center glue for now).
Step 2: Prepare Sun Rays
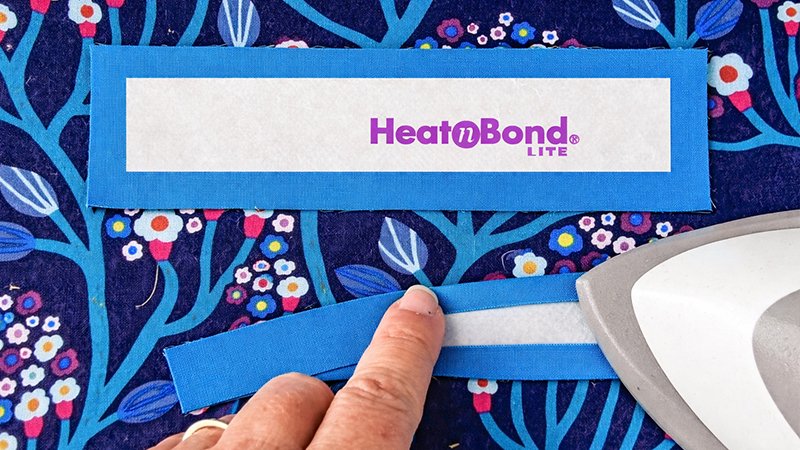
- Fuse a 1″ adhesive strip to the center back of each ray.
- Fold long edges inward toward the adhesive center.
- Press folds neatly.
- Remove backing and press again to secure.
Tip: Avoid touching exposed glue with your iron.
Step 3: Assemble Front Panel
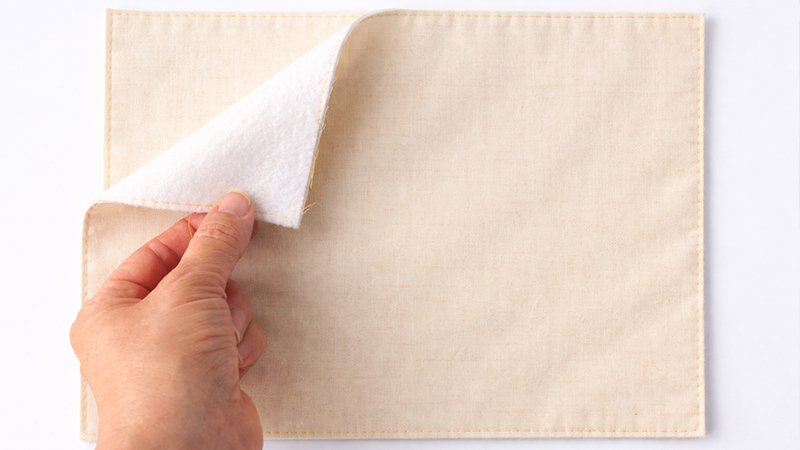
- Attach interfacing
- Baste interfacing to the wrong side of the exterior pieces.
- Position sun
- Place in the lower-left corner for a rising sun effect.
- Arrange rays
- Spread around the sun.
- Trim some shorter if needed.
- Fuse layers
- First, fuse the outer parts of the rays.
- Then fuse the sun center (leave edges loose).
- Tuck the ray ends under the sun.
- Fuse everything fully.
- Secure stitching
- Stitch around:
- Each ray
- Sun circle
- Stitch around:
- Trim edges
- Cut off excess fabric beyond panel edges.
Step 4: Make the Wrist Strap
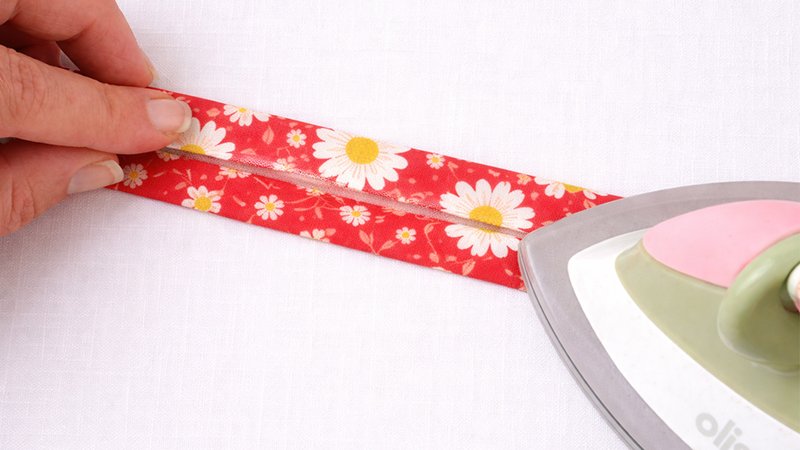
- Fold the strap strip lengthwise → press the crease.
- Open and fold edges inward to the center.
- Insert interfacing under one fold.
- Refold and press.
- Topstitch along both long edges.
- Fold the strap in half and baste to:
- Front panel
- About 1½” from the top edge
Step 5: Insert Zipper
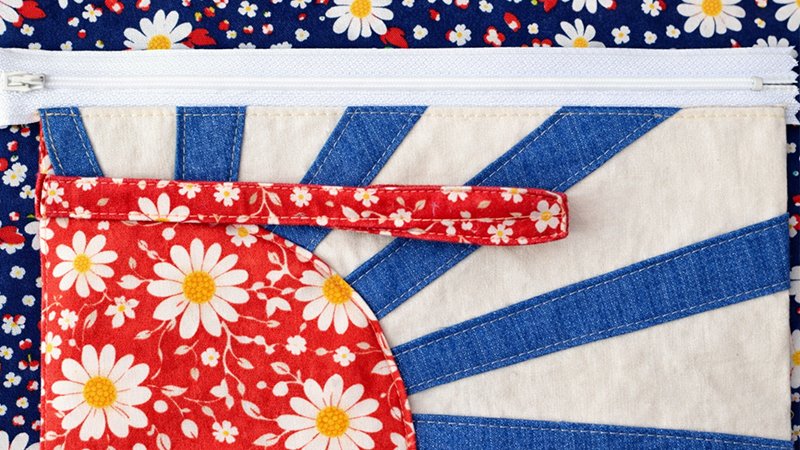
First Side
- Place:
- Exterior (right side up)
- Zipper (face down)
- Lining (face down)
- Align edges and clip/pin.
- Sew with zipper foot (¼”–⅜” seam).
- Fold the fabric away from the zipper and press.
- Topstitch close to the zipper.
Second Side
- Repeat with the remaining exterior + lining.
Step 6: Assemble the Pouch
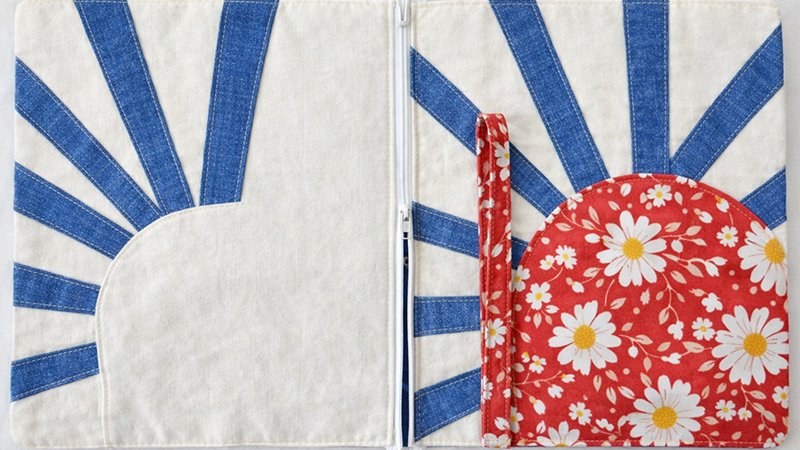
Important: Open the zipper halfway before sewing
- Match:
- Exterior pieces (right sides together)
- Lining pieces (right sides together)
- Align zipper seams carefully.
- Sew around the entire pouch:
- Seam allowance: ⅜.”
- Leave a 2½” gap in the lining of the bottom
- Trim corners to reduce bulk.
Step 7: Turn & Finish
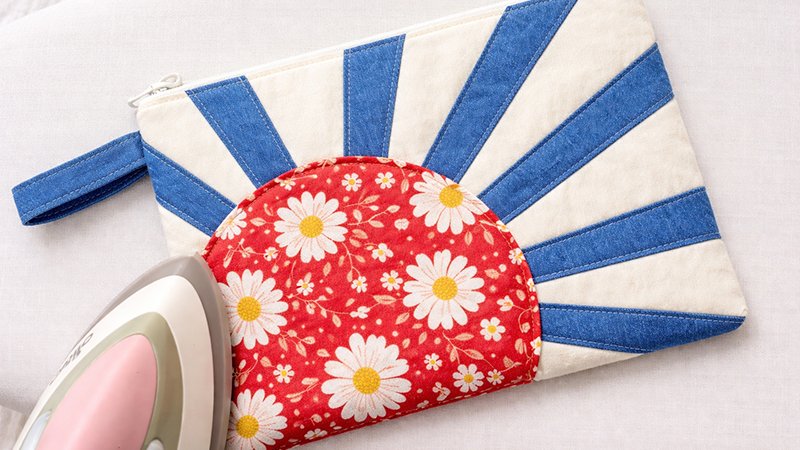
- Turn the pouch right side out through the lining gap.
- Push out corners neatly.
- Press flat.
- Fold the lining opening edges inward.
- Stitch opening closed.
- Push the lining inside the pouch.
Final Result
You now have a cheerful Sunrise Zipper Pouch with:
- Clean appliqué sun
- Functional zipper
- Handy wrist strap
Perfect for:
- Daily essentials
- Small gifts
- Keychain pouch
Extra Tips
- Use longer zippers—they’re easier to sew.
- Glue sticks can stabilize layers better than pins.
- Practice the foil method once—it’s a game-changer for appliqué.