Pattern Description:
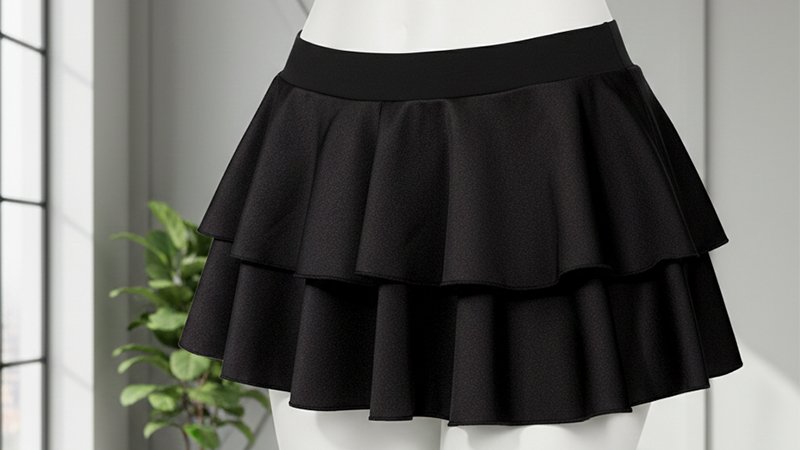
This mini skirt pattern is created by drafting directly from your body measurements to achieve a clean, tailored fit.
The waist and hip lines are calculated in quarter measurements, with added ease for darts and seam allowances.
A gentle side-seam curve shapes the silhouette, while a single dart and a three-inch facing refine the waist.
Perfect for beginners, the pattern produces a polished, customizable wardrobe basic.
Materials Needed & Measurements:
Materials Needed (Supplies)
- Brother SE625 Sewing machine
- Brother Serger 1034DX
- Fabric of your choice
- Lining
- Pattern Paper or Kraft Wrapping Paper
- Measuring tape
- Scissors
- Pins or Fabric Clips
- Iron and ironing board
- Zipper Foot
- 9” Zipper
Instructions for Making the Mini Skirt Pattern:
Initial Preparation and Measurements
Before any drafting begins, specific body measurements must be taken. These measurements are essential inputs for calculating the dimensions of the pattern pieces.
- Measure and Record: Using a measuring tape, determine and write down the following three key measurements: your waist, your hips, and the desired final length of your skirt.
- Gather Supplies: The pattern should be drafted on a piece of paper, such as pattern paper or Kraft wrapping paper.
Drafting the Skirt Length and Waistline
The pattern is drafted using these recorded measurements.
- Establish Length: On the pattern paper, draw a straight line representing the length of your skirt.
- Define Waistline: At the top of the length line, draw a perpendicular line to define the waist. This line is calculated using the following formula: one-quarter (¼”) of your total waist measurement + 2” (for darts) + ½” (for seam allowance). For example, if your total waist measurement is 30 inches, the calculation for the waistline measurement would be $7.5 + 2 + \frac{1}{2}$, resulting in a 10-inch line.
Defining the Hip Line and Shape
The next step is to incorporate the hip measurement and shape the side seam.
- Establish Hip Line: Five inches (5″) directly below the constructed waistline, draw a parallel line to represent the hips. This line should measure one-quarter (¼”) of your total hips measurement.
- Draft the Side Seam: Draw a lightly curved line connecting the waistline down to the end of the skirt length line.
- Add Seam Allowance: Add another line positioned a half-inch (½”) next to the curved side seam line. This extra line functions as the seam allowance.
Adding Detail: Darts and Hem Allowance
To give the skirt shape and allow for finishing, structural details must be included in the pattern piece.
- Insert Dart: At the top of your skirt, add one dart to provide shape. This dart should be 1 inch wide and 3 inches long.
- Include Hem Allowance: At the bottom of the skirt length line, add a hem allowance of approximately 1 inch.
- Create Back Piece: Repeat the above steps (2 and 3) on the other side of the paper to draft the pattern piece for the back of your skirt.
Creating the Facing
After the main pattern pieces are complete, a separate piece is drafted to finish the top edge.
- Trace the Top Half: Create a facing pattern by tracing the top half of the main skirt pattern.
- Set Facing Length: The length of the facing should only be 3 inches. The facing is necessary for finishing the waist of the skirt.
- Prepare for Cutting: Ensure that the markings for your darts are transferred onto the pattern before using it to cut the fabric. The resulting pattern pieces are then used to cut two pieces of fabric (front and back), making sure to cut them on the fold so that you have a complete front and back skirt piece.