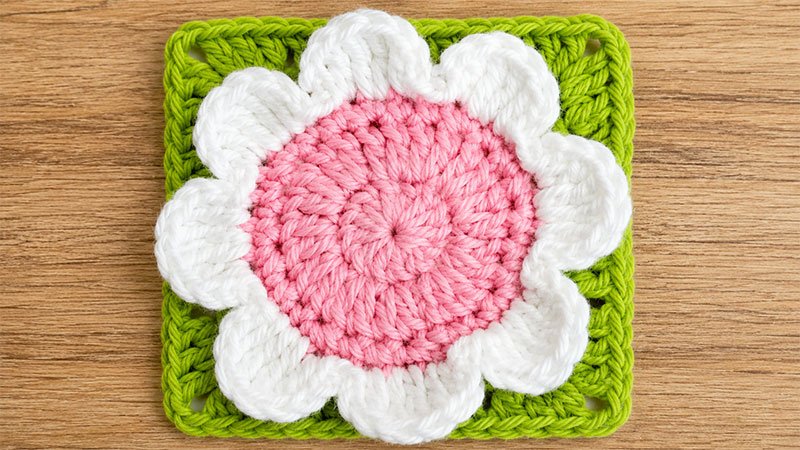
This gorgeous motif features a 3D white flower blooming from yellow center, framed beautifully by a classic granny square border. It is perfect for blankets, bags, garments, and pillows.
Project Overview
-
Skill Level: Advanced Beginner
-
Finished Size: Approximately 4 x4 inches (10 x 10cm)
-
Gauge: 4 rounds of a standard granny square should equal a 4 inch (10 cm) square.
Materials & Tools
-
Yarn: Aran weight (Category 4 / Medium / 10-ply) cotton yarn.
-
Recommended: Paintbox Yarns Cotton Aran or Rico Creative Cotton Aran.
-
Color A: Buttercup Yellow (Center)
-
Color B: Champagne White (Petals)
-
Color C: Vanilla Cream (Outer Square)
-
-
Hook: Size 4.5 mm (US 7 / UK 7) crochet hook
-
Notions: Tapestry needle for weaving in ends, and a pair of scissors.
Stitch Guide & Explanations
Before beginning, make sure you are comfortable with these stitches (written in US Terms):
-
Magic Circle (MC): An adjustable yarn loop that allows you to pull the center completely closed, eliminating any hole in the middle.
-
Slip Stitch (Sl St): Insert hook, yarn over, and pull through both the stitch and the loop on your hook.
-
Single Crochet (Sc): Insert hook, yarn over, pull up a loop, yarn over, pull through both loops.
-
Half Double Crochet (Hdc): Yarn over, insert hook, yarn over, pull up a loop, yarn over, pull through all 3 loops.
-
Double Crochet (Dc): Yarn over, insert hook, yarn over, pull up a loop, yarn over, pull through 2 loops, yarn over, pull through remaining 2 loops.
-
Treble Crochet (Tr): Yarn over twice, insert hook, yarn over, pull up a loop. (Yarn over, pull through 2 loops) three times.
-
Back Loop Only (BLO): Look at the top of the stitch; it looks like a “V”. Insert your hook only into the strand furthest away from you.
-
Front Loop Only (FLO): Insert your hook only into the strand closest to you.
-
Increase (Inc): Work two stitches into the exact same stitch to expand your stitch count.
Step-by-Step Pattern Instructions
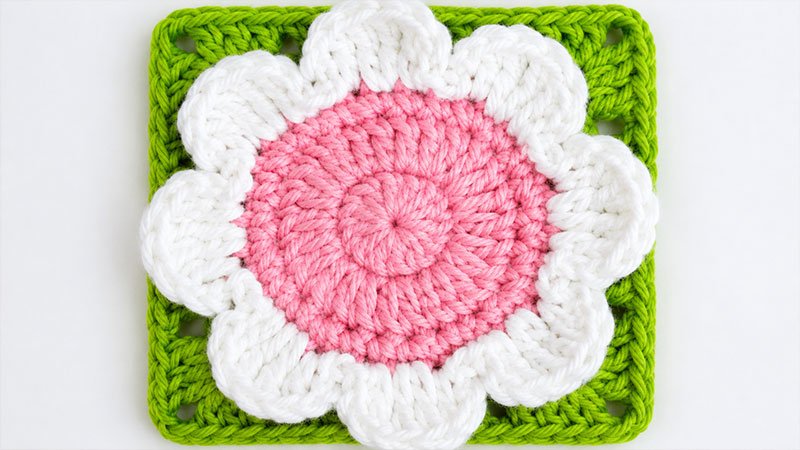
Part 1: The Flower Center & Base
Using Color A (Yellow).
Round 1:
-
Create a Magic Circle.
-
Chain 2 (this acts as a height guide and does not count as a stitch).
-
Work 12 double crochets directly into the ring.
-
Pull the yarn tail to close the ring tightly.
-
Join the round by working a slip stitch into the top of the very first double crochet you made.
-
Stitch Count: 12 double crochets.
Round 2:
-
Chain 2 (does not count as a stitch).
-
Work 2 double crochets into every single stitch all the way around.
-
Join with a slip stitch to the first double crochet of the round.
-
Stitch Count: 24 double crochets.
Round 3:
-
Chain 1 (does not count as a stitch).
-
Work 2 single crochets into the first stitch (an increase), then work 1 single crochet into each of the next 2 stitches.
-
Repeat the steps between the asterisks (*) a total of 8 times around.
-
Join with a slip stitch to the first single crochet.
-
Stitch Count: 32 single crochets.
-
Finishing: Fasten off Color A and cut your yarn.
Part 2: Squaring Off the Circle
For this section, you will leave the front loops open for the petals later. Always work into the Back Loops Only (BLO) unless instructed otherwise.
Round 4:
-
With the right side facing you, join Color C (Cream) to the back loop only of any stitch from Round 3.
-
Work 1 single crochet into that same back loop.
-
Chain 1, skip the next 2 stitches. In the next back loop, work 3 half double crochets together. Chain 2 for the corner. In the next back loop, work another 3 half double crochets. Chain 1, skip 2 stitches, and work 1 single crochet into each of the next 2 back loops.
-
Repeat the sequence from the asterisk (*) 3 more times around. On the very last repeat, stop after the final “skip 2 stitches” and work just 1 single crochet (this pairs with your starting single crochet).
-
Join with a slip stitch into the first single crochet of the round.
Round 5:
Now we transition back to regular stitches (working through both loops).
-
Slip stitch into the next chain-1 space.
-
Chain 2 (this will act as the vertical post of your first double crochet), then work 2 more double crochets into that same chain space. Chain 1.
-
Now you reached a corner (the chain-2 space). In that corner, work: [3 double crochets, chain 2, 3 double crochets]. Chain 1.
-
In the next chain-1 space, work 3 double crochets, then chain 1. In the following chain-1 space, work 3 double crochets, then chain 1.
-
Repeat from * to * around to complete the square shape.
-
On your final side, work 3 double crochets into the last chain-1 space, chain 1, and join with a slip stitch directly into the first actual double crochet (ignore the starting chain-2).
-
Finishing: Fasten off your yarn and weave in all loose ends securely with your tapestry needle.
Part 3: Adding the 3D White Petals
Using Color B (White). We will now use the Front Loops Only (FLO) that were left exposed on Round 3.
Round 1 (Petal Round):
-
Hold the square with the right side facing you. Tie on your white yarn to the front loop of any stitch from Round 3.
-
Chain 2, then work 1 double crochet into that exact same front loop.
-
In the next front loop, work a treble crochet increase (2 treble crochets in the same loop).
-
In the next front loop, work: [1 double crochet, chain 2, and 1 slip stitch] all together into that single loop. This completes one petal.
-
Slip stitch into the next front loop to transition.
-
In the next front loop, start the next petal by working: [1 slip stitch, chain 2, and 1 double crochet].
-
Repeat this sequence around to create a total of 8 beautiful, rounded petals.
-
Once your 8th petal is complete, finish with a treble crochet increase in the next loop, then work a double crochet, chain 2, and a slip stitch into the next loop. Slip stitch across the remaining loops to cleanly close the flower.
-
Finishing: Fasten off the white yarn, pull it through to the back of the square, and weave in the final ends.
Pro Tip: Gently press the white petals upward with your fingers so they pop forward, giving the granny square its beautiful three-dimensional look!