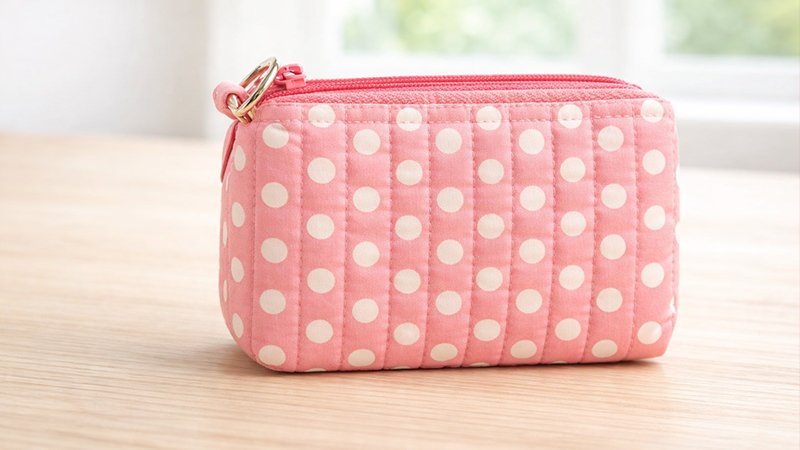
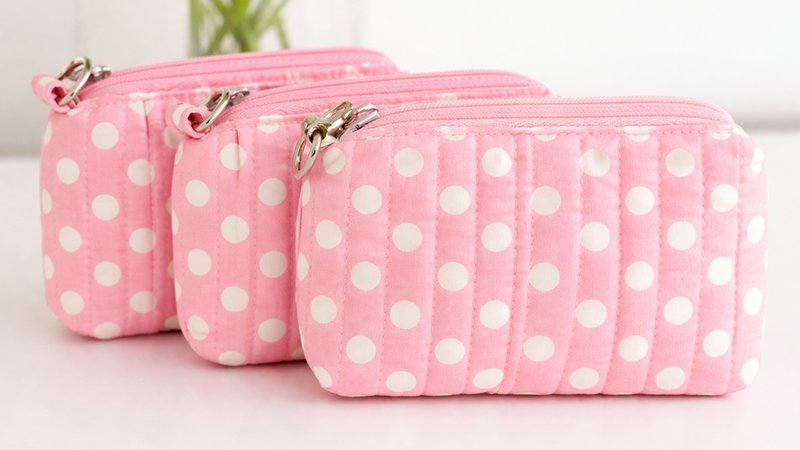
The Chubby Card Pouch is a compact, quilted zipper wallet designed to hold your everyday essentials—cards, cash, coins, and even a key fob. Finished size is approximately 5” (W) × 4” (H) × 1” (D), making it perfect for tossing into a bag or carrying on its own.
This project is beginner-friendly and ideal for using fabric scraps or fat quarters, while also producing a polished, professional-looking result.
Materials & Tools
Fabric
- Exterior: 1 fat quarter (18” × 21”) quilting cotton
- Interior (lining): 1 fat quarter quilting cotton
Stabilizer
- 8” × 10” foam stabilizer (recommended for structure)
- Alternatives: fusible fleece or quilt batting (softer finish)
Zipper
- 1 handbag zipper (size #4.5 or #5), at least 5 1/2” long
Optional Hardware
- 1 D-ring (1” opening) for wrist strap or key attachment
Notions
- Polyester thread (strong and durable)
- Heavy-duty needle (90/14 or 100/16)
- Wonder clips or pins
- Fabric marker or chalk
- Walking foot (recommended for quilting)
- Zipper foot
Cutting Instructions
Accuracy is important—measure carefully and cut clean edges.
Exterior Fabric
- (1) 10” × 8” rectangle
- (1) 4” × 2” rectangle (for optional D-ring tab)
Interior Fabric
- (1) 10” × 8” rectangle
Binding Strips (from lining fabric)
- (1) 1 3/8” × 5 1/2”
- (2) 1 3/8” × 4”
- (4) 1 3/8” × 2 1/4”
Step 1: Create Quilted Panel
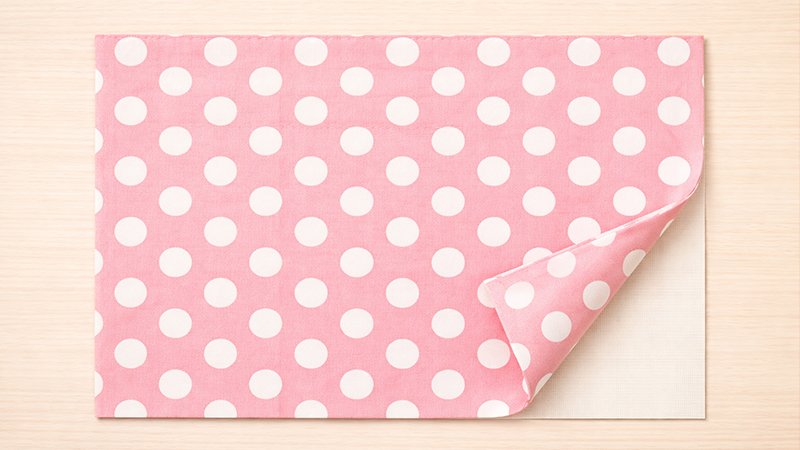
- Place foam stabilizer flat on your table.
- Layer:
- Exterior fabric (right side up) on one side
- Lining fabric (right side up) on the other side
- Clip or pin in place.
- Baste around all edges at 1/8” seam allowance.
Quilting
- Quilt through all layers:
- Straight lines spaced 1/2” apart (recommended)
- Or use a decorative pattern if preferred
- Use a walking foot to prevent shifting
Step 2: Cut Pouch Panels
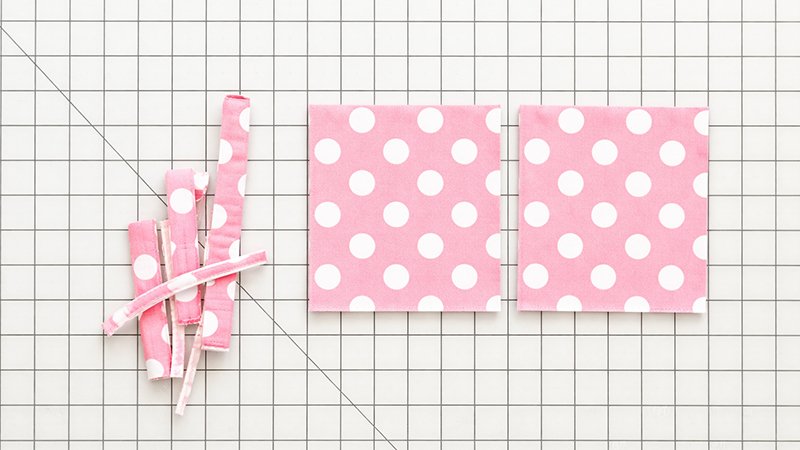
From your quilted piece, cut:
- (2) rectangles measuring 4 1/2” × 6 1/2”
Then:
- Baste around each piece at 1/8” to secure layers
Step 3: Make the D-Ring Tab (Optional)
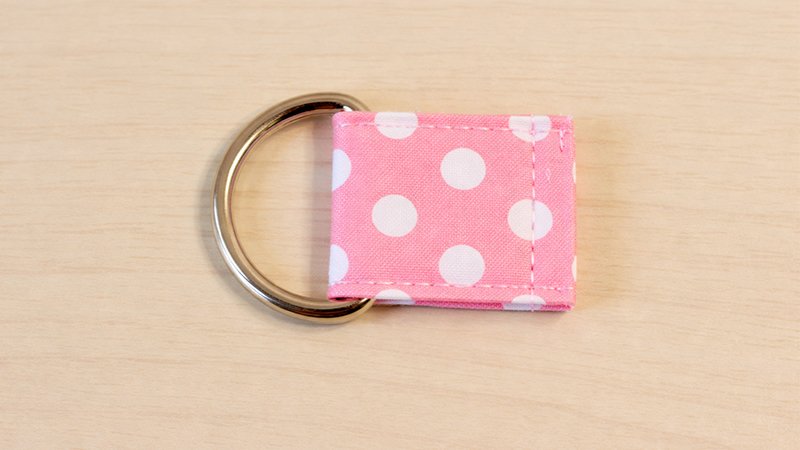
- Take the 2” × 4” rectangle
- Fold in half lengthwise (wrong sides together), press
- Open and fold both long edges toward center crease
- Fold again to enclose raw edges → now ~1” × 4” strip
- Topstitch along both long edges
- Insert D-ring:
- Slide onto strip
- Fold strip in half
- Baste raw edges together
Step 4: Install the Zipper
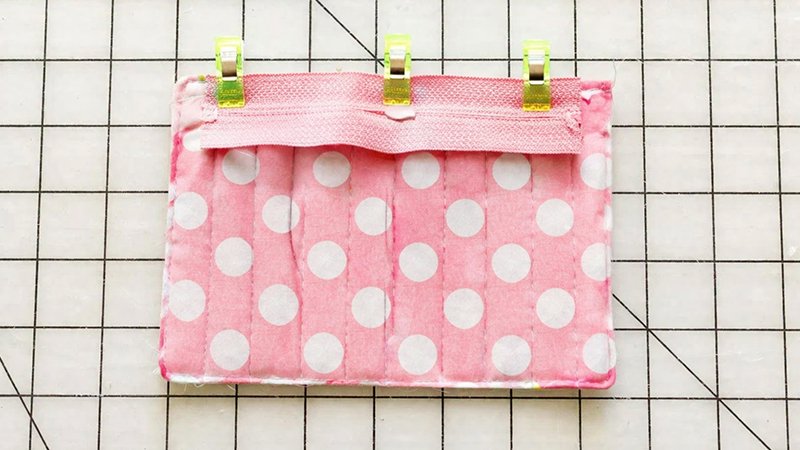
Attach First Side
- Place zipper right side down on top edge of pouch piece (exterior side)
- Align edges and clip
- Sew using zipper foot with 1/4” seam allowance
Trim & Topstitch
- Trim 1/8” off seam allowance (fabric + foam only, NOT zipper tape)
- Fold fabric away from zipper
- Topstitch 1/8” from zipper edge
Repeat
- Attach second pouch piece to other side of zipper the same way
Step 5: Box the Corners
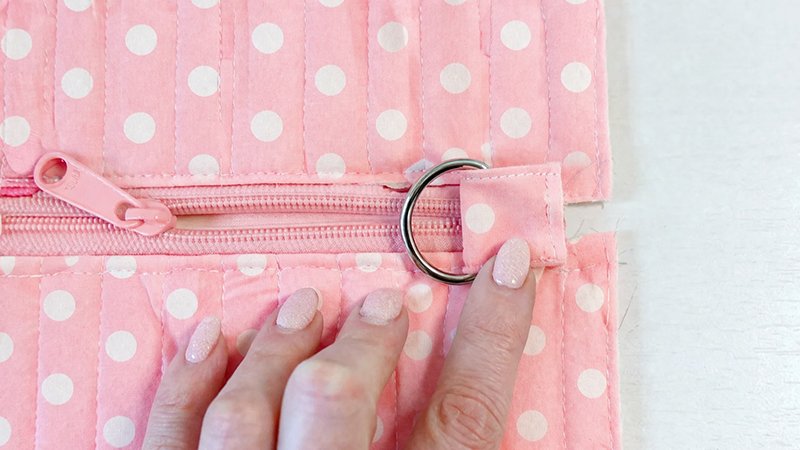
- On all four outer corners:
- Mark 1/2” × 1/2” squares
- Cut out the squares
Attach D-Ring Tab
- Place tab at zipper end (optional)
- Align with edge and baste in place
Step 6: Sew Pouch Together
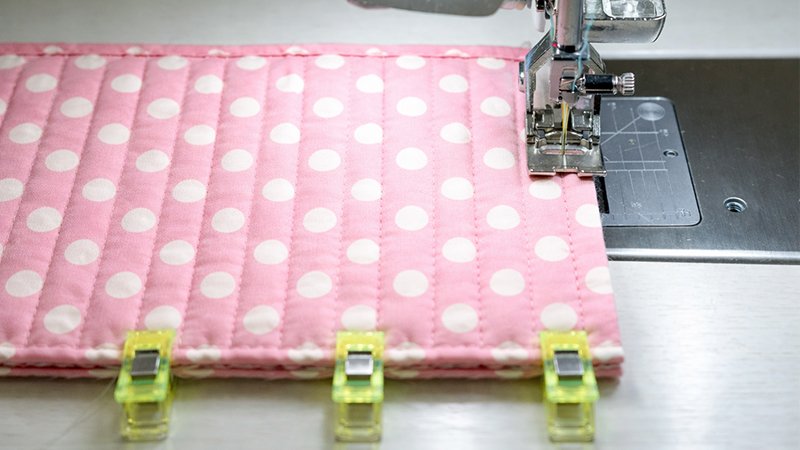
- Place pouch pieces right sides together
- Align edges carefully
- Clip all around
Important
- Open zipper halfway before sewing (for turning later)
- Sew side and bottom seams using 1/4” seam allowance
- Do NOT sew across cut-out corners yet
Step 7: Bind Interior Seams
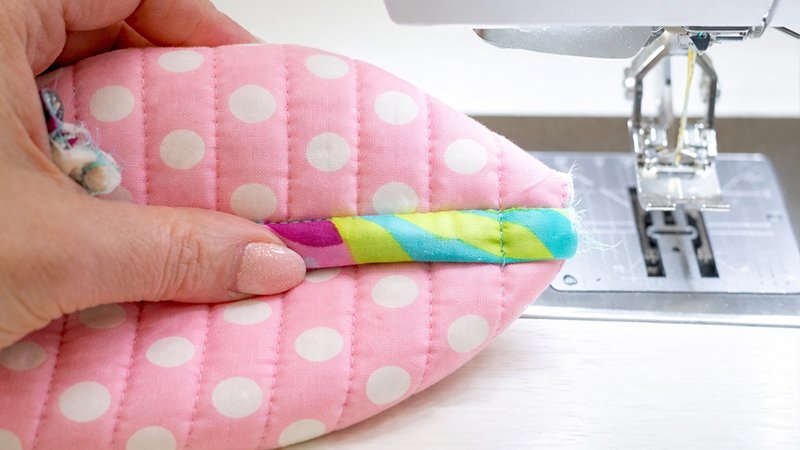
Binding gives a clean, professional finish.
Bottom Seam
- Take 5 1/2” strip
- Align with raw edge
- Sew down
- Wrap binding over seam
- Stitch in place
Side Seams
- Repeat with 4” strips
Step 8: Box the Corners
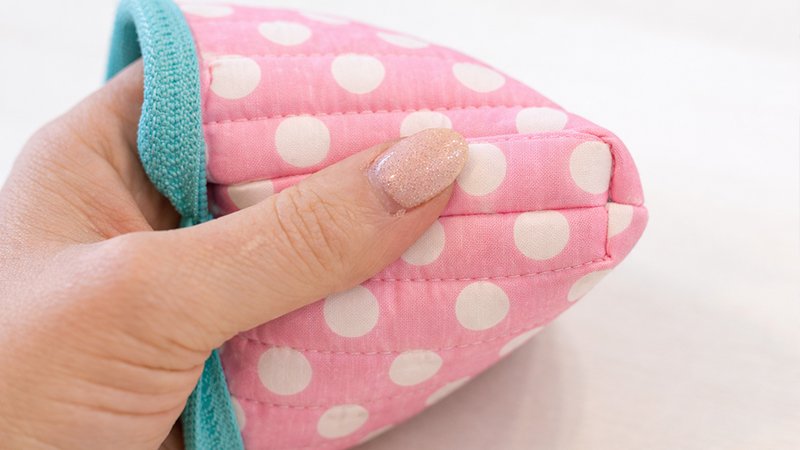
Bottom Corners
- Pinch each corner so seams align
- Nest seams in opposite directions
- Sew straight across
Top (Zipper) Corners
- Flatten zipper area
- Sew across similarly
Bind Corner Seams
- Use remaining small strips
- Fold ends under for a clean finish
- Stitch securely
Step 9: Turn and Finish
- Turn pouch right side out through zipper opening
- Push out corners gently
- Shape pouch evenly
Final Result
You now have a structured, boxy zipper pouch with:
- Clean interior (no raw edges)
- Flat zipper ends (no puckering)
- Sturdy shape thanks to foam stabilizer
Tips for Best Results
- Use longer stitch length (3.0–3.5) when quilting foam
- Go slow over thick seams
- Use clips instead of pins for bulky layers
- Match thread color to zipper for a polished look
Uses for Your Chubby Card Pouch
- Wallet (cards + cash)
- Coin purse
- Key holder
- Gift item
- Travel mini organizer