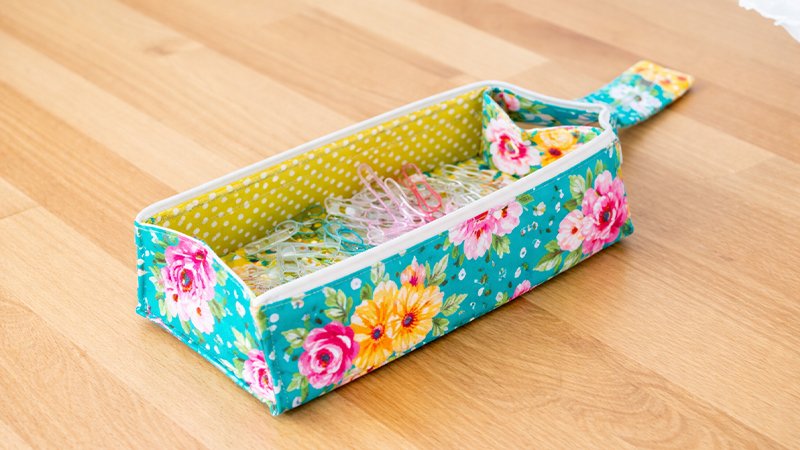
Create a structured, Japanese-inspired zippered box that opens flat and transforms into a compact case with a built-in handle. This expanded guide walks you through each step with extra clarity, tips, and precision.
Finished Size
Approx. 8″ (L) × 2″ (H) × 2″ (W) (excluding handle)
Materials & Tools
- Fabric (Exterior + Lining): ~¼ yard total
- Zipper: 18” or longer (nylon or metal; longer is easier to work with)
- Stabilizer: Peltex 72F (double-sided fusible, ultra-firm)
- Snap: 1 complete set
- Wonder Clips: Highly recommended (pins can distort layers)
- Sewing machine, scissors/rotary cutter, ruler, iron
Cutting Instructions
Fabric Pieces
- Side Panels: 4 total (2 exterior + 2 lining) using side pattern
- Main Body: 2 squares (1 exterior, 1 lining) — 8½” × 8½”
- Zipper Binding: 2 strips — 2″ × 17″
- Zipper Tab: 1 piece — 2″ × 3½”
Stabilizer (Peltex 72F)
- 2 strips — 1¾” × 7¾”
- 2 strips — 2″ × 7¾”
- 1 square — 1½” × 1½”
Step 1: Sew the Side Panels
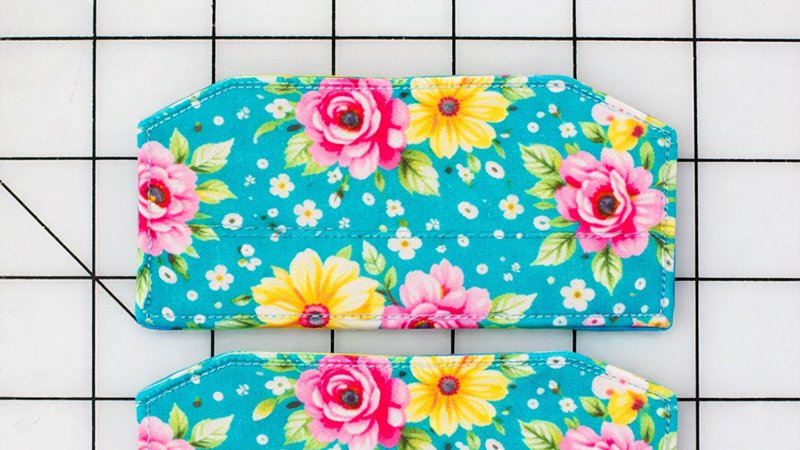
- Place one exterior and one lining side piece right sides together.
- Stitch around edges with ¼” seam allowance, leaving a 1½” gap at the bottom.
- Clip corners to reduce bulk.
- Turn right side out and press neatly.
- Fold the opening inward and press.
- Topstitch along the angled top edge (this adds structure and a clean finish).
Repeat to create 2 identical side panels.
Step 2: Create the Bound Zipper
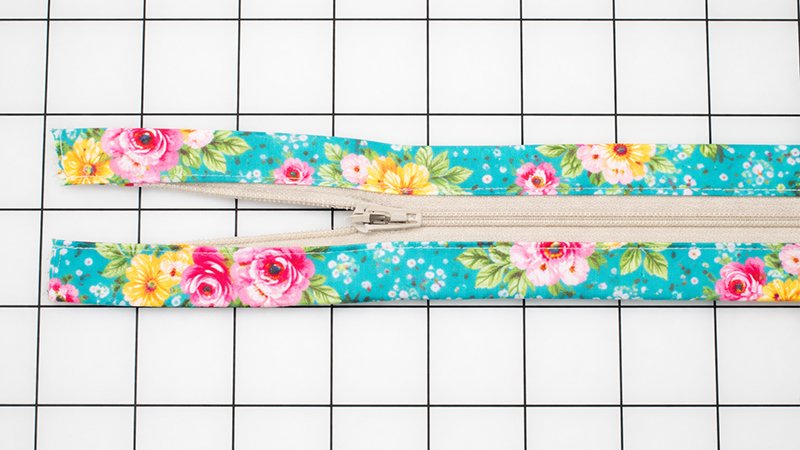
This is the signature feature of the case.
- Take each 2″ × 17″ binding strip:
- Fold in half lengthwise → press
- Open, fold long edges to center → press again (like bias tape)
- Prepare zipper:
- Open zipper fully
- Remove top metal stops (if present)
- Insert zipper tape into binding:
- Position zipper so teeth extend about ¼” above folded edge
- Stitch close to folded edge to secure
- Finish zipper end:
- Sew back-and-forth across teeth about ¼” from end to create a stopper
- Trim excess zipper tape
Repeat for both sides of zipper.
Step 3: Build the Structured Body
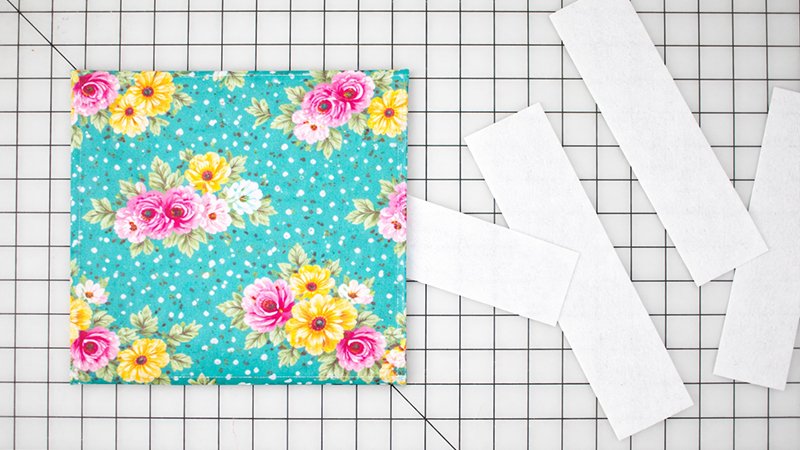
- Place exterior and lining squares right sides together.
- Stitch around edges, leaving a 4″ turning gap.
- Turn right side out and press flat.
Insert Stabilizer:
- Slide Peltex strips between layers:
- Narrow strips (1¾”) → near top & bottom edges
- Wide strips (2″) → centered in middle
- Space evenly — this creates folding sections.
- Fuse with iron (follow Peltex instructions carefully).
Create Hinges:
- Stitch along gaps between stabilizer strips:
- These seams form fold lines so the case collapses properly.
Step 4: Attach the Zipper
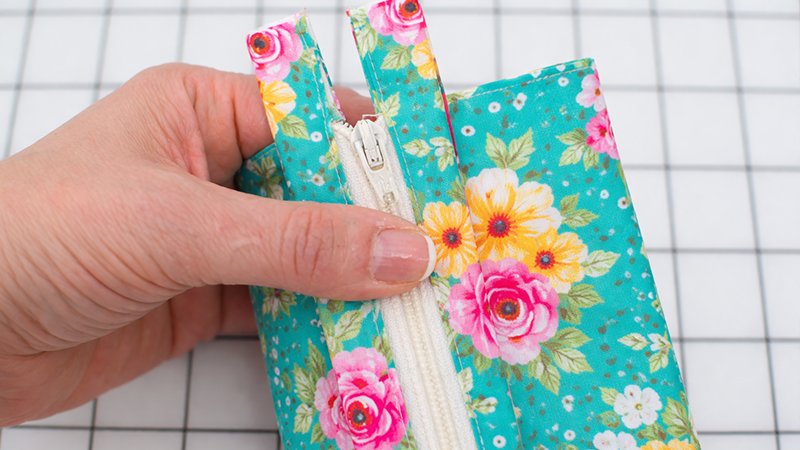
- Open zipper.
- Align one side of zipper binding with one long edge of case:
- Teeth should extend ¼” beyond fabric edge
- Clip in place.
- Stitch:
- Sew along original binding seam
- Add a second line of topstitching for durability
- Repeat for other side.
- Fold excess binding ends inward and stitch down neatly.
Step 5: Attach Side Panels
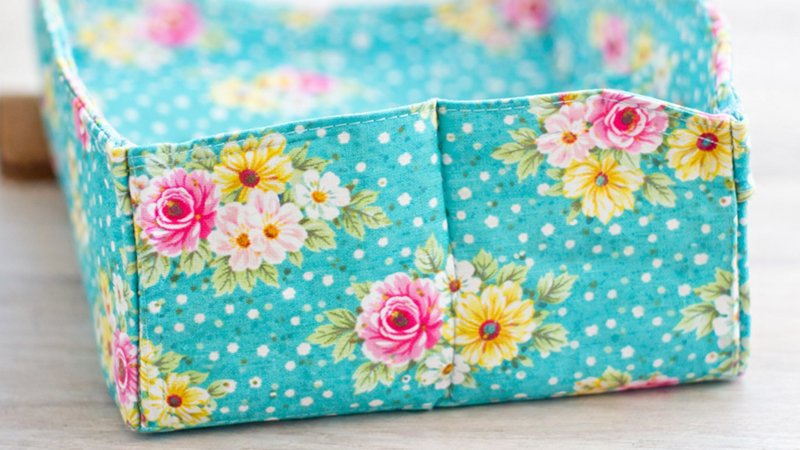
- Position side panel inside one end of case body:
- Center it carefully
- Clip in place
- Stitch around edges using ⅛” seam allowance
- Pivot at corners
- Ensure it meets zipper edge cleanly
- Repeat on opposite end.
Step 6: Form the Box Shape
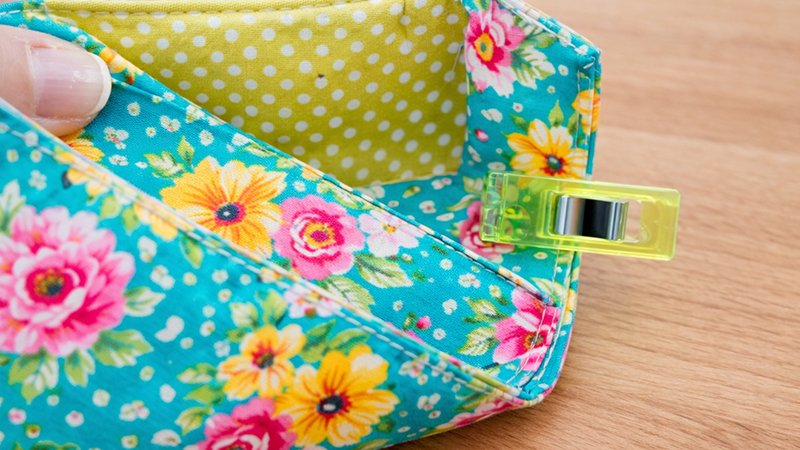
- Turn case inside out.
- On each side, create a 1″ pleat:
- Fold evenly and stitch in place
This step is crucial—it allows the case to collapse flat and expand into a box.
Step 7: Make the Zipper Tab + Handle
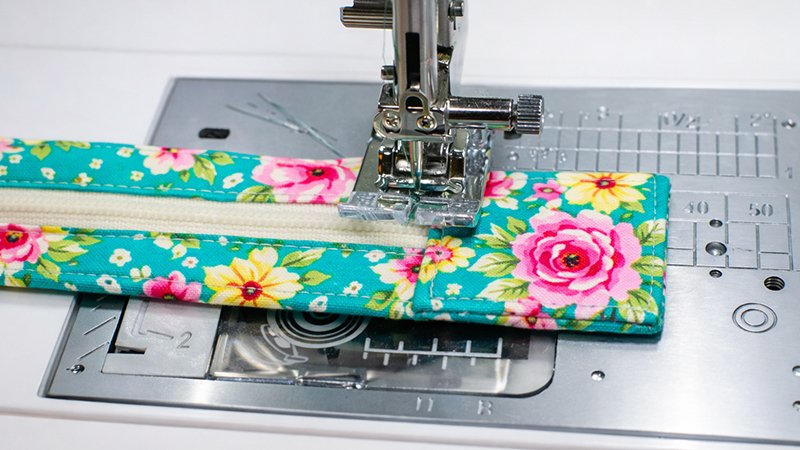
- Take 2″ × 3½” tab piece
- Insert 1½” stabilizer square inside
- Fold edges inward and press
- Stitch closed
- Insert zipper end into tab and sew securely.
Step 8: Add the Snap
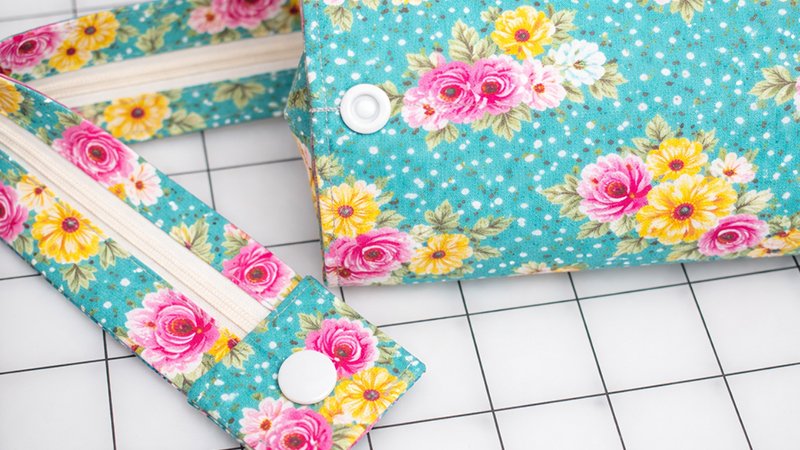
- Attach male snap to zipper tab
- Attach female snap to bottom center of case
When closed, the tab snaps down to form a carry handle.
Final Result
You now have a:
- Fully structured box case
- Opens completely flat for visibility
- Compact and portable
- Secure snap-handle closure
Helpful Tips
- Wonder Clips prevent shifting (especially with thick layers)
- Go slowly over Peltex—it’s dense
- A longer zipper makes installation much easier
- Use a walking foot if your machine struggles with layers
This project is addictive once you get the hang of it—try different fabrics, colors, or even scale it up for makeup or tools!