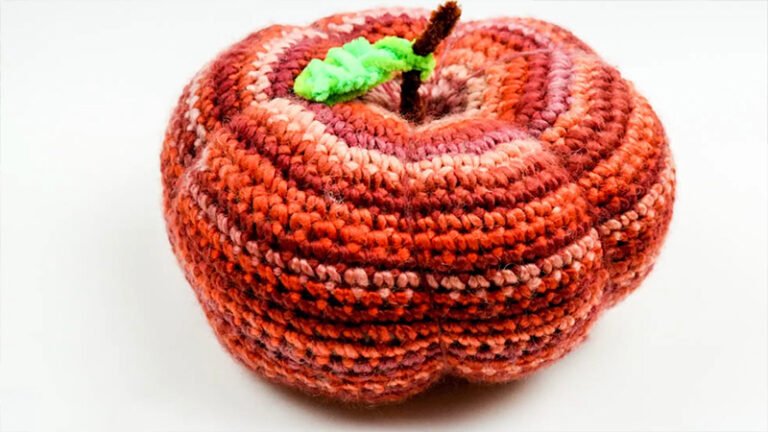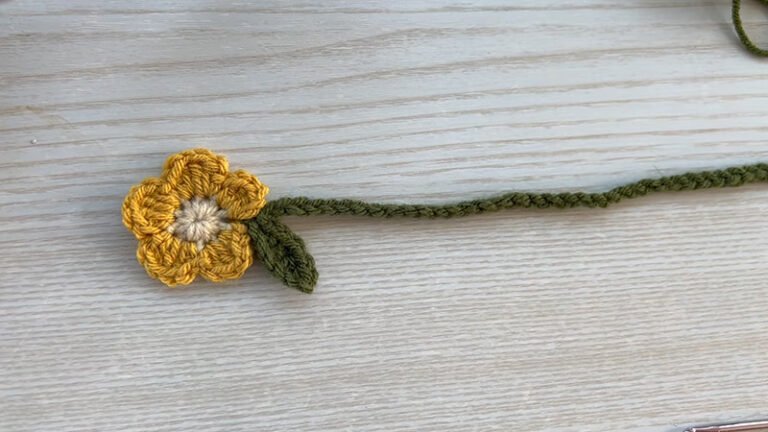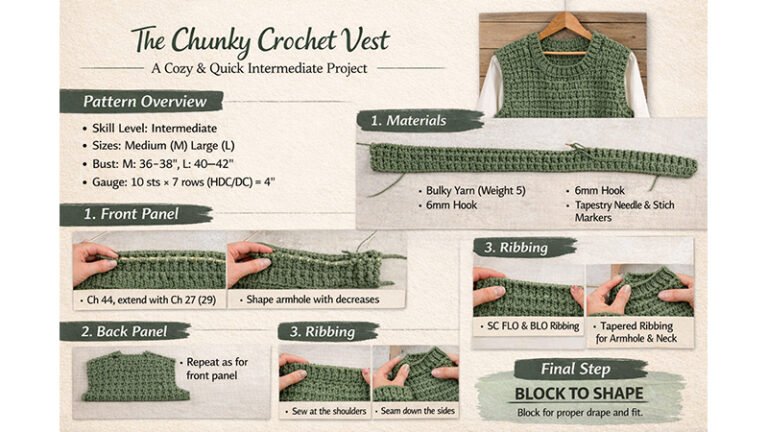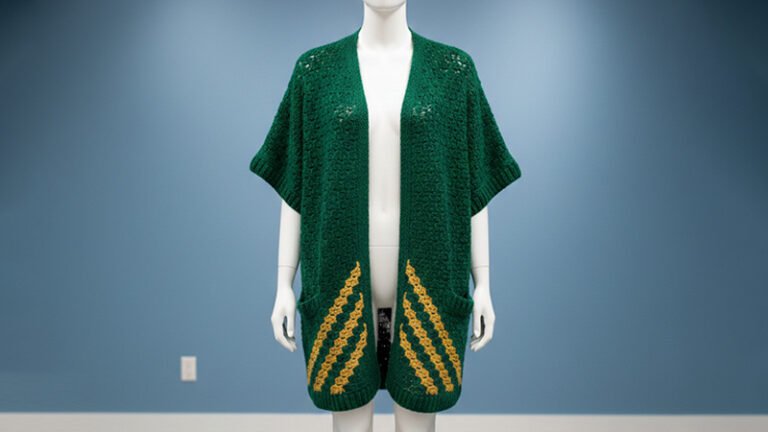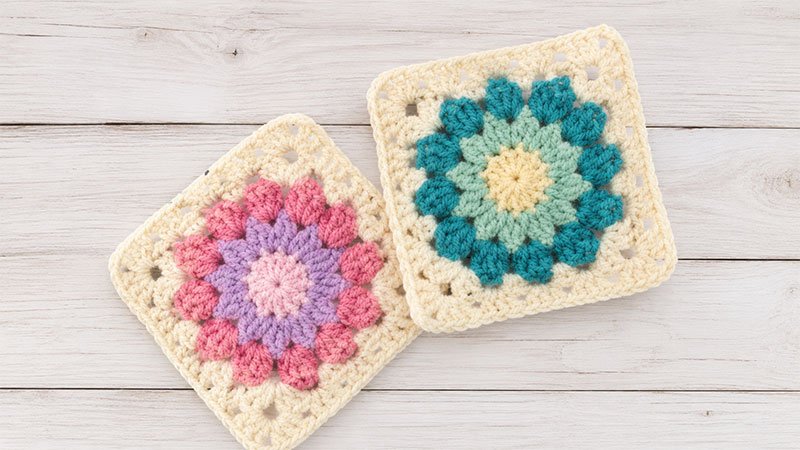
Create a beautiful, textured floral motif with this comprehensive guide for the Pop Petals Flower Square.
This textured design features a blooming center that transitions seamlessly into a crisp, clean square, making it a perfect addition to any 6-inch afghan block collection.
Project Overview
-
Finished Size: Approximately 6 inches (15.2 cm) square
-
Gauge: Not critical for this project; maintaining even tension is key.
Materials Needed
-
Crochet Hook: 6.0 mm (Size J/10 US, 4 UK)
-
Yarn: Aran weight yarn (Medium, Weight 4). Scrap amounts of standard acrylic or cotton blend work perfectly.
-
Tools: Tapestry needle for weaving in yarn tails, and a pair of scissors.
Stitch Key & Special Techniques
Before beginning, familiarize yourself with these step-by-step breakdowns of the special stitches used in this pattern:
-
Magic Circle (MC): An adjustable yarn loop used to start working in the round without leaving a hole in the center.
-
Double Crochet 2 Together (dc2tog) / Connected Decreases: For Round 2, these are worked dynamically. To make a standard dc2tog, yarn over, insert hook into the stitch, pull up a loop, yarn over, draw through 2 loops. Yarn over, insert hook into the next stitch, pull up a loop, yarn over, draw through 2 loops. Yarn over and draw through all 3 loops on your hook.
-
Popcorn Stitch (Popcorn): Work 5 double crochets into the exact same space. Drop the loop from your crochet hook. Insert your hook from front to back through the top of the very first double crochet made, grab the dropped loop, and pull it directly through to bunch the stitches into a textured puff.
-
Working Between Posts: In Round 5, instead of inserting your hook into the top loops of a stitch, insert it into the physical space between the vertical bodies (posts) of two adjacent stitches.
Step-by-Step Pattern Instructions
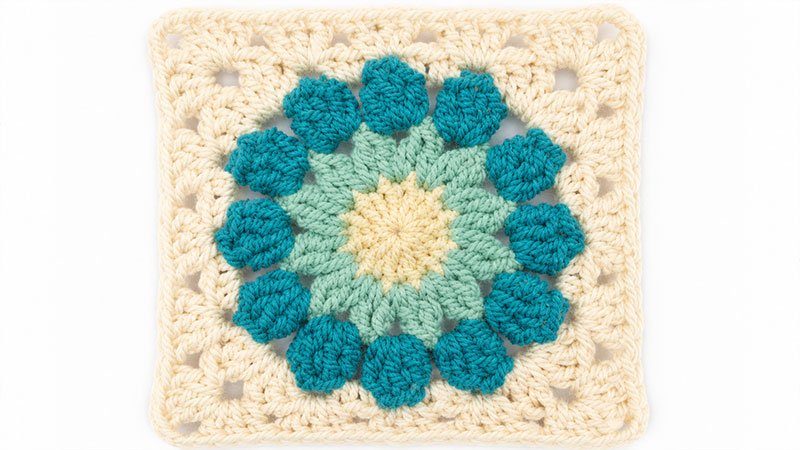
The Floral Center
Round 1: Establishing the Core Form a Magic Circle.
-
Chain 2 (this serves as a height booster and does not count as a stitch).
-
Work 12 double crochets directly into the ring.
-
Pull the yarn tail firmly to close the center hole.
-
Join the round by working a slip stitch into the top of the very first double crochet you made.
-
(Stitch Count: 12 double crochets)
Round 2: The Connected Lattice
-
Chain 2, then work a double crochet into the next stitch. Together, this starting sequence counts as your first dc2tog.
-
Chain 2.
-
Now, work a series of connected decreases around: execute a dc2tog where the first leg goes into the same stitch as the second leg of your previous decrease, and the second leg goes into the next empty stitch. Chain 2.
-
Repeat this process 11 times. For your final decrease, place the first leg into the 12th stitch of Round 1, and the second leg back into the very first stitch of Round 1.
-
Chain 2, then slip stitch into the top of the initial decrease to close.
-
(Stitch Count: 12 dc2tog decreases, 12 chain-2 spaces)
Round 3: Blooming Popcorns
-
Slip stitch forward into the first chain-2 space to position your yarn.
-
Chain 3 (counts as the first double crochet of your first popcorn). Work 4 more double crochets into this same space. Complete the popcorn stitch using the top of the chain-3 as your anchor point. Chain 3.
-
[Work 1 standard popcorn stitch in the next chain-2 space, chain 3] 11 times.
-
Join the round by working a slip stitch into the top of the first popcorn stitch.
-
(Stitch Count: 12 popcorn stitches, 12 chain-3 spaces)
Squaring Up the Motif
Round 4: Shaping the Corners
-
Chain 1, then slip stitch directly into the first chain-3 space.
-
Work 1 single crochet into this first space.
-
Now, begin the side-and-corner sequence: In the next space, work [2 single crochets, 1 half double crochet]. In the following space (this creates your corner), work [1 half double crochet, 2 double crochets, chain 2, 2 double crochets, 1 half double crochet]. In the next space, work [1 half double crochet, 2 single crochets].
-
Repeat that sequence from * to * a total of 3 times to build three sides of your square.
-
To finish the final side: work [2 single crochets, 1 half double crochet] in the next space, build the final corner with [1 half double crochet, 2 double crochets, chain 2, 2 double crochets, 1 half double crochet] in the next space, and finish by working [1 half double crochet, 1 single crochet] back into the very first space you started in.
-
Slip stitch into the first single crochet of the round to join.
-
(Stitch Count: 12 stitches per side, with 1 chain-2 space at each of the 4 corners)
Round 5: Solidifying the Square
-
Chain 1, then slip stitch into the gap between the posts of the first two single crochet stitches. Chain 2.
-
Begin working between the posts: Work [3 double crochets] in this current space between the posts. Work [3 double crochets] between the posts of the next two half double crochets. Move to the corner chain-2 space and work your corner cluster: [3 double crochets, chain 2, 3 double crochets]. Next, work [3 double crochets] between the posts of the following two half double crochets, and [3 double crochets] between the posts of the second and third single crochets from the previous round.
-
Repeat this sequence from * to * 3 times around.
-
Complete the final stretch by working [3 double crochets] between the next two half double crochets, making your last corner cluster of [3 double crochets, chain 2, 3 double crochets] in the corner space, and finishing with [3 double crochets] between the final two half double crochets.
-
Slip stitch into the first double crochet to join.
-
(Stitch Count: 15 stitches per side, with 1 chain-2 space at each corner)
Round 6: The Border
-
Chain 1 (this does not count as a stitch).
-
Work 1 half double crochet into every stitch across the sides.
-
Whenever you reach a corner chain-2 space, work [2 half double crochets, chain 2, 2 half double crochets] directly into the corner opening.
-
Continue this all the way around the square, then finish by slip stitching into the very first half double crochet of the round.
-
(Stitch Count: 19 stitches per side, with 1 chain-2 space at each corner)
Finishing
Cut your yarn, leaving a 6-inch tail. Pull the loop straight through to fasten off. Thread the yarn tail onto your tapestry needle and carefully weave it through the back of your stitches to secure it. Repeat this for the center magic circle tail.
For the crispest square shape and most defined petals, gently wet-block or steam-block your finished square to its final 6-inch dimensions!