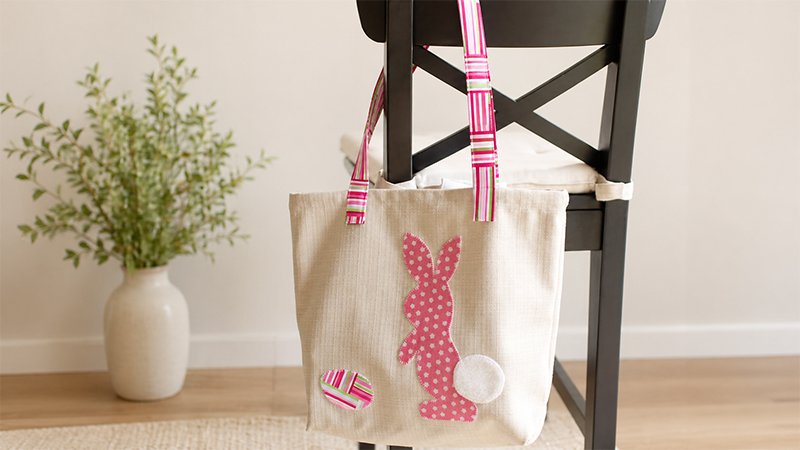
Create a charming and practical tote bag with this beginner-friendly sewing project designed by Caroline Fairbanks of SewCanShe. This unlined tote features an adorable bunny appliqué and a clever “magic corner” construction, allowing you to form the bag’s base and sides in one simple step.
Perfect for spring outings, Easter egg hunts, or everyday use, this tote is both functional and fun to customize.
Materials You’ll Need
Prepare all supplies before starting:
Fabrics
- Main fabric (bag body): 17” × 34”
(Use canvas or home décor weight fabric for durability) - Handle fabric: 2 strips, each 4” × 28”
(Quilt-weight cotton works well)
Interfacing
- Fusible fleece: 2 strips, each 1” × 27½”
(Adds softness and strength to handles)
Appliqué Supplies
- Fabric scraps for bunny design
- Small piece of white fleece or soft fabric for tail
- Appliqué adhesive (e.g., HeatnBond)
Tools
- Sewing machine
- Fabric marking pen or chalk
- Iron and ironing board
- Pins or clips
- Scissors
- Optional: glue stick (for fleece tail)
Step 1: Prepare the Main Bag Piece
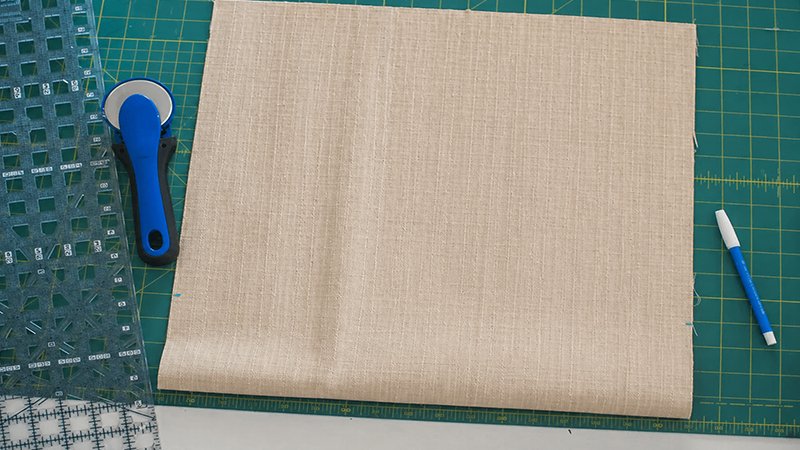
- Lay your 17” × 34” fabric flat.
- Fold it in half so it becomes a 17” × 17” square (right sides facing out for now).
- Position the folded edge closest to you.
Marking:
- Mark the center of the fold.
- From that center point, measure 4 inches upward on both left and right sides.
- Mark clearly on both layers of fabric.
These markings will guide the “magic corner” later.
Step 2: Create the Bunny Appliqué
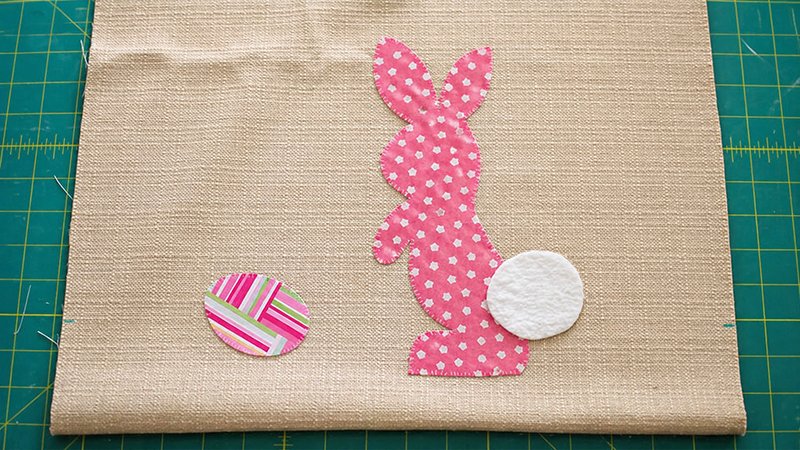
Important: Do this before sewing the bag together.
1. Prepare the shapes
- Trace the bunny template onto the paper side of HeatnBond.
- Fuse to the back of your fabric scraps.
- Cut out shapes and peel off the backing.
2. Position the design
- Place bunny pieces on the front of the bag.
- Center horizontally.
- Position approximately 2½ inches above the bottom fold.
3. Fuse in place
- Press with a hot iron to secure.
4. Add the tail
- Use fleece for a soft, puffy effect.
- If it won’t fuse, apply a glue stick to hold temporarily.
5. Stitch appliqué
- Use one of the following:
- Blanket stitch (recommended)
- Zigzag stitch
- Straight stitch (minimalist look)
Step 3: Sew the Bag Using the “Magic Corner”
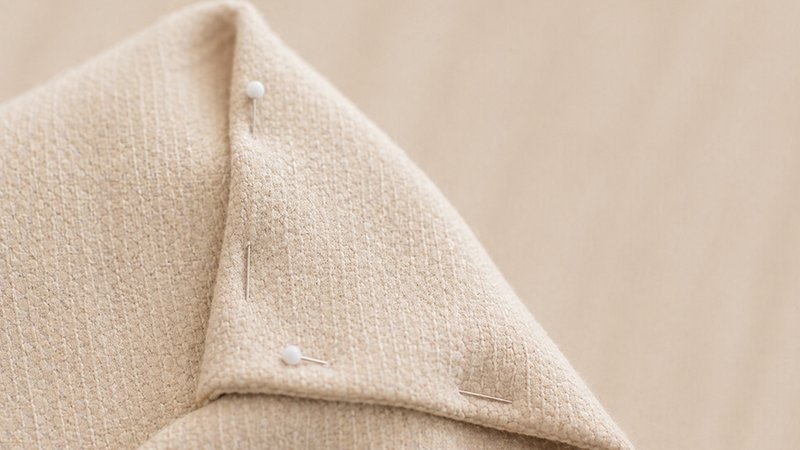
This method creates boxed corners while sewing the side seams.
1. Fold the bag
- Fold the fabric right sides together.
2. Form the pleat
- Take the mark at the fold and bring it up to meet the 4-inch marks.
- This creates a triangular pleat at the bottom.
3. Pin everything
- Secure the pleat carefully.
- Pin along both side edges up to the top.
4. Sew side seams
- Stitch from the top edge down to the bottom, sewing over the pleat.
- Backstitch at the beginning and end.
5. Finish raw edges
- Use:
- Zigzag stitch, or
- Serger
Optional: Tack down the inner triangle for a neater interior finish.
Step 4: Hem the Top Edge
Create a clean, sturdy opening:
- Fold the top edge 1 inch inward and press.
- Fold 1 inch inward and press again.
- Stitch close to the lower fold edge.
Step 5: Make and Attach the Straps
1. Prepare straps
For each strap:
- Fold the strip in half lengthwise and press.
- Open and fold both long edges toward the center.
- Fold in half again.
- Fold short ends inward by ¼ inch.
2. Add interfacing
- Insert fusible fleece inside.
- Press to fuse.
3. Topstitch
- Sew around the entire strap, about ⅛ inch from the edge.
4. Attach straps to the bag
- Position straps:
- 4 inches from each side seam
- Ends should extend 1½–2 inches down from the top edge
- Pin securely.
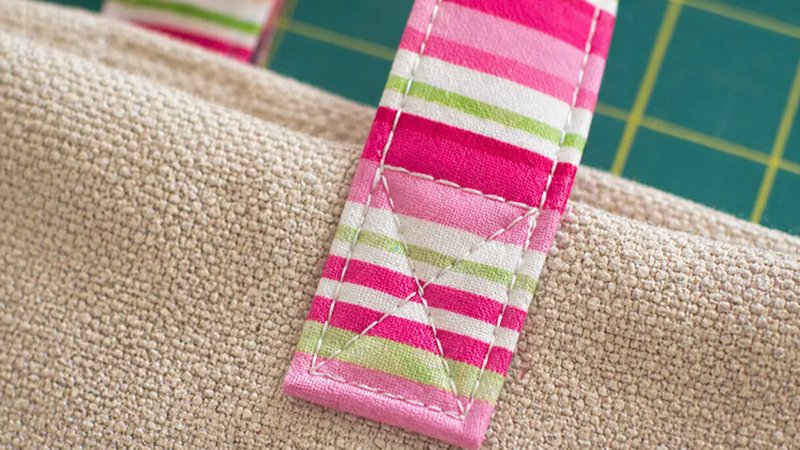
5. Stitch in place
- Sew a rectangle at each strap end.
- Add an “X” inside the rectangle for extra strength.
Finished!
Turn your bag right side out and admire your work! You now have a sturdy, reusable tote with a cute bunny appliqué—perfect for:
- Easter egg hunts
- Kids’ outings
- Everyday errands
Final Tip
This project teaches a valuable technique—the magic corner method—which you can reuse in many future bag designs.
Happy sewing!