Pattern Description:
The Mitered Granny Square is an easy-to-execute crochet pattern that offers numerous possibilities with different color combinations.
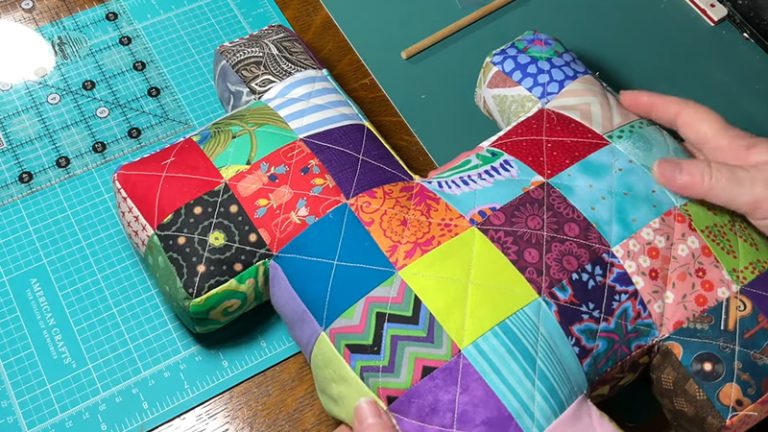
Designed by Sue of Crochet Again, it aims for a “half log cabin quilt sorta thing, with a modern look”.
The design shifts from traditional rounds to incorporate rows for its distinctive mitered section, culminating in a finished square with a clean border.
Materials Need & Measurements:
- Yarn: Loops and Threads Impeccable, chosen for its affordability for larger projects.
- Yarn Weight: Worsted weight.
- Hook: A size 7 (4.5mm) crochet hook is recommended.
- Notions: Essential notions include a method for starting the center, such as a Magic Circle or sliding ring. The pattern also links to tutorials for these starting methods. For joining squares, the Join As You Go method is recommended, with a dedicated tutorial available. Standard crochet tools like scissors and needles (often included with hook sets) are also implied.
- Measurements: Each finished square, including the white border, measures approximately 6 1/4 inches.
Stitches & Abbreviations Used:
- ch: Chain.
- dc: Double crochet.
- slpst: Slip stitch.
- Magic Circle/Sliding Ring: A method to start granny squares.
- ch3: Used for corners to create space for cluster turns.
- 3dc: A cluster of three double crochets, forming the basic granny stitch unit.
- Note on Chaining: The author does not chain 1 between 3dc clusters within a side, only using ch3 in corners. This technique can result in squares that may curl slightly on the edges initially but lie flat nicely once joined. Other crocheters may prefer to chain 1 between clusters for more room.
Instructions for Making the Mitered Granny Square Pattern:
The construction of a Mitered Granny Square involves three main phases: the basic granny square foundation, the mitered part, and the border.
Basic Granny Square Foundation:
- Round 1:
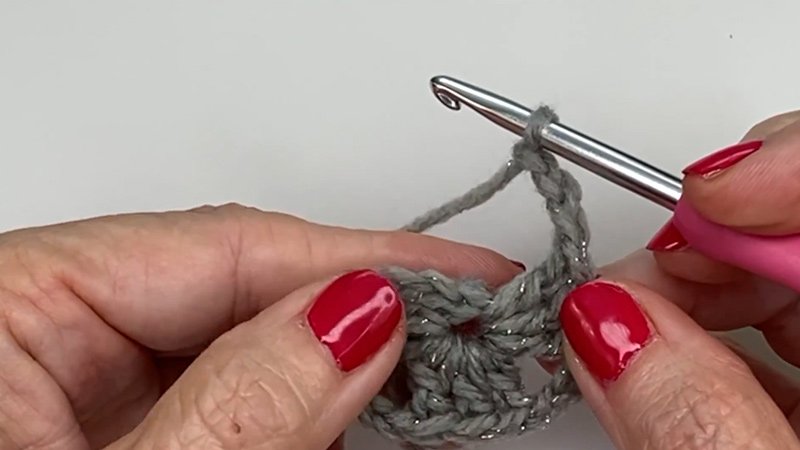
- Begin with a Magic Circle or sliding ring. Ch3 (counts as first dc), 2dc in circle, ch3. Repeat “{3dc, ch3}” three more times. Slpst to the top of the beginning ch3. Do not end off.
- Round 2:
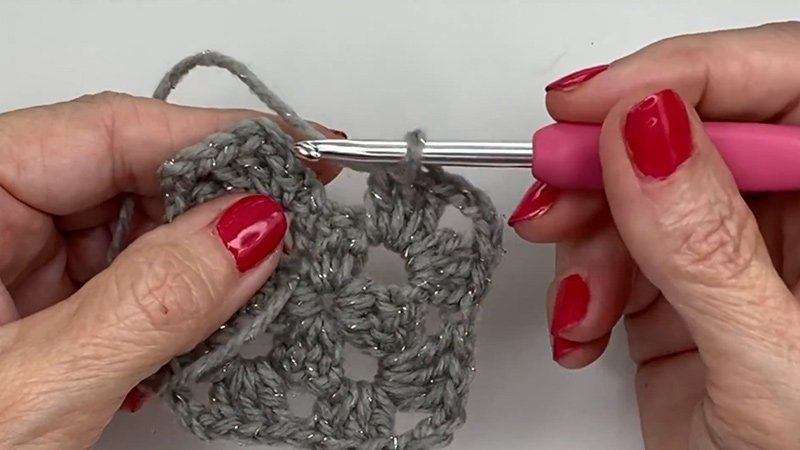
- Ch3. In the next ch3 space, work {3dc, ch3, 3dc}. Repeat this “{3dc, ch3, 3dc}” in the next two ch3 spaces. In the last ch3 space, work 3dc, ch3, 2dc. Slpst to the top of the beginning ch3 and end off.
The Mitered Part:
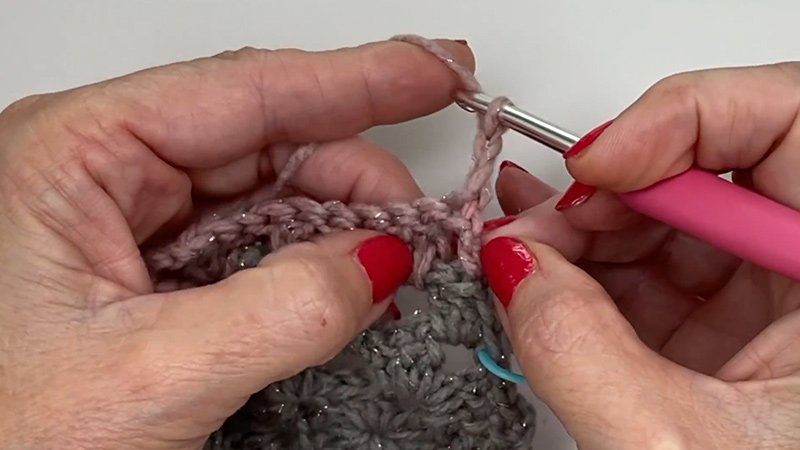
This section shifts from working in rounds to working in rows.
- Attach a new color in any ch3 corner. This can be done with a beginning dc or a slpst and ch3.
- Work 2dc in the same space.
- Work 3dc in the space between the 3dc groups of the previous row.
- Work 3dc, ch3, 3dc in the next ch3 corner space.
- Work 3dc in the space between.
- Work 3dc, ch3 in the next corner space.
- Turn your work. You are now working along two sides of the square, as if working in rows.
- Work 3dc in the next space.
- Continue across, working 3dc, ch3, 3dc in the corner and 3dc between each cluster to the end.
- Finish by working a dc in the top of the stitch on the end, and then end off.
- For subsequent rows of the mitered part, flip the square over and attach a new color (with a dc or ch3). Continue along the two sides as done in the previous row. Repeat for as many rows as desired.
The Border:
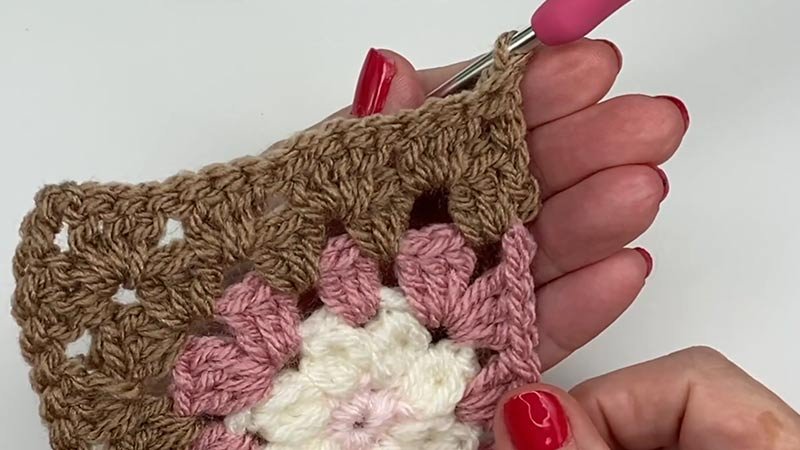
This is typically added in a contrasting color, such as off-white.
- With the square’s center (e.g., the yellow part in the photo) facing up, attach the border color in the starting space.
- Form a corner by working 2dc, ch3, 3dc.
- Continue across to the next corner, working 3dc clusters between the previous row’s clusters.
- At the corners, work 3dc, ch3, 3dc as usual for a granny corner.
- When you reach the sides of the rows (where the mitered part was worked), continue by working 3dc into the obvious space at the bottom of the side dc’s.
- Continue around the square, completing all 3dc clusters and 3dc, ch3, 3dc corners.
- Finally, slpst into the top of the first stitch to finish the border round.
Key Tips and Project Considerations

- Joining Squares: Use the Join As You Go method for easier assembly. Only the first square gets a full white border. For all other squares, add the white border while joining. If making all squares first, leave off the border until joining.
- Flattening Squares: Light steaming helps squares lie flat after joining.
- Pattern Format: The Mitered Granny Square pattern is shared as a free webpage tutorial with step-by-step photos, no separate printable PDF. A simplified diagram is offered separately.
Off-Centered Variation: Create a variation by crocheting three granny rounds, adding two rows on two adjacent sides in a new color, then finishing with two full rounds in that color.