Pattern Description:
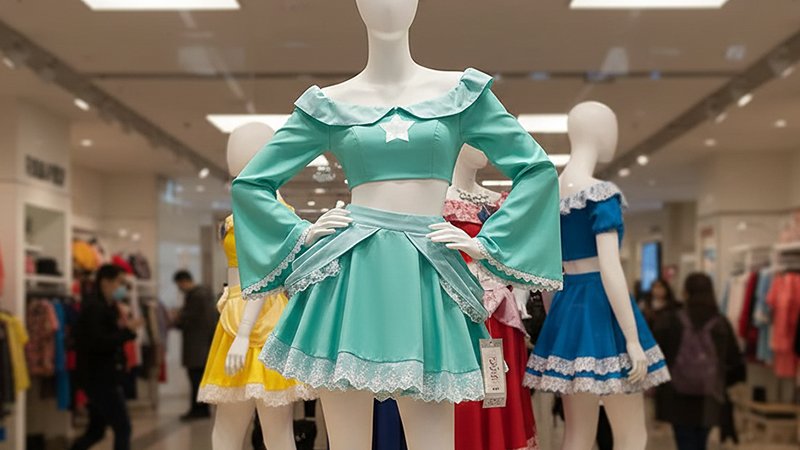
The Rosalina Bodycon Dress is a sleek, form-fitting design featuring soft ruching along the front and back panels for a flattering silhouette.
Its gathered skirt section adds elegant texture, while slim adjustable straps enhance comfort and fit.
Fully lined and made from stretchy knit fabric, this dress blends sophistication and ease, perfect for both special occasions and evening wear.
Materials Needed & Measurements:
Materials Needed
- Main Fabric: Lightweight knit fabric with at least 50% stretch and good recovery. Suitable options include ITY knit, ponte knit, stretch satin, or poly-spandex blends.
- Lining Fabric: Stretch lining such as tricot, power mesh, or high-stretch knit.
- Notions:
- 4 strap sliders or rings for adjustable straps
- Coordinating thread
- Stretch or ballpoint sewing needle
- Optional: Clear elastic for stabilizing seams
Fabric Yardage (Approximate)
- 3.5 to 5 yards of main fabric depending on size
- 1.5 to 2 yards of lining
Measurements / Size Range
- Fits sizes XXS to 4XL
- Bust range: 31″ – 59.5″
- Waist range: 23″ – 51.5″
- Hip range: 34″ – 63.5″
Instructions for Making the Rosalina Pattern:
Preparing the Pattern and Fabric
Begin by printing the pattern at full scale and assembling the pieces following the alignment marks. Choose a stretch knit fabric with at least 50% elasticity to ensure the ruched panels and bodycon fit behave correctly.
Pre-wash your fabric to prevent shrinkage and lay it flat to remove wrinkles. Place the pattern pieces on the fabric according to the grainline arrows, ensuring all stretch lines run horizontally for the best shaping.
Pin securely or use pattern weights, then cut each piece, including the lining components.
Constructing the Bodice Base
Start with the front and back lining pieces. With right sides together, sew the side seams using a stretch stitch or a narrow zigzag.
Press the seams lightly without stretching the fabric. Repeat the process for the main bodice fabric.
The lining adds stability and helps the dress contour smoothly against the body, so make sure the edges of both layers match accurately.
Creating the Ruching Panels
The Rosalina’s signature look comes from its gathered front and back skirt panels. Take the designated pieces and run two rows of long basting stitches along the top edges.
Gently pull the threads to create even gathers until the width matches the corresponding bodice panels.
Distribute the gathers carefully so the ruching appears symmetrical. Repeat the process for both the front and back sections.
Joining Bodice and Skirt Sections
Attach the ruched skirt pieces to the lower edges of the bodice main fabric. Use pins to keep the gathers in place while sewing.
After stitching, remove basting threads and gently press the seam allowances upward. Follow the same steps to join the skirt and bodice lining layers, ensuring the lining mirrors the outer construction.
When both layers are complete, place the lining and main fabric right sides together and sew along the neckline.
Forming and Attaching the Straps
Cut four narrow strap pieces or use pre-made spaghetti straps. Fold each strap piece lengthwise, right sides together, and sew a narrow seam.
Turn the straps right side out using a loop turner or safety pin. Thread each strap through your sliders or rings to create adjustability.
Pin the straps in place between the main and lining layers at the marked positions on the front and back bodice edges.
Closing the Dress and Finishing the Hem
Align the main fabric side seams and sew from the top of the bodice to the hem of the skirt. Repeat for the lining side seams, taking care not to catch the straps.
Turn the dress right side out and try it on to verify fit. Make any adjustments as needed. Finish the hem with a twin needle or zigzag stitch to maintain stretch and create a clean, professional edge.