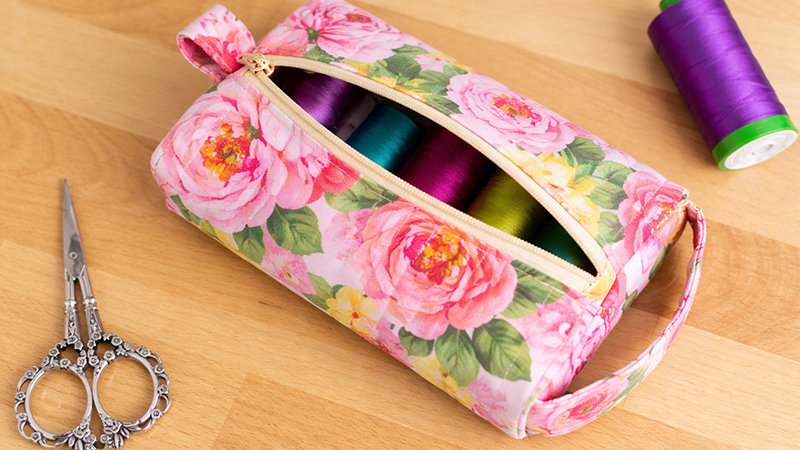
The Pillbox Pouch is a compact, box-shaped zip pouch with a clean, professional finish. Its structured shape (about 4” x 6” x 1”) makes it perfect for organising sewing supplies, makeup, or small tools—while still being beginner-friendly.
Materials & Tools
Fabric & Stabilizers
- Exterior fabric: 1 piece, 10” x 9½”
- Lining fabric: 1 piece, 10” x 9½”
- Stabiliser (choose one):
- Cotton batting (soft look)
- Foam stabilizer (structured look)
- Fusible fleece (quick & smooth option)
Handle & Zipper Pieces
- Handle strip: 3” x 8”
- Fusible interfacing (for handle): 3” x 8”
- Zipper tabs: 4 squares, 1½” x 1½”
- Zipper: at least 6” long
Tools & Notions
- Sewing machine
- Zipper foot
- Walking foot (optional but helpful)
- Basting spray or pins
- Scissors/rotary cutter
- Iron
- Thread
- Seam allowance: ¼” throughout
Step 1: Create the Fabric Sandwich
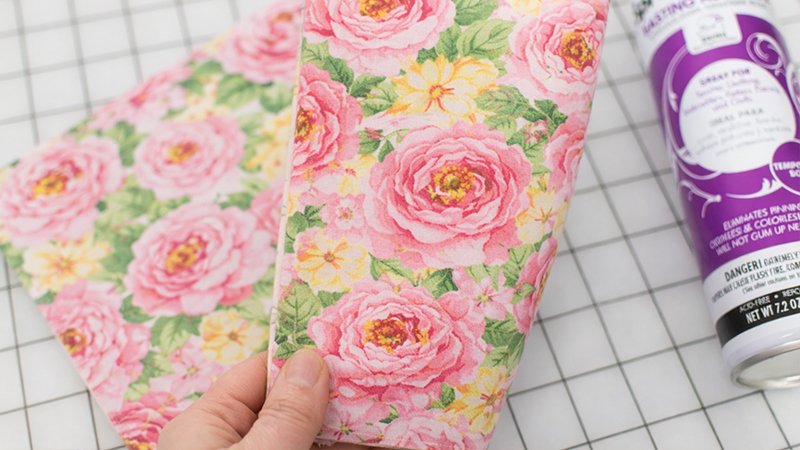
- Lay your lining fabric wrong side up.
- Place the stabilizer on top.
- Add the exterior fabric right side up.
Important: Both fabric pieces should have right sides facing outward.
- Secure layers using:
- Basting spray (recommended), OR
- Pins, OR
- Edge basting (⅛” from edges)
Step 2: Quilt (Optional) & Trim
Quilting (Optional)
- Stitch through all layers using your desired pattern:
- Straight lines (modern look)
- Diagonal lines (classic quilted look)
Trim
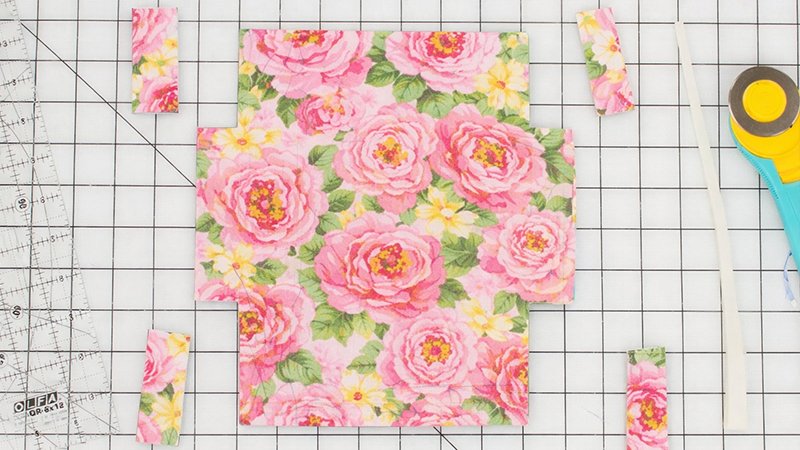
- After quilting, trim your piece to:
9” x 8½”
Step 3: Cut Corners for Box Shape
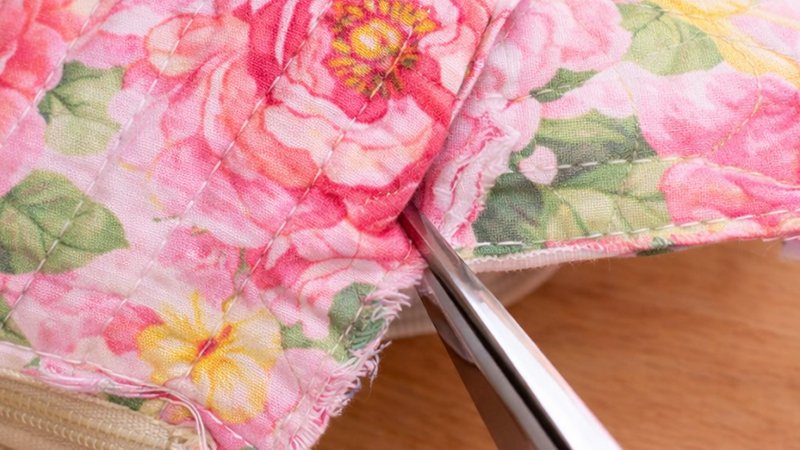
From each of the 4 corners, cut out:
- 1” wide × 2½” tall rectangles
These cuts are what create the pouch’s 3D box shape later.
Step 4: Make the Handle & Pull Tab
- Fuse is interfacing to the wrong side of the 3” x 8” strip.
- Fold lengthwise in half and press.
- Open, then fold both long edges into the centre crease.
- Fold again in half (like bias tape).
- Topstitch along both long edges (⅛” from edge).
Cut into:
- 5” piece → handle
- 3” piece → zipper pull tab
Step 5: Add Zipper Tabs
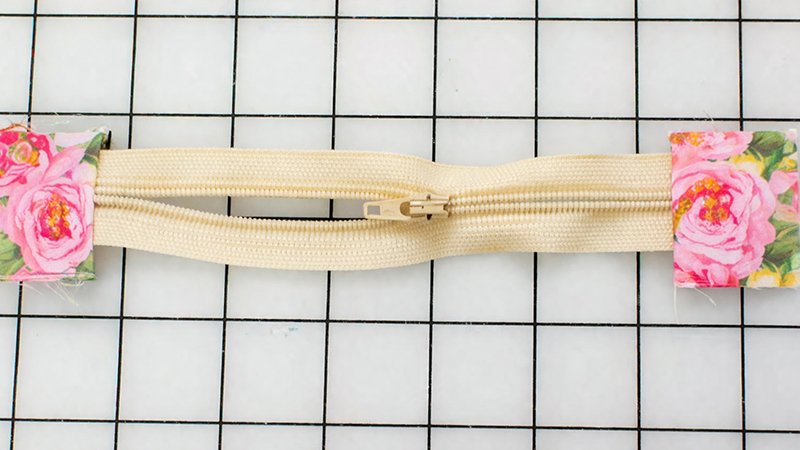
- Mark your zipper so the finished length is 5½”.
- Place zipper ends between two fabric squares (right sides together).
- Stitch across each end.
- Flip the fabric outward and press.
Result: clean, professional zipper ends.
Step 6: Attach the Zipper
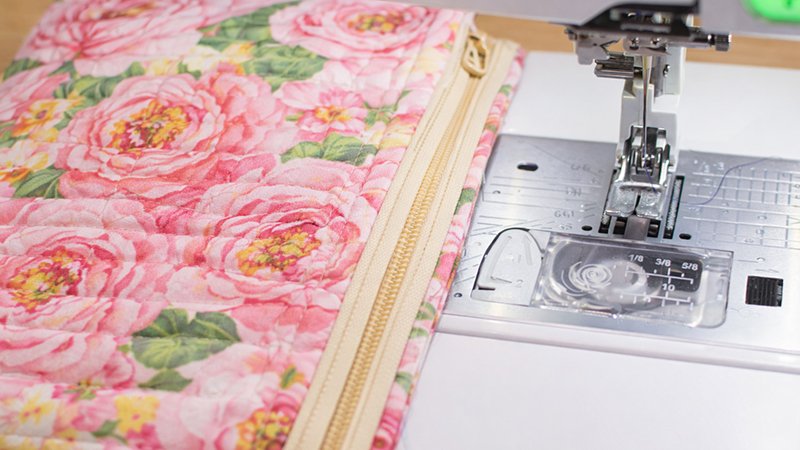
First Side
- Place the zipper right-side down on the exterior fabric edge.
- Sew using zipper foot (¼” seam).
- Flip the zipper outward.
- Press and topstitch ⅛” from the zipper.
Second Side
- Attach the other side of the pouch to the zipper.
- Sew carefully (it becomes tube-shaped).
- Topstitch as before.
Tip: Keep the zipper half-open before moving on!
Step 7: Attach Handle & Tab
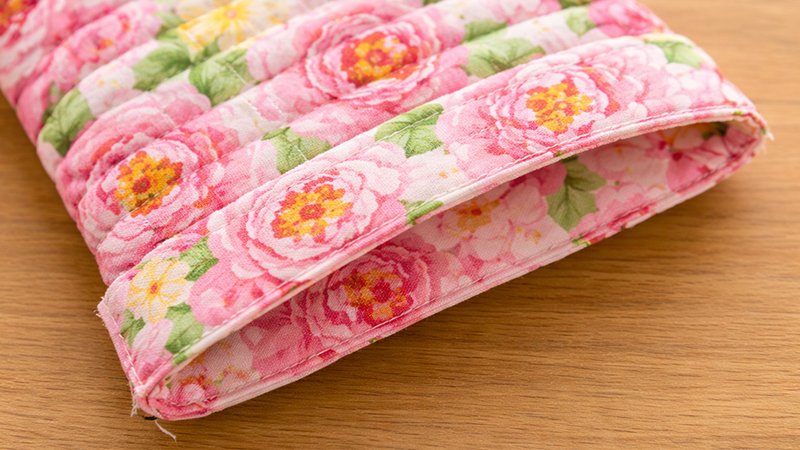
Turn the pouch right side out.
- Pull tab (3”)
- Fold in half
- Attach to one zipper end
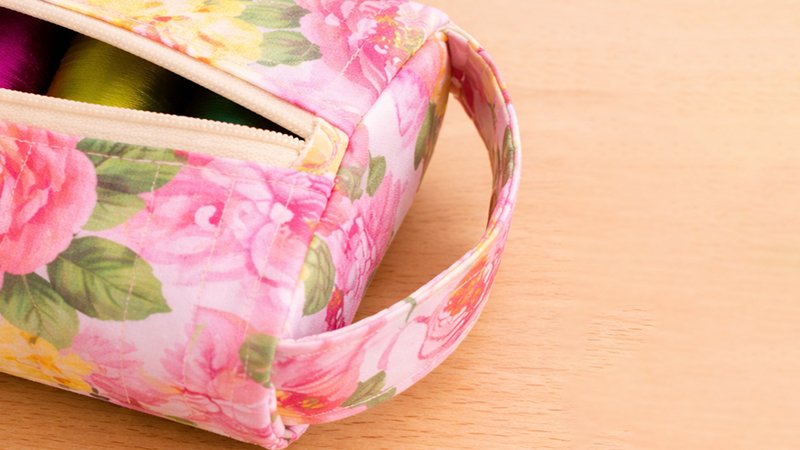
- Handle (5”)
- Place on the opposite end
- Position about ¼” from the edge
- Stitch in place
The extra length creates a slight “puff” for easy gripping.
Step 8: Form the Box Corners
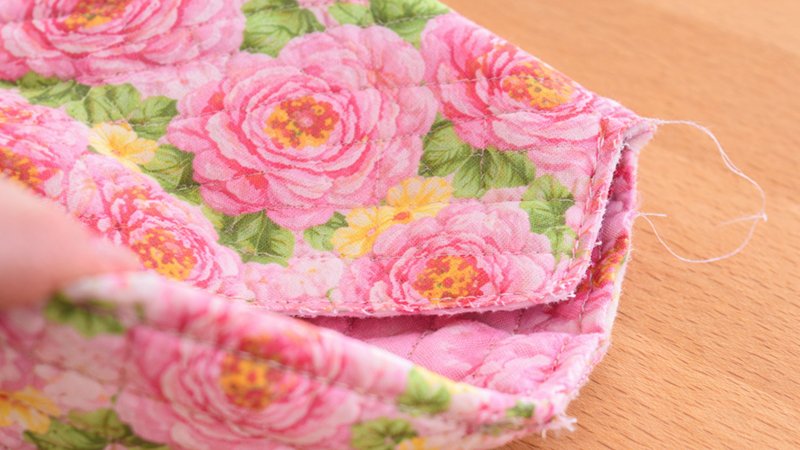
Turn the pouch wrong side out again.
For each corner:
- Match the cut-out edges (1” side to adjacent side).
- Align carefully.
- Stitch across using a ¼” seam.
- Stop exactly at the edge—do not sew past.
Repeat for all 4 corners.
Step 9: Close the Ends
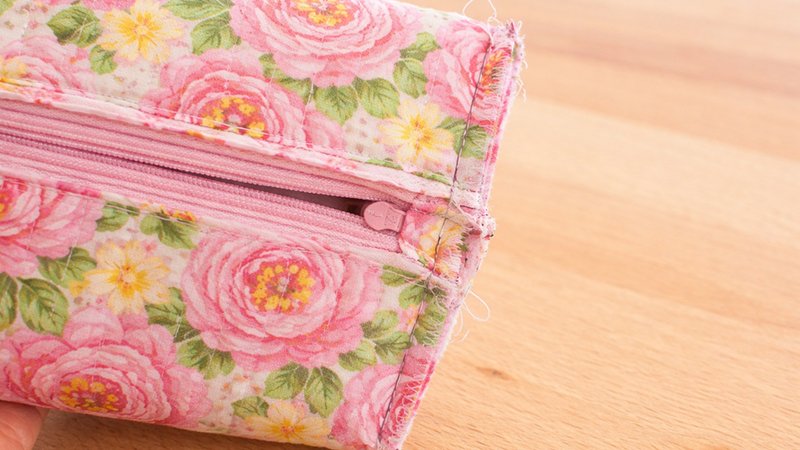
Flatten pouch ends and sew across each end with a ¼” seam.
Step 10: Finish Interior Seams
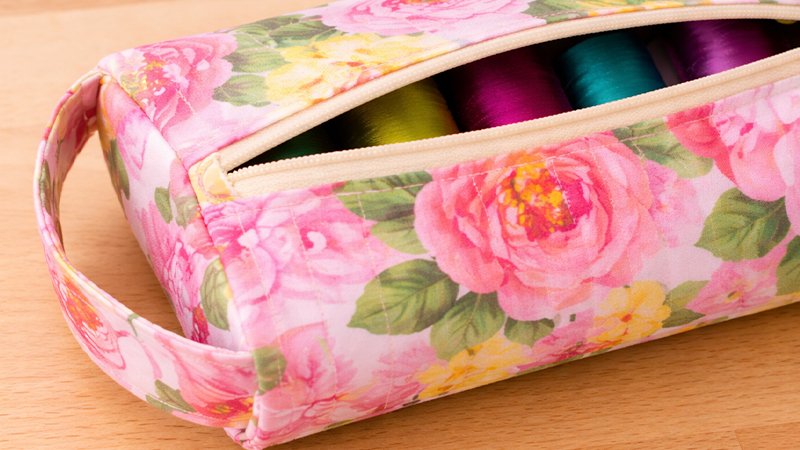
To prevent fraying, finish seams using:
- Zig-zag stitch (quickest), OR
- Bias binding (clean, professional finish)
Final Step: Turn & Shape
- Turn the pouch right side out through the zipper.
- Push out corners gently.
- Adjust shape.
You now have a crisp, structured Pillbox Pouch!
Extra Tips
- Always keep the zipper open before final sewing.
- Foam stabiliser gives the most “boxy” shape.
- Use coordinating lining fabric for a polished look.
- Great for gifts—fill with small items for a surprise!
Finished Result
A neat, rectangular pouch that:
- Holds thread spools, clips, or cosmetics
- Uses scrap fabric efficiently
- Looks professionally made