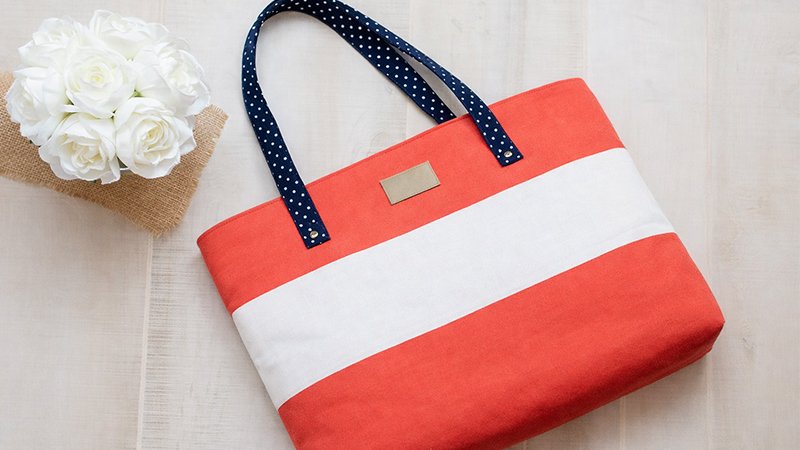
Create a stylish, durable, and professional-quality tote bag with this beautifully designed color-blocked pattern by Caroline Fairbanks. This bag combines eye-catching design with practical features, making it perfect for travel, shopping, or everyday use.
Overview
This tote stands out because of its:
- Tri-color exterior for a modern, high-end look
- Spacious interior for maximum storage
- Recessed zipper closure for security
- Reinforced handles for durability
- Optional custom pockets and leather label
Materials & Supplies
Exterior Fabric (Canvas Recommended)
- Teal Canvas – ½ yard
- Cream/White Canvas – ¼ yard
- Navy Canvas – ¼ yard
Interior
- Cotton fabric (lining) – ½ yard
Structure & Hardware
- Foam stabilizer (e.g., ByAnnie’s Soft and Stable) – ¾ yard
- Pellon SF101 (optional for lightweight fabrics)
- Zipper – 20″ or longer
- Batting or foam (for handles)
Optional Add-ons
- Leather scrap (2″ × 3″ label)
- 4 rivets + tools
Cutting Guide
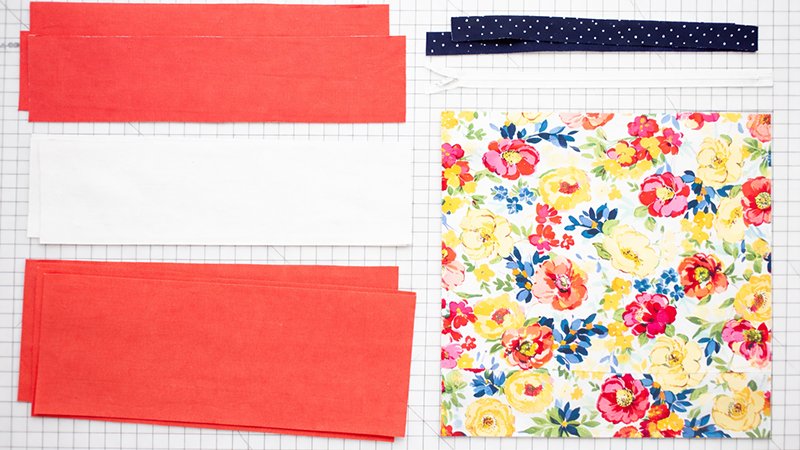
Teal Canvas
- (2) 6″ × 19″ — Top panels
- (2) 2″ × 19″ — Zipper strips
- (2) 4″ × 29″ — Handles
Cream/White Canvas
- (2) 6″ × 19″ — Middle panels
Navy Canvas
- (2) 8″ × 19″ — Bottom panels
Lining Fabric
- (2) 16½″ × 19″
Foam Stabilizer
- (2) 19″ × 19″ — Body
- (2) 1″ × 28″ — Handle inserts
Step-by-Step Instructions
Step 1: Create the Exterior Panels
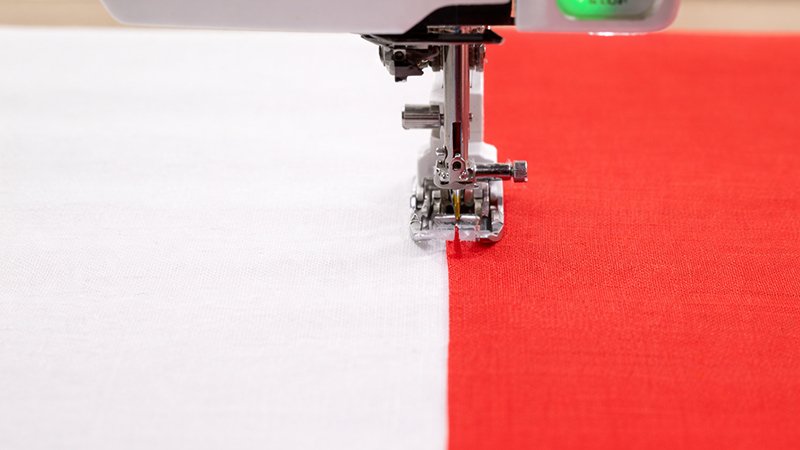
- Arrange fabric pieces in this order:
Teal (top) → White (middle) → Navy (bottom) - Sew panels together using a ¼″ seam allowance.
- Press seams upward and topstitch along each seam for a clean, professional finish.
- Place each completed panel onto the foam stabilizer.
- Baste around edges (⅛″–¼″ from edge).
- Cut out 2″ squares from the bottom corners (for boxed corners).
Step 2: Attach the Recessed Zipper
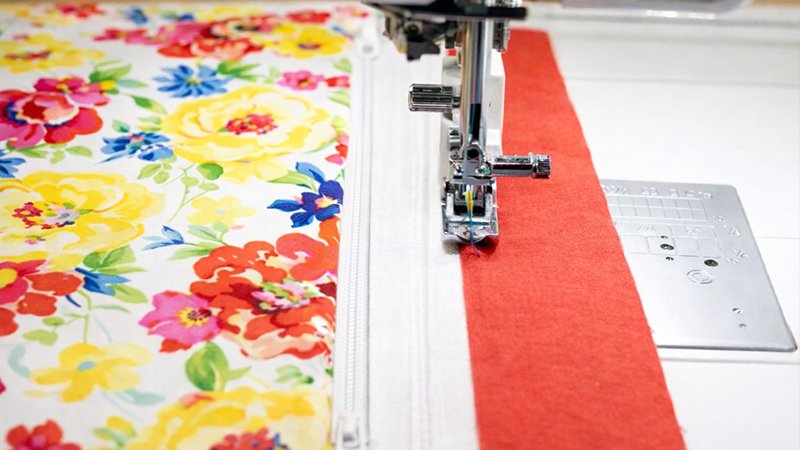
- Place one lining piece right side up.
- Lay the zipper on top, right side up, aligned with the top edge.
- Place a teal zipper strip right side down on top.
- Stitch along edge (¼″ seam).
- Flip the strip upward and topstitch near the seam.
- Repeat for the other side with the remaining lining and strip.
- Cut 2″ squares from the bottom corners of the lining pieces.
Step 3: Assemble Bag Body
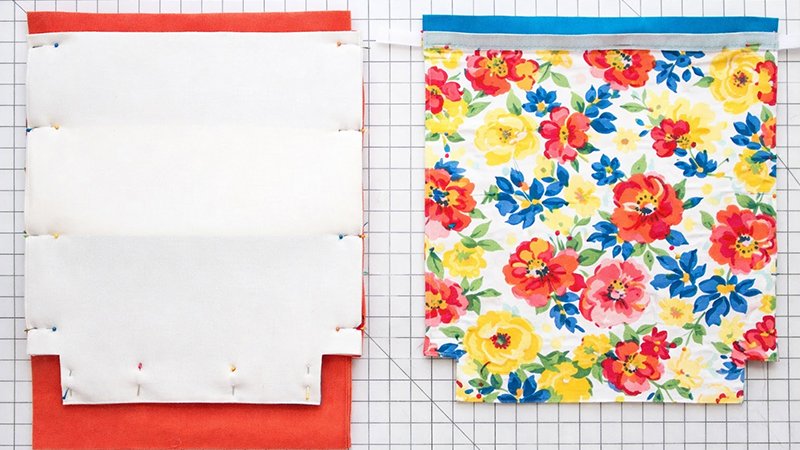
Exterior:
- Place pieces right sides together
- Sew sides and bottom with ½″ seam allowance
Lining:
- Repeat the same steps
- Leave a 6″ opening at the bottom for turning
Step 4: Box the Corners
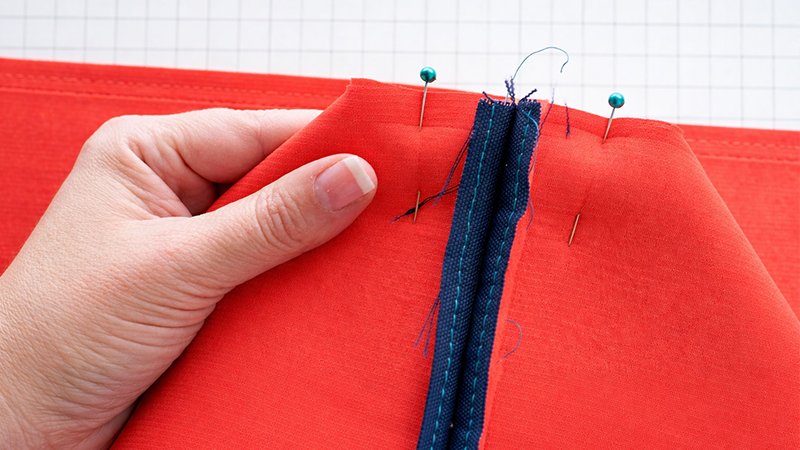
- Align the side seam with the bottom seam at each corner.
- Flatten and pin.
- Stitch across using ½″ seam allowance.
This creates depth and structure.
Step 5: Make the Handles
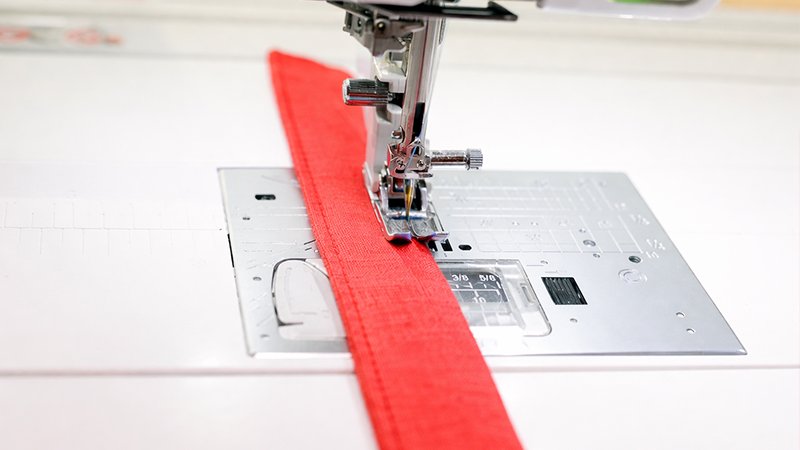
- Fold ends inward by ½″.
- Fold the strip lengthwise in half.
- Fold raw edges into the center and press.
- Insert foam/batting strip inside.
- Topstitch around edges (⅛″ from edge).
Tip: Use a walking foot for smoother stitching.
Step 6: Add Optional Label
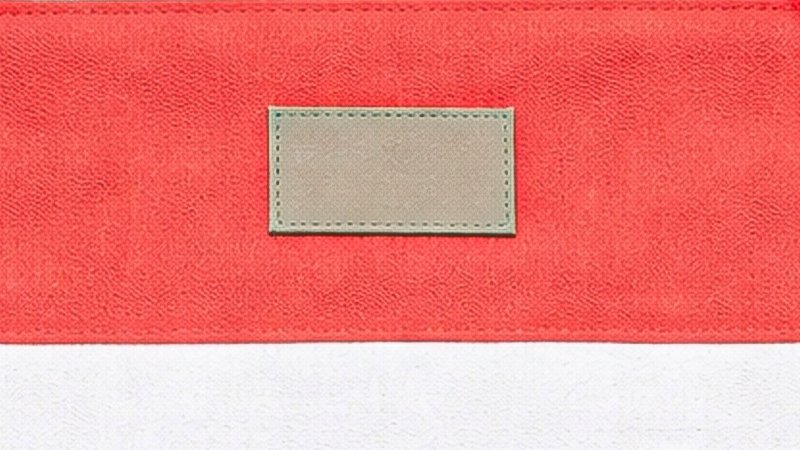
- Center leather label on the teal section
- Topstitch securely in place
Step 7: Attach Handles
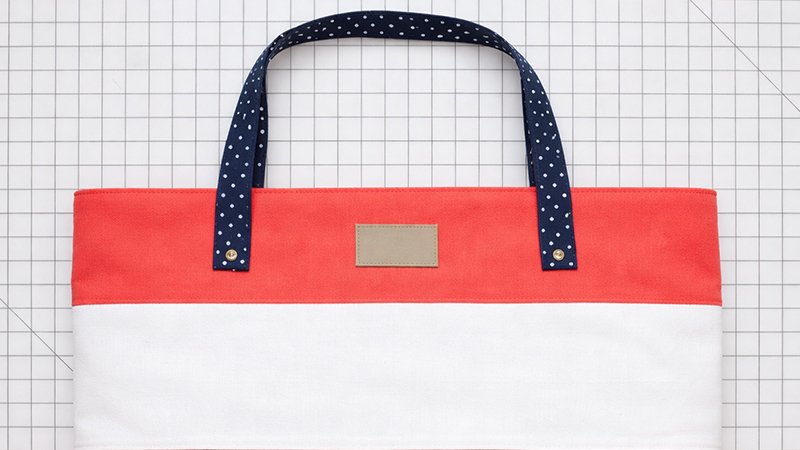
- Position handles:
- 4″ from side seams
- 2″ above color seam (teal/white line)
- Stitch a 1″ square with an “X” inside for strength
- Sew twice for durability
Step 8: Join Lining and Exterior
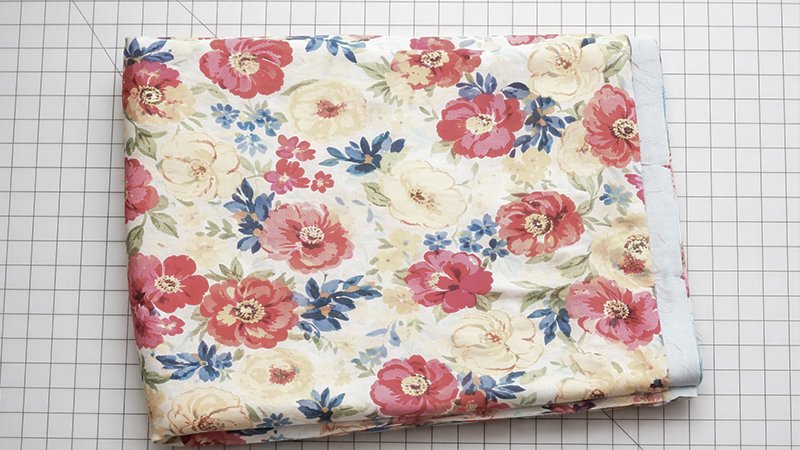
- Turn exterior right side out
- Keep lining inside out
- Insert exterior into lining (right sides together)
- Align top edges and pin
- Sew around top with ½″ seam allowance
Make sure zipper is open before sewing!
Step 9: Turn the Bag
- Pull bag through lining opening
- Push lining inside bag
- Close opening using:
- Hand stitching, or
- Machine stitch close to edge
Step 10: Final Finishing
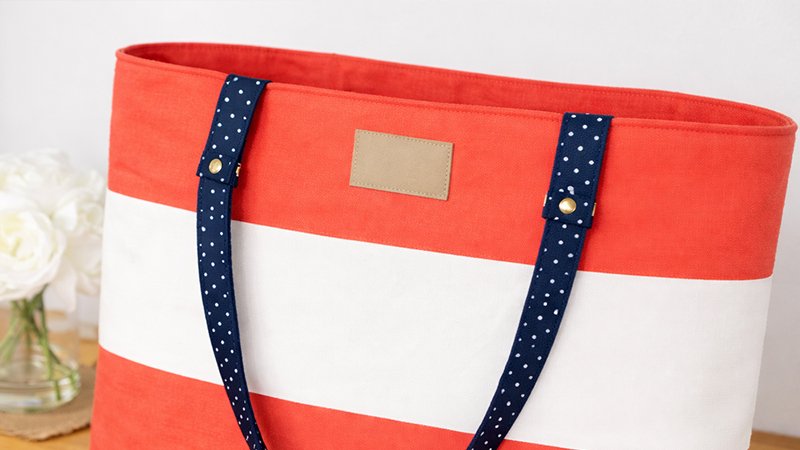
- Press top edge neatly
- Topstitch ¼″ from top edge
Step 11: Add Rivets (Optional)
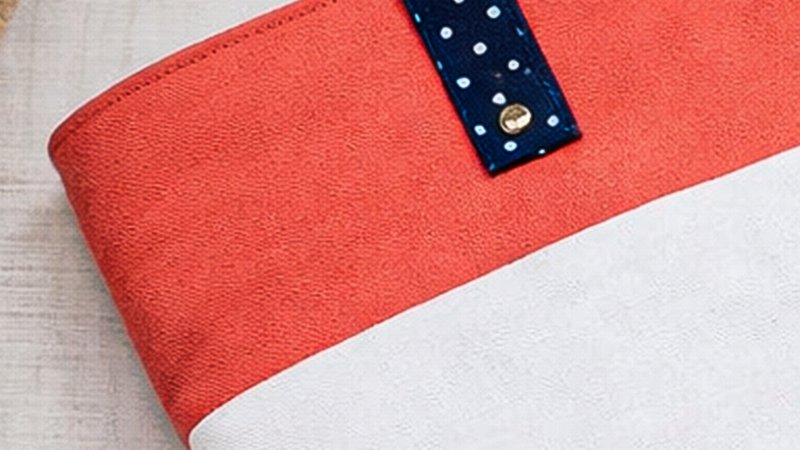
- Place rivets at handle bases
- Follow tool instructions carefully
This adds both style and extra strength.
Finished!
You now have a professional-grade tote bag that is:
- Strong
- Stylish
- Travel-ready