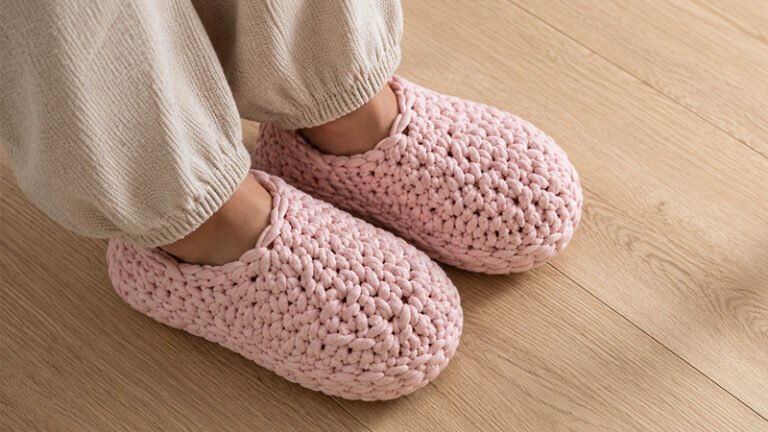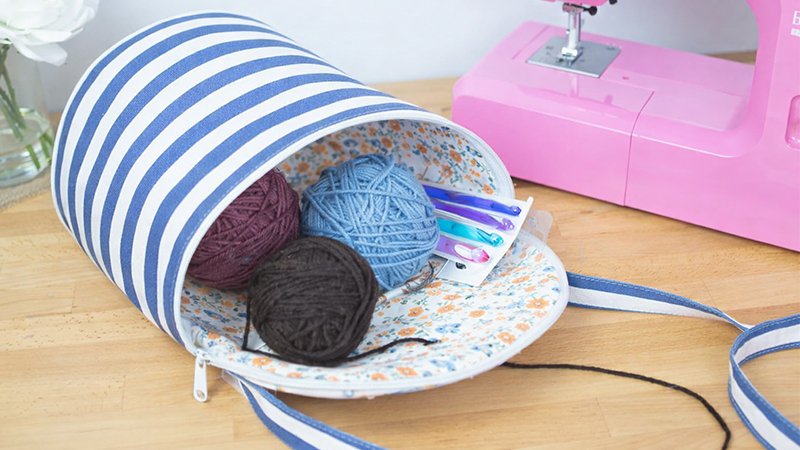
If you knit or crochet, you already know how frustrating it is when your yarn rolls away, collects dust, or gets tangled. This half-barrel style project bag is designed to solve that problem—keeping your yarn clean, contained, and easy to use wherever you go.
The standout feature is a top eyelet (grommet) that allows yarn to feed smoothly while the ball stays safely inside.
Finished Size
- Approx. 10 inches tall × 11 inches wide
- Spacious enough for multiple yarn balls and tools
Key Features
- Structured shape using foam stabilizer
- Flat back panel for comfortable carrying
- Piping for a polished, professional look
- Wide zipper opening for easy access
- Eyelet for smooth yarn feeding
Materials Needed
- Exterior fabric: ½ yard
- Lining fabric: ½ yard
- Foam stabilizer: ½ yard (e.g., Soft and Stable)
- Piping: 40 inches
- Zipper: 20” handbag zipper (size 4.5 YKK recommended)
- Eyelet (grommet): 1 large or extra-large
- Optional: Extra fabric for pockets
Helpful Tools
- Wonder clips
- Walking foot (recommended)
- Sewing stiletto
- Zipper or piping foot
Step 1: Cutting Your Pieces
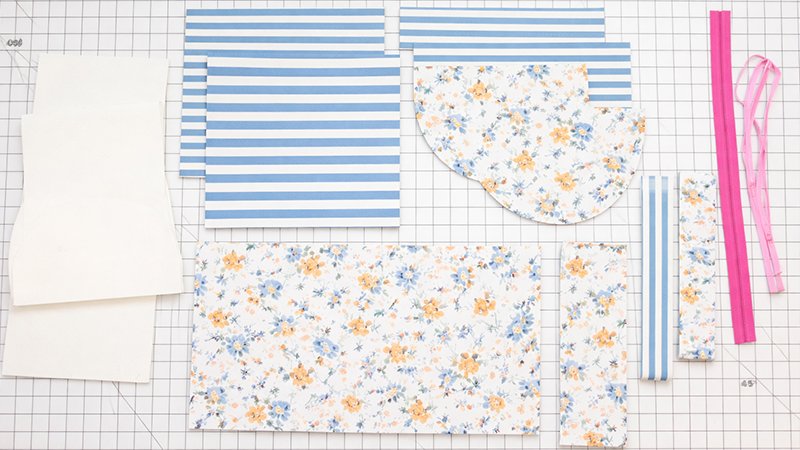
From Exterior Fabric:
- 2 curved pieces (from template)
- 1 back panel: 10” × 11”
- 1 front panel: 9¼” × 18¾”
- 1 strap: 4” × 42”
From Lining Fabric:
- 2 curved pieces (template)
- 1 back panel: 10” × 11”
- 1 front panel: 9¼” × 18¾”
- 1 bias strip: 2¼” × 20” (for curves)
- 1 straight strip: 2¼” × 33”
From Foam Stabilizer:
- 2 curved pieces
- 1 back panel: 10” × 11”
- 1 front panel: 9¼” × 18¾”
Important: The 20” binding strip must be cut on the bias so it bends smoothly around curves.
Step 2: Making the Strap
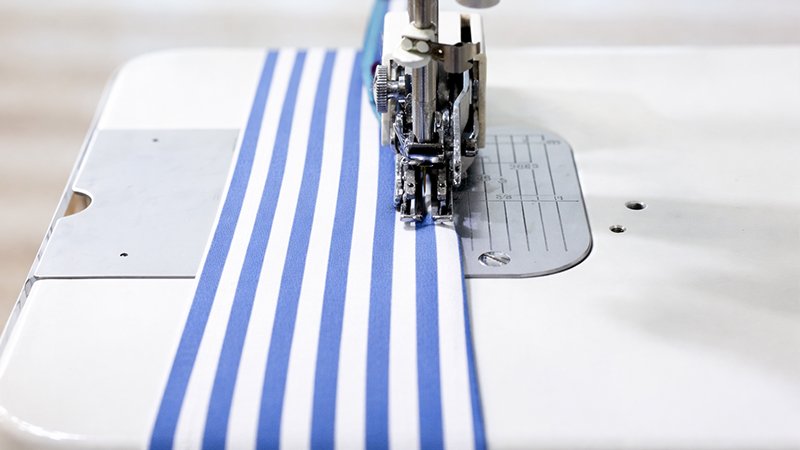
- Fold the strap lengthwise and press to mark the center.
- Fold both long edges inward to the center crease and press.
- Fold in half again → finished width = 1 inch.
- Topstitch along both edges (~⅛” from the edge).
Use a walking foot to prevent shifting.
Step 3: Top & Bottom Sections
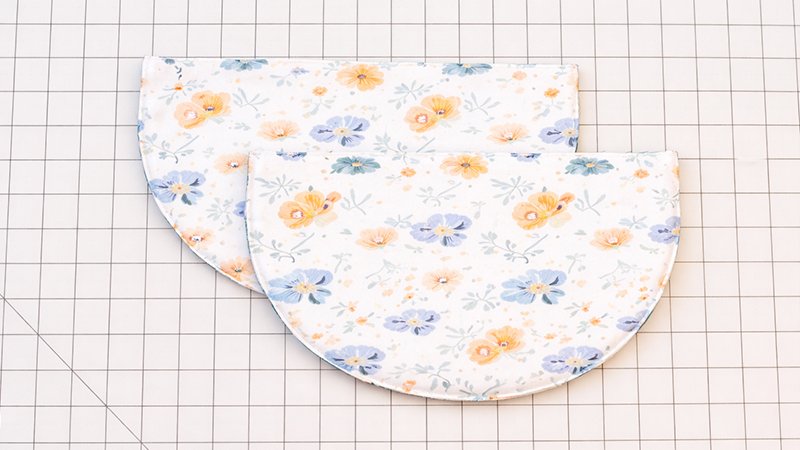
1. Attach to Foam
- Place exterior pieces on foam (wrong sides together)
- Baste around edges at ⅛.”
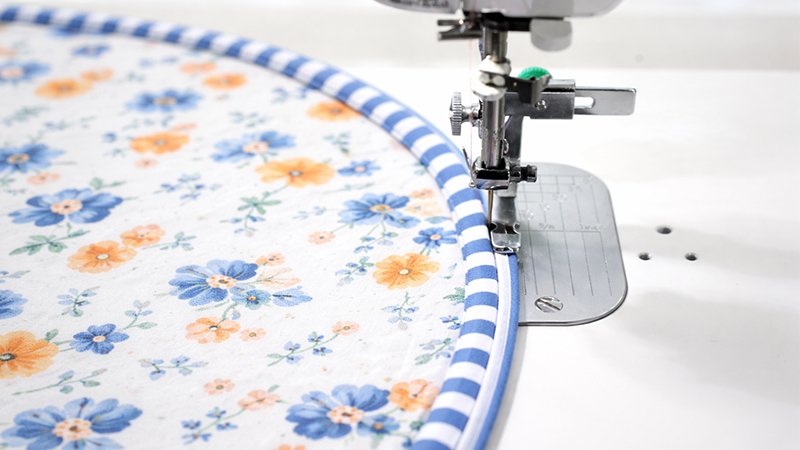
2. Add Piping
- Sew piping along curved edges
- Use a zipper/piping foot for accuracy
3. Install Zipper (Top Piece)
- Place the zipper face down on the piping edge
- Sew with ¼” seam
4. Create Zipper Stop
- Trim the excess zipper
- Sew back-and-forth across teeth to prevent slipping
5. Add Lining
- Place the lining piece right sides together
- Stitch along the zipper edge
- Turn the right side out and press
Step 4: Attach Front Panel
- Layer front:
- Exterior + foam + lining
- Baste together
- Mark centers:
- Center of the front panel
- Center of the zipper edge
- Sew together:
- Match centers
- Clip along curves to ease the fabric
- Sew with ¼” seam
- Finish inside:
- Trim seam allowance
- Fold the zipper tape over the seam
- Stitch down neatly
Step 5: Back & Bottom Assembly

1. Join Back + Bottom
- Sew bottom to back panel (exterior + foam)
- Repeat for lining
2. Baste Layers
- Place lining against foam
- Baste the entire unit
3. Attach to Front
- Match the center of the bottom curve to the front
- Clip curves carefully
Important:
Corners of the straight edge should extend ¼” past the seams
4. Stitch
- Sew around the curve
- Start and stop exactly at seam lines
Step 6: Final Assembly

1. Attach Strap
- Turn the bag right side out
- Position strap ends:
- 1” away from piping on each side
- Baste in place
2. Close the Bag
- Turn the bag wrong side out
- Attach the top edge to the back panel
- Sew with ¼” seam
Open the zipper slightly before sewing!
Binding the Seams
Curved Edges:
- Use bias binding (20”)
- Sew, fold over, and stitch down
Straight Edges:
- Use straight binding (33”)
Corners:
- Pivot at corners to create a mitered finish
FINAL STEP: Installing the Eyelet
1. Mark Position
- Find the center of the top panel
2. Reinforce Area
- Sew a tight circle using a small stitch length (~1.0)
3. Install Eyelet
- Cut the hole carefully
- Attach eyelet using manufacturer’s instructions
Your Bag is Done!
You now have a professional-looking yarn project bag that:
- Keeps yarn clean
- Prevents tangling
- Makes crafting on the go easy
Perfect for personal use or as a thoughtful handmade gift.