A Detailed Step-by-Step Sewing Guide
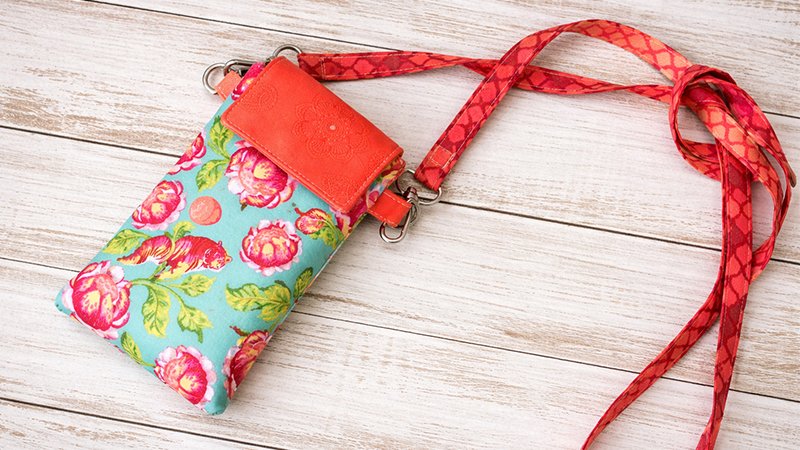
If you’re tired of carrying a bulky purse when you only need your phone and a few essentials, this project is for you. This DIY phone case and wallet combo is compact, stylish, and highly functional. It features:
- A magnetic snap closure for security
- A zippered coin pocket on the back
- Two hidden card slots under the flap
- Optional crossbody strap for hands-free use
It’s perfect for quick outings like coffee runs, walks, or errands.
Size & Compatibility
This pattern is designed for phones up to:
- 3” x 6” (7.6 x 15.2 cm)
Fits well:
- iPhone X, 7, 8
- Smaller phones (iPhone 4, older Samsung models)
❗ Not suitable for Plus/Max-sized phones unless you enlarge the pattern.
Materials Needed
Fabric & Interfacing
- ¼ yard total fabric (can mix prints; great for scraps)
- ¼ yard fusible fleece (for padding)
- ¼ yard woven interfacing (for structure)
Hardware
- 1 magnetic snap
- 1 zipper (minimum 5”)
- 2 D-rings (½” size)
- 2 swivel clips (optional strap)
Tools
- Sewing machine
- Thread
- Pins or clips
- Zipper foot
- Scissors / rotary cutter
- Iron
Cutting Guide
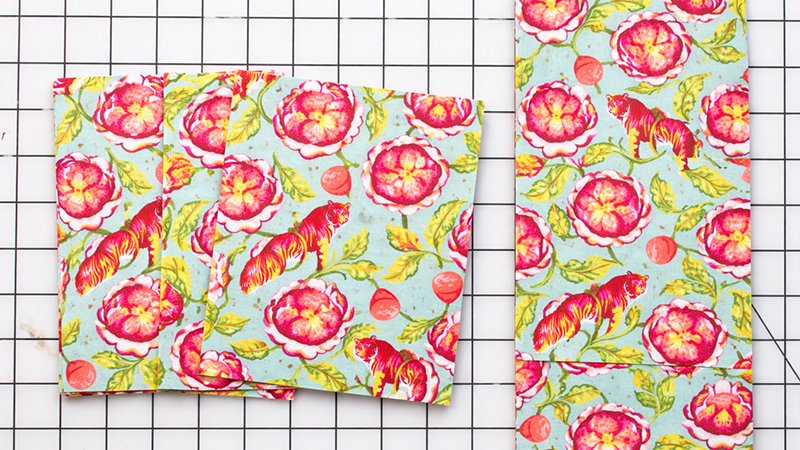
Exterior Fabric
- 2 × 6½” x 4½” (front & back)
- 2 × 4½” x 4½” (card slots)
- 1 × 2” x 4½” (zipper binding)
- 1 × 5” x 4½” (coin pocket)
Lining & Flap Fabric
- 2 × 6½” x 4½” (lining)
- 2 × 6½” x 3½” (flap)
- 2 × 2” x 2” (D-ring tabs)
- 1 × 2” x 40–50” (strap)
Interfacing
- Fusible fleece:
- 2 × 6½” x 4½”
- 1 × 6½” x 3½”
- Woven interfacing:
- 2 × 6½” x 4½”
- 1 × 6½” x 3½”
Step 1: Apply Interfacing
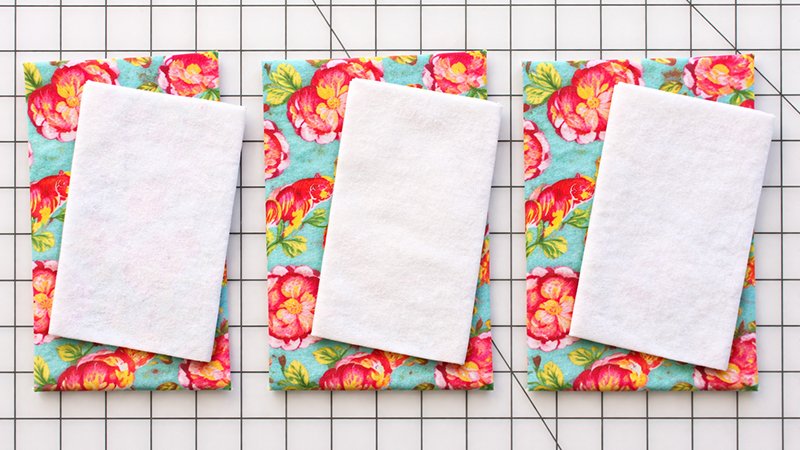
This step ensures durability and structure.
- Fuse fleece to the wrong side of exterior pieces
- Fuse woven interfacing to lining pieces
- For flap:
- One piece gets fleece
- One piece gets woven interfacing
Follow manufacturer instructions carefully.
Step 2: Create the Flap
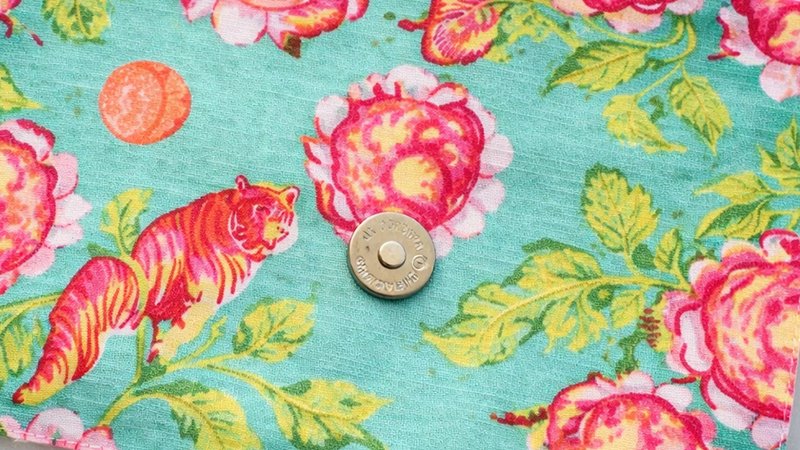
- Take the flap piece with woven interfacing
- Mark the center, 1” from the edge
- Install the male side of magnetic snap
Sew the Flap
- Place flap pieces right sides together (RST)
- Sew 3 sides (leave top open)
- Clip corners
- Turn right side out
- Press neatly
- Topstitch along edges for a clean finish
Step 3: Make the Wallet Back
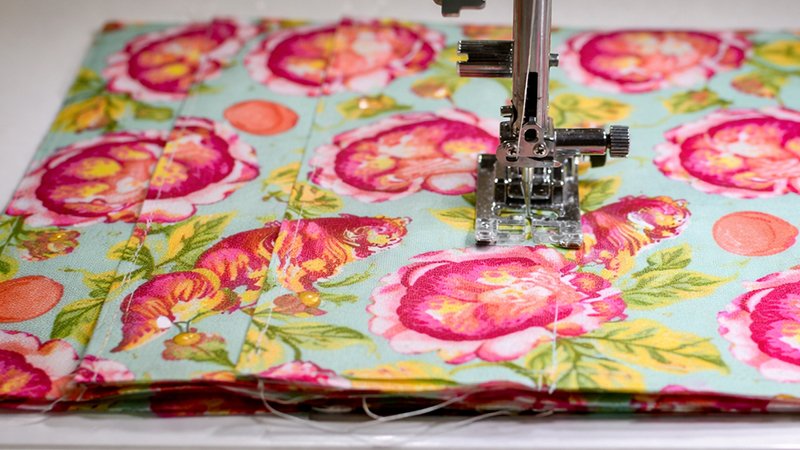
A. Hidden Card Slots
- Fold each card slot piece in half (RST)
- Sew one edge
- Turn right side out and press
- Topstitch the folded edge
Attach to back panel:
- First slot: 1” below top edge
- Second slot: ½” below first slot
Stitch along bottom edges only.
B. Zipper & Coin Pocket
- Fold zipper binding strip in half (wrong sides together)
- Align with zipper edge → sew using zipper foot
- Wrap binding around zipper → stitch down
Attach Flap
- Insert flap edge under binding (~¼”)
- Stitch across to secure
- Trim excess flap fabric
Add Coin Pocket
- Fold coin pocket in half (wrong sides together)
- Align fold over zipper bottom edge
- Stitch twice for durability
Attach to Back Panel
- Position assembly above card slots
- Stitch along binding lines
- Baste sides and trim zipper ends
Step 4: Front Panel & D-Rings
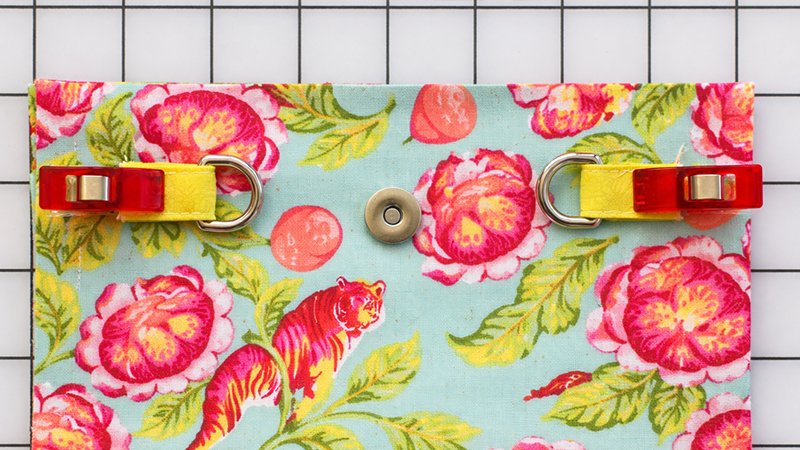
Magnetic Snap
- Mark center point 1½” below top edge
- Install female snap piece
D-Ring Tabs
- Fold square:
- Half
- Edges to center
- Fold again (like bias tape)
- Topstitch edges
- Insert D-ring
- Attach to sides of front panel:
- About 1” below top edge
- Baste in place
Step 5: Final Assembly
Attach Lining
- Place lining piece right side down on back panel
- Sew top edge
- Press seam open
Repeat for front panel.
Assemble Entire Wallet
- Place front and back pieces right sides together
- Align seams carefully
- Pin around edges
Sew
- Stitch around entire edge
- Leave 3” opening in lining bottom
Finish
- Clip corners and trim bulk
- Turn right side out through opening
- Press edges
- Sew opening closed
Push lining neatly inside using a tool.
Optional: Crossbody Strap
- Fold strap strip:
- Lengthwise
- Raw edges inward
- Fold again
- Topstitch edges
- Attach swivel clips
- Clip onto D-rings
Final Result
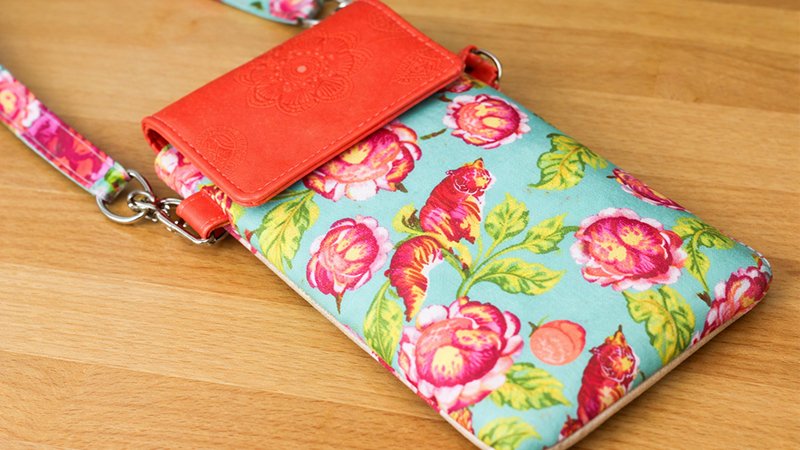
You now have a compact, stylish phone wallet that includes:
- Secure phone storage
- Card organization
- Coin zipper pocket
- Optional crossbody function
Tips for Best Results
- Use contrasting fabrics for a designer look
- Match thread color for clean finishing
- Always press seams for a professional finish
- Test snap placement before installing
Conclusion
This project is quick, beginner-friendly, and perfect for gifts. Once you make one, you’ll want several in different fabrics!
If you share your creation online, tag your work to inspire others—handmade accessories like this are always a hit.
Happy sewing!